I Made Pie with SAVEUR’s Food Editor and This Is What I Learned
This is the summer that you master pie crust. Here’s how
The stakes of pie crust are high: if you play your cards right, you’ll come out with a flaky, buttery foil for the World’s Most Perfect Dessert. But the factors (butter, water, temperature) are fickle, and the failures (chewy crust, soggy crust, tough crust) are devastating. There is a lot of militant advice to be found, commanding you to freeze your butter, chill your tools, or say a magic spell before rolling out your crust. Every expert has a set of commandments. Even for pie loyalists like me, the pressure can be exhausting, enough to nudge us towards stir-and-go alternatives like cake and cookies.
Over the past few years I have made many pies, particularly in summer when all the fruit is ripe and ready to climb into pastry crust, and few things are more appealing than a cold slice for breakfast. Maybe 20% of them have been good, and 80% have been disappointing. I’ve cried a couple of times, and once at Thanksgiving. I’ve set off fire alarms. I am an excellent hostess.
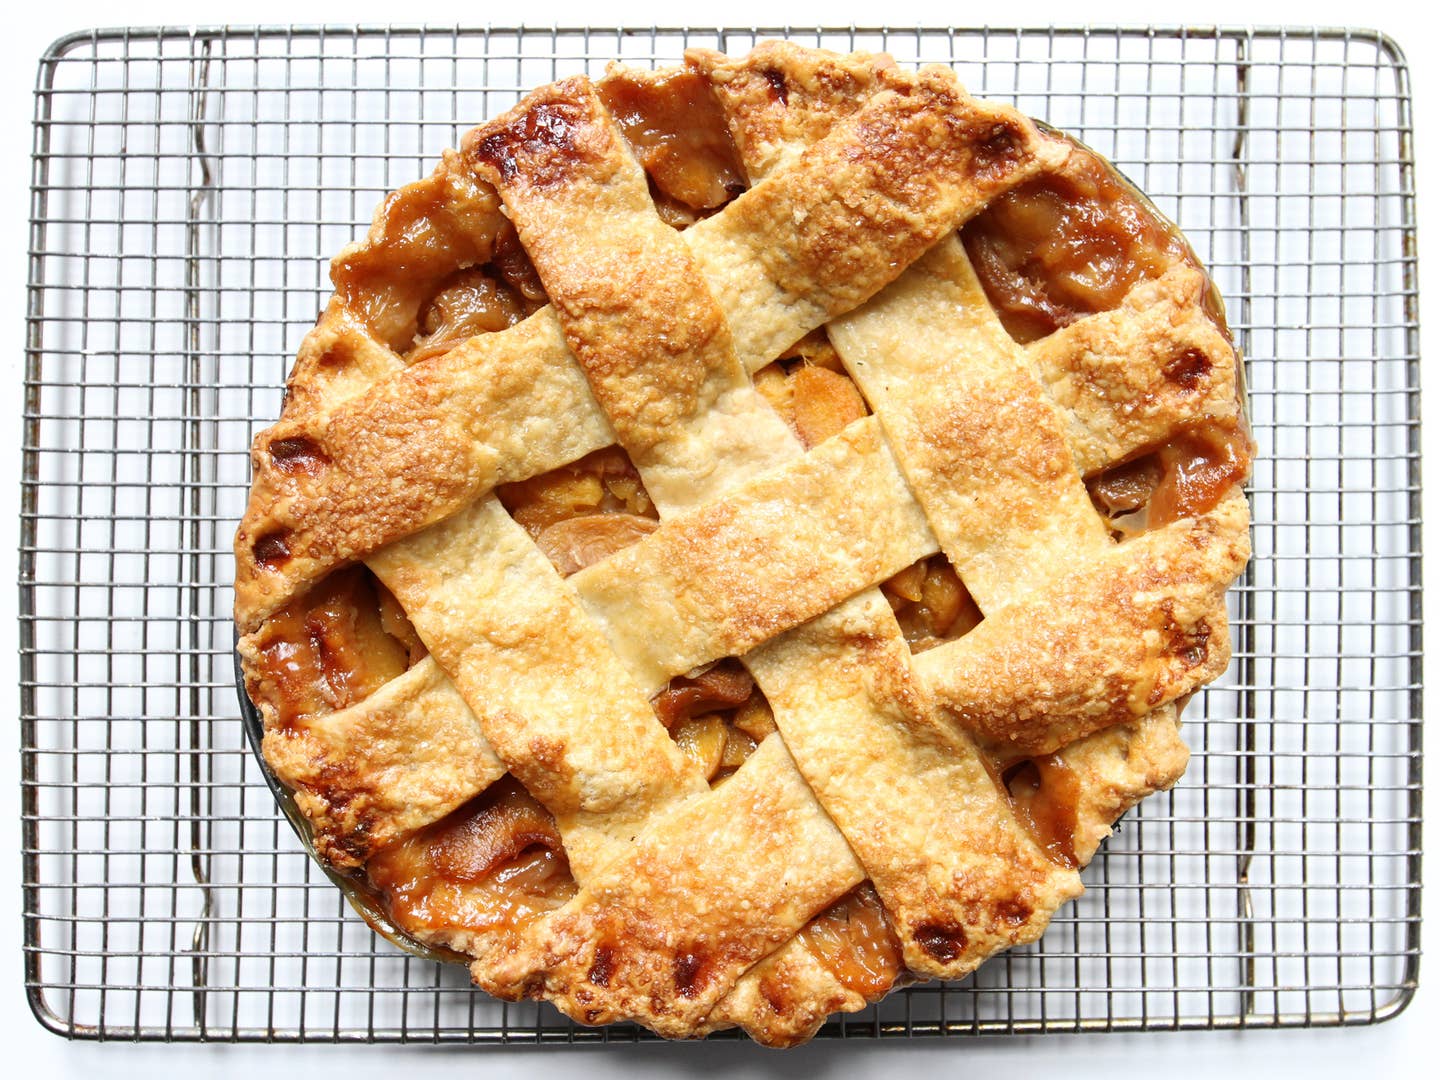
I knew that I was overthinking it all, so finally, I asked for help, and help came in the form of Ben Mims, SAVEUR's Food Editor. Ben wrote the book on Southern Desserts (literally; you can buy it here), so I knew that he was the man to right my ship, or at least steer me in the direction of better crust and therefore better pie and a happier life. Last week, we made peach pie. I didn't cry once. It came out beautifully.
Summer Peach Pie
Bourbon, cinnamon, and nutmeg add warmth to this bright summer peach pie from SAVEUR Food Editor Ben Mims.
Here are some important things that I learned from making pie at Ben's apron strings.*
Your butter does not have to be, and should not be, rock-hard-frozen when you mix it into your flour. Yes, too-soft butter is pie's enemy, but you want to be able to cut it into your flour easily. Ben cuts each stick of butter (one per crust, so that's two for a double-crust pie) into 32 cubes. If your kitchen is warm, you should chill them in the fridge for a bit.
Take those #chill butter cubes and toss them in your flour mixture, making sure that they are separated (you want to avoid clumps). If, like me, you have always been intimidated by cutting butter into flour, again: chill out. All you really want to do is press the cubes with your fingers to flatten them, using a light pressing/snapping motion. This will also break them up into smaller pieces. Stop once all the cubes have been flattened into pea-sized bits and there are some smaller bits, too.
Ben adds his water differently from anyone I have ever witnessed and I find his technique both fascinating and effective. Here's how to do it. First: Make a well in the center of your butter-flour mixture. Pour the water in there, so you have a little vernal pool. Rake the edge of the flour mixture with a fork, moving the the bowl in the opposite direction as the fork with your OTHER hand; you are essentially tossing the flour over and onto the water, instead of mixing it together. Your hands are moving in opposite directions, towards each other, and the fork shouldn't leave the inner rim of the bowl. You will only use ¼ cup water for a single pie crust. When it is all incorporated, it will still be crumbly. Trust the technique. Trust Ben!
Once there is no lingering water in your vernal pool, empty the contents of your bowl onto a CLEAN working surface. Be sure it is clean; don't be gross! Use your (also clean) hands to gather the almost-dough into a circle, then pat it down. Gather, pat; gather, pat. This process is less kneading than coercing your dough to adhere to itself. Smoosh it together, press it down, until it becomes a cohesive disc. Wrap it in plastic wrap and let it chill in the fridge for at least an hour, but preferably overnight.
A helpful and calming piece of wisdom from Ben, my mentor: Manhandling your dough is not the worst thing in the world. If you overwork it, or are worried that you have overworked it, just let it rest for longer; this will help the gluten relax, and keep your crust from ending up tough or chewy.
When you roll out the dough: BE. PATIENT. Start with your rolling pin in the middle of the disc, and only roll out in one direction, not back and forth (this will help you avoid over-developing the gluten). Roll outwards gently, turn an eighth of a turn. Roll outwards gently, turn dough an eighth of a turn. "Pretend you have all the time in the world to make this pie," advises Ben. Pretend you are the totally chill person that you definitely are not. But truly, taking your time here will keep your dough from cracking or turning into an amoeba shape. Stop when the dough is roughly ¼ inch thick.
Transfer your dough into your pie plate by rolling it onto your rolling pin, setting it atop the plate, then gently pressing (not stretching!) it into the plate. Ben uses a metal pie tin rather than glass, because it will heat up faster in the oven and therefore get you a crisper bottom crust, faster. (There is a whole lot of disagreement on this topic; feel free to quibble in the comments.)
We filled our pie and made a lattice, which you can learn all about here. After an egg wash and a reckless sprinkle of turbinado sugar, it went into the oven at 375° F for about an hour and ten minutes, until it was golden and the filling was hot in the center. We had to wait for it to cool before we ate it, which I disliked, but again, this was all about learning.
If you have any questions about pie, send them to TestKitchen@saveur.com. But I urge you to make this recipe, because it is good, and if you make it a few times, you will have a solid pie recipe under your belt and also pie in your belly and you will be well-loved by all who surround you.
*Just kidding, he’s only a few inches taller than I am.
Keep Reading
Continue to Next Story


