Basics: How to Whip Cream by Hand
When you just need a dollop, do it the old-fashioned way.
By SAVEUR Editors


Published on July 27, 2015

In our Basics series, we tackle the simple kitchen tasks; no job is so small that it doesn’t deserve to be done perfectly.

It's no secret that fresh, homemade whipped cream tastes a lot better than anything you'll get out of a can. You can whip it with a stand mixer, an electric mixer, or even in a jar, but if you only need a small quantity, sometimes it's easier to simply whisk by hand. You'll have more control—and stronger forearms—if you do this one the old-fashioned way.

Chill your heavy cream and your bowl well before beginning; cold cream is essential for a voluminous whip. Then, use a large balloon whisk to beat the cream vigorously back and forth until soft peaks begin to form. Be patient with the process, and you’ll have soft and fluffy whipped cream in a matter of minutes. When your whip cream reaches soft peaks, you can sweeten it by folding in superfine or confectioners' sugar, and season with a few drops of vanilla extract to taste; be sure to do this before you reach stiff peaks, however, or you run the risk of over-whipping it as you fold in the sugar.

Overwhipped cream turns grainy and then eventually lumpy when the butterfat starts to separate out from the liquid; if you do take it too far, don't panic: Lighly overwhipped cream can be saved by gently folding in a splash of liquid (unwhipped) cream.

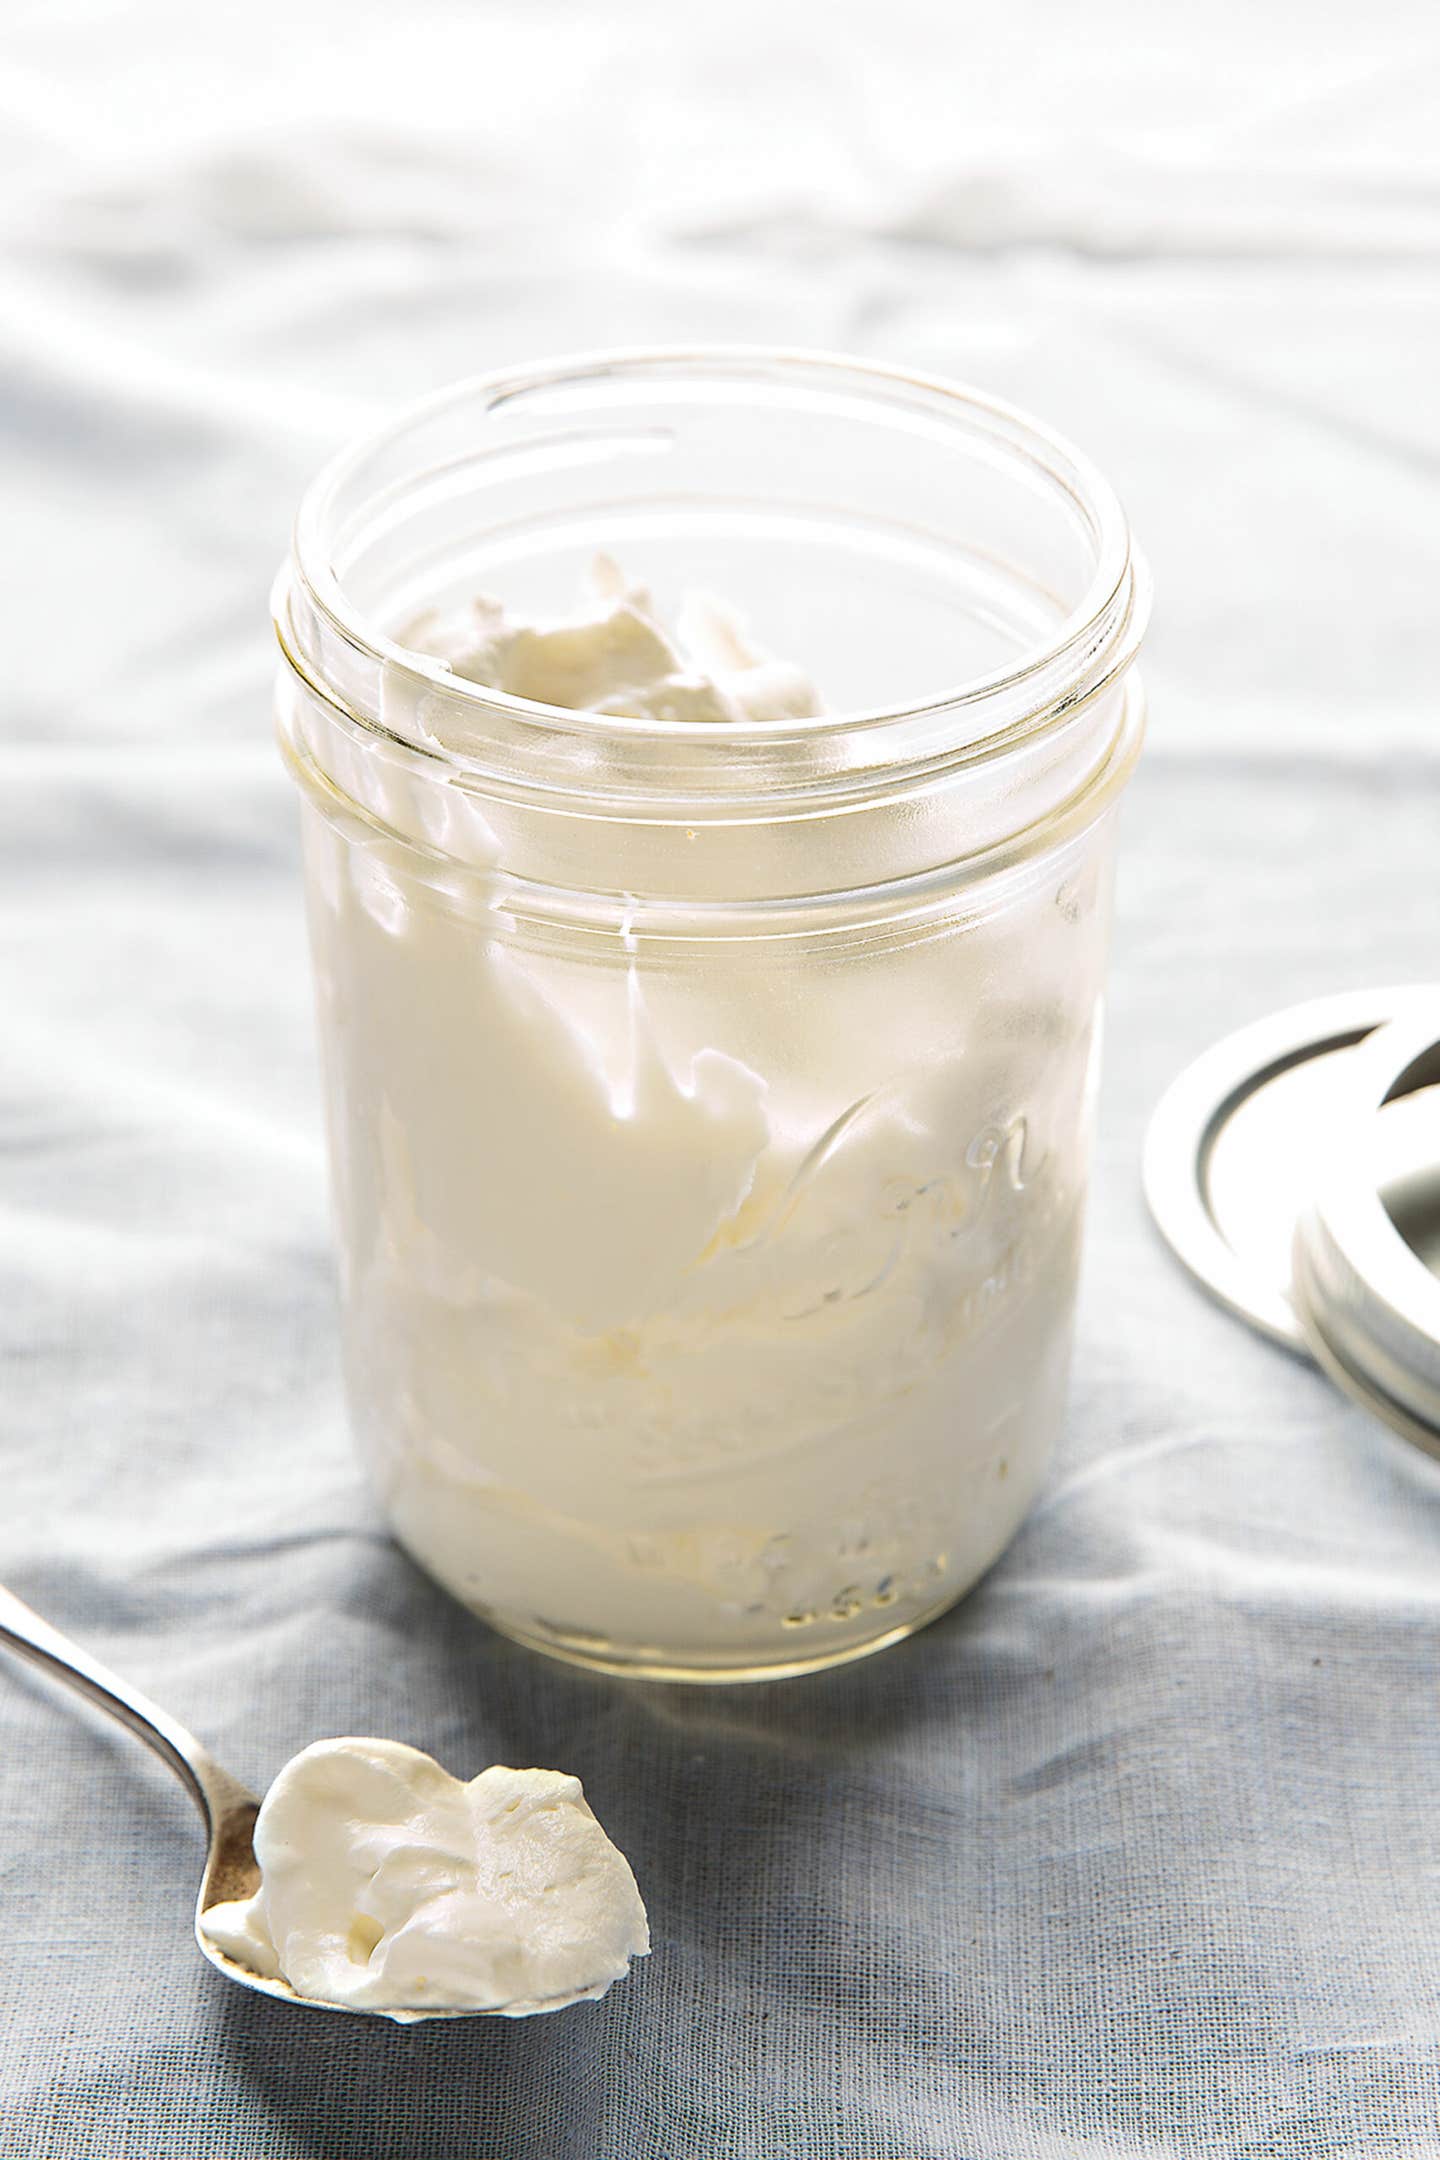
Once you're through, dollop this lush topping atop pies, ice cream sundaes, or fresh summer berries, or cover the bowl tightly and transfer to the fridge for up to 4 hours. If the cream starts to fall flat in the fridge, reshake for 30 to 60 seconds more just before serving.

Get seasonal recipes, methods and techniques sent right to your inbox—sign up here to receive Saveur newsletters and don’t forget to follow us on Instagram at @saveurmag.

Freshly whipped cream is far better than that stuff out of a can. But as the cream splatters during whisking, it can be messy to make. I devised a cleaner method one night in a friend’s tool-challenged kitchen. The trick is to ditch the whisk and bowl and instead use a Mason jar like a cocktail shaker.

Techniques

Basics: How to Whip Cream by Hand

When you just need a dollop, do it the old-fashioned way.

freshly whipped cream in a Mason jar
INGALLS PHOTOGRAPHY

By SAVEUR Editors


Published on July 27, 2015

In our Basics series, we tackle the simple kitchen tasks; no job is so small that it doesn’t deserve to be done perfectly.

It's no secret that fresh, homemade whipped cream tastes a lot better than anything you'll get out of a can. You can whip it with a stand mixer, an electric mixer, or even in a jar, but if you only need a small quantity, sometimes it's easier to simply whisk by hand. You'll have more control—and stronger forearms—if you do this one the old-fashioned way.

Chill your heavy cream and your bowl well before beginning; cold cream is essential for a voluminous whip. Then, use a large balloon whisk to beat the cream vigorously back and forth until soft peaks begin to form. Be patient with the process, and you’ll have soft and fluffy whipped cream in a matter of minutes. When your whip cream reaches soft peaks, you can sweeten it by folding in superfine or confectioners' sugar, and season with a few drops of vanilla extract to taste; be sure to do this before you reach stiff peaks, however, or you run the risk of over-whipping it as you fold in the sugar.

Overwhipped cream turns grainy and then eventually lumpy when the butterfat starts to separate out from the liquid; if you do take it too far, don't panic: Lighly overwhipped cream can be saved by gently folding in a splash of liquid (unwhipped) cream.

Once you're through, dollop this lush topping atop pies, ice cream sundaes, or fresh summer berries, or cover the bowl tightly and transfer to the fridge for up to 4 hours. If the cream starts to fall flat in the fridge, reshake for 30 to 60 seconds more just before serving.

Get seasonal recipes, methods and techniques sent right to your inbox—sign up here to receive Saveur newsletters and don’t forget to follow us on Instagram at @saveurmag.

Continue to Next Story

Want more SAVEUR?

Get our favorite recipes, stories, and more delivered to your inbox.