How to Make Kombucha
Chef Balo Orozco uses fresh fruit as the main ingredient to make a refreshing, gut-friendly drink that’s also caffeine-free.
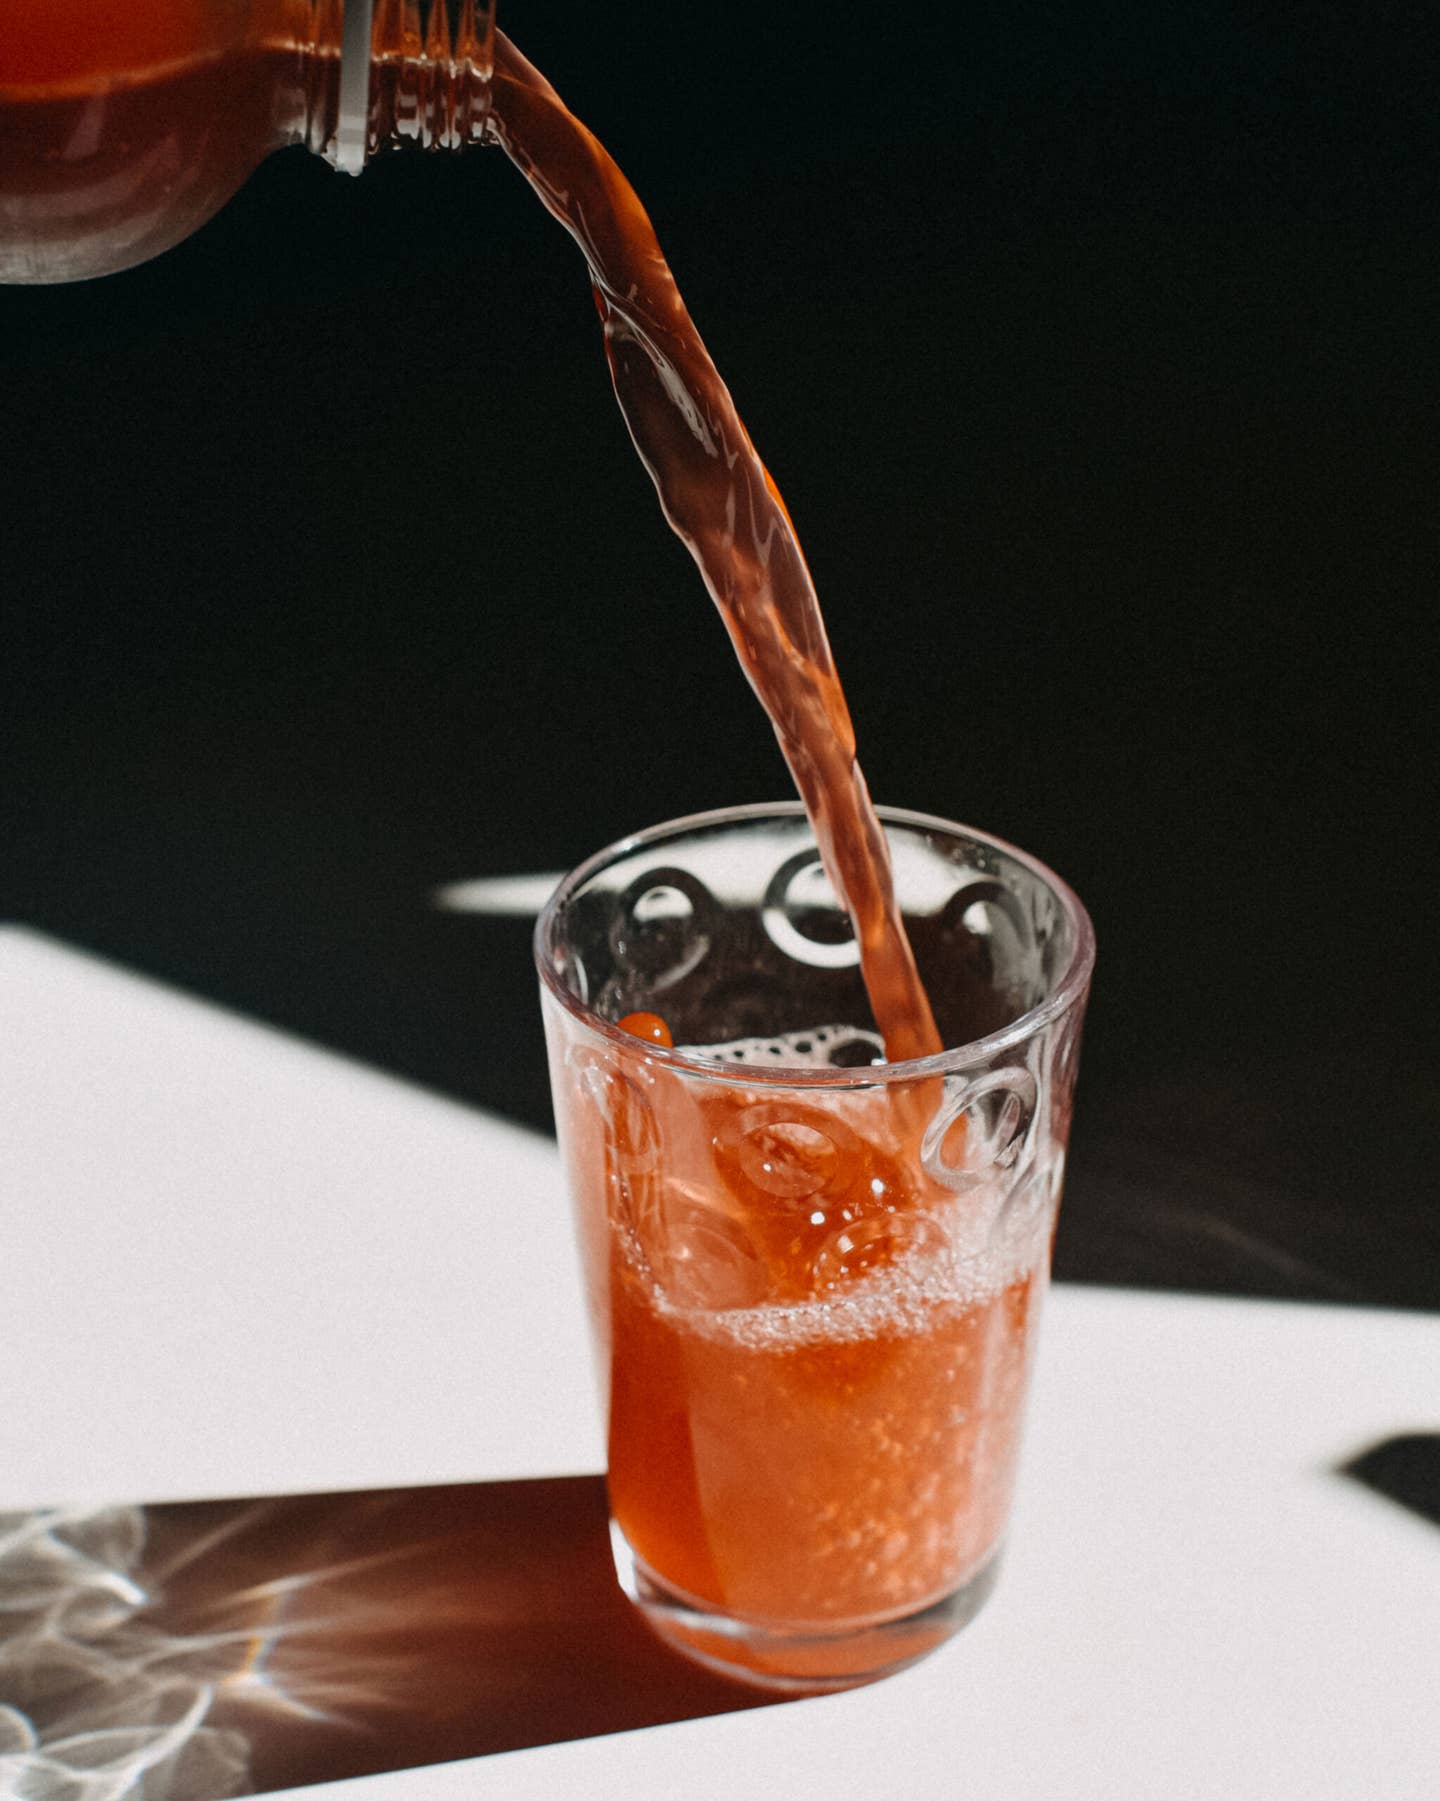
Making your own kombucha might sound like an intimidating feat best left to those with a background in food science. But according to Balo Orozco, a Los Angeles-based chef who became an expert in making seasonal fruit-based kombucha during the pandemic, “it’s really easy.” All it requires is time, a handful of tools, and a bit of watchfulness. Plus a SCOBY, which stands for “symbiotic culture of bacteria and yeast” and serves as the mother culture for making kombucha (meaning it contains the necessary bacteria and yeast to break down sugars in the process of fermentation).
As kombucha lovers know best, the fizzy drink packed with probiotics can be expensive. Also, much of what’s widely available is overly sweet. That’s why making your own is the perfect project if you want to keep your fridge stocked with ‘booch that suits your tastes.
Traditional kombucha is made with tea, which Orozco omits in order to make a non-caffeinated drink that instead highlights the natural flavors of fruit. His brand Sunset Cultures specializes in refreshing and juicy kombuchas like pomegranate-and-key lime and persimmon-and-ginger made from leftover or misshapen farmers' market produce. Orozco says he's a fan of kombucha not only because of potential health benefits but because of its flavor potential. "Because I’m a chef, I always want to make something that’s delicious,” says Orozco.
Here, he shows us how to make strawberry kombucha. Once you’ve gotten comfortable with this process, you can try using other fruits or adding an additional flavor that you think will pair well with your base fruit. For example, Orozco adds fennel flowers to his strawberry kombucha.
Before You Begin
Since kombucha is a fermented product that’s made using friendly bacteria and yeast, it’s important to look out for mold throughout the production process. Be on the lookout for fuzzy green, white, or black mold, similar to what you might find on spoiled items in your fridge; if any is found, it's best to throw out your SCOBY and starter and begin again. “If your mother bacteria is infected, everything is going to be infected,” Orozco explains, and you could get sick upon consumption.
What you need:
- Gallon glass container with a wide mouth
- A SCOBY (symbiotic culture of bacteria and yeast), which Orozco recommends buying online from Kombucha Kamp
- Sugar
- A bottle of store-bought kombucha (strawberry or original flavor)
- Disposable plastic gloves
- Strong cloth napkins (These should not be fuzzy like a washcloth or gauzy like cheesecloth).
- Sturdy rubber bands
- Kombucha heating mat, optional
- Metal mixing bowl
- 2 lb. of strawberries, halved with leaves and stems removed
- Small pot
- Cooking thermometer
- Fine mesh metal strainer
- Long-handled plastic or wooden spoon
- Glass bottles with swing tops or corks, sterilized
Step 1: Prep your glass container.
Wash your glass container thoroughly with hot water and soap in order to sterilize it, then dry it with a clean cloth. This will prevent foreign bacteria from entering your kombucha production.
Step 2: Create a starter using your SCOBY.
To the clean glass container, add 1 quart of cool filtered water (tap water can also contain contaminants; if using, bring tap water to a boil and allow to cool to room temperature before using), ¼ cup sugar, and ¾ cup store-bought kombucha. Using a plastic or wooden spoon, stir until sugar is dissolved; add the SCOBY. Place a cloth napkin over the top of the container and secure it with a rubber band. Set aside to ferment; after five days, taste your kombucha. If it’s too tart, let it ferment less next time, and if it’s too sweet, allow it to ferment for another day or two. This will be the base (or starter) for your kombucha and will make up 20 percent of your kombucha’s final volume.
Step 3: Make strawberry tea.
To a small pot, add the strawberries and 1 quart filtered water. Set over medium-high heat, and bring the liquid to 186°F for at least 30 seconds to kill any existing bacteria. Remove strawberries from heat and cool to room temperature.
Step 4: Set up your kombucha.
Uncover the kombucha starter and, using a gloved hand, transfer the SCOBY to a clean metal bowl. Position a clean, fine metal strainer over the bowl and strain the remaining starter liquid into it. Thoroughly clean your glass container with soap and hot water, then strain the cooled strawberry tea into it, setting the solids aside for another use*. Add 3/4 cups sugar, 2 quarts filtered water, and 1 quart of the strained starter liquid (setting the SCOBY aside in the metal bowl). Using a long-handled plastic spoon, stir until the sugar has dissolved. Finally, return the SCOBY to the glass container, cover it with a fresh cloth napkin, and secure it with a rubber band.
Step 5: Let your kombucha ferment.
Set the glass container out on the counter in a dry place, out of direct sunlight. As your kombucha ferments, the SCOBY will expand to the diameter of the container and take on the pink color of the liquid.
Check on the kombucha once a day: Uncover the container and, using your clean, long-handled spoon, stir gently, then ladle out a taste. The longer the kombucha ferments, the less sweet and more tart the flavor will become. You can also use a pH meter to check the acidity of your kombucha, which will go down as it continues to ferment. Most store-bought kombuchas net out around 2.2 pH, but Orozco prefers his to be less acidic and juicier, between 2.8 and 3.2. Note that when it’s hot outside, your kombucha can be ready in as little as 3 days. At colder temps, the liquid will take longer to ferment, from 5 to 9 days. The ideal temperature for fermentation is 80°F, with a range of 75-85°F. If you’re having trouble keeping the kombucha at a steady temperature, a heating mat is a great way to make sure fermentation isn’t stalling, without overheating.
Step 6: Bottle your kombucha for the second fermentation.
Once the kombucha is fermented to your liking, uncover the jar, transfer the SCOBY to a clean metal bowl and set it aside to create a new starter**. Set a fine mesh strainer over a large pitcher and strain the kombucha into it. If desired, adjust the sweetness with a tablespoon or 2 more sugar. (This is where an optional refractometer, which measures sugar levels, comes in handy: Orozco likes his kombucha at about 2 brix.) The added sugar will also help kickstart the final fermentation, which is where the bubbles form. Pour your strained kombucha into clean glass bottles, leaving at least an inch of space between the liquid and the cap, then cap the bottles and leave them in a cool space out of direct sunlight for 1 to 2 days.
Step 7: Pop your bottles in the fridge, and drink them at your leisure.
After 1-2 days at room temperature, transfer your unopened bottles of kombucha to the fridge, where they will keep well for about 2 months. In order to manage the potential bubbling over of your kombucha—i.e., that moment when you open a bottle of kombucha and it fizzes all over you—Orozco recommends waiting until your bottles are fully chilled before opening. Once the kombucha is cold, open the bottle over a bowl so that you won’t lose any kombucha in case your batch is especially bubbly.
*If like Orozco, you’re inspired to make use of the byproduct leftover from the kombucha, you can macerate the strawberry solids to make compote or jam.
**If you want to keep making kombucha, you’ll need to maintain a starter—aka a SCOBY hotel— by repeating step 2 every time you finish a batch. Pro-tip: if you don’t want to make kombucha so regularly, you can put your starter "to sleep" by storing it in an airtight container in the fridge. When you take your starter out of the fridge, fish out the SCOBY and mix it with another quart of filtered water, 1/4 cups sugar, and ¾ cup leftover homemade kombucha (or store-bought if you don't have leftovers). Your SCOBY will take a bit longer (around 10 days) to come back to life after being refrigerated. Extended refrigeration may also cause a new SCOBY to form and for the original SCOBY to die. If parts of your SCOBY have turned dark brown, those bits are dead and should be trimmed and discarded. Also: it’s okay if your SCOBY tears; it’s still usable and will continue to grow.)
Kombucha is a wonderful drink to have on hand as a refreshing, low-ABV beverage that’s also good for you. In this case, it’s non-caffeinated, too. As you practice making kombucha at home, you can start to experiment with different fruits and flavors, or with sweeter and sourer brews. So long as you keep your tools and SCOBY clean and pay attention to unwanted bacteria, kombucha-making is safer than one might initially think — and it’s quite the nifty craft to have in your repertoire.
Keep Reading
Continue to Next Story
