Handmade Ramen Noodles
A pasta machine and patience are the secret to these authentic Japanese noodles.
- Serves
makes 5 5-oz. servings
- Time
1 hour 30 minutes
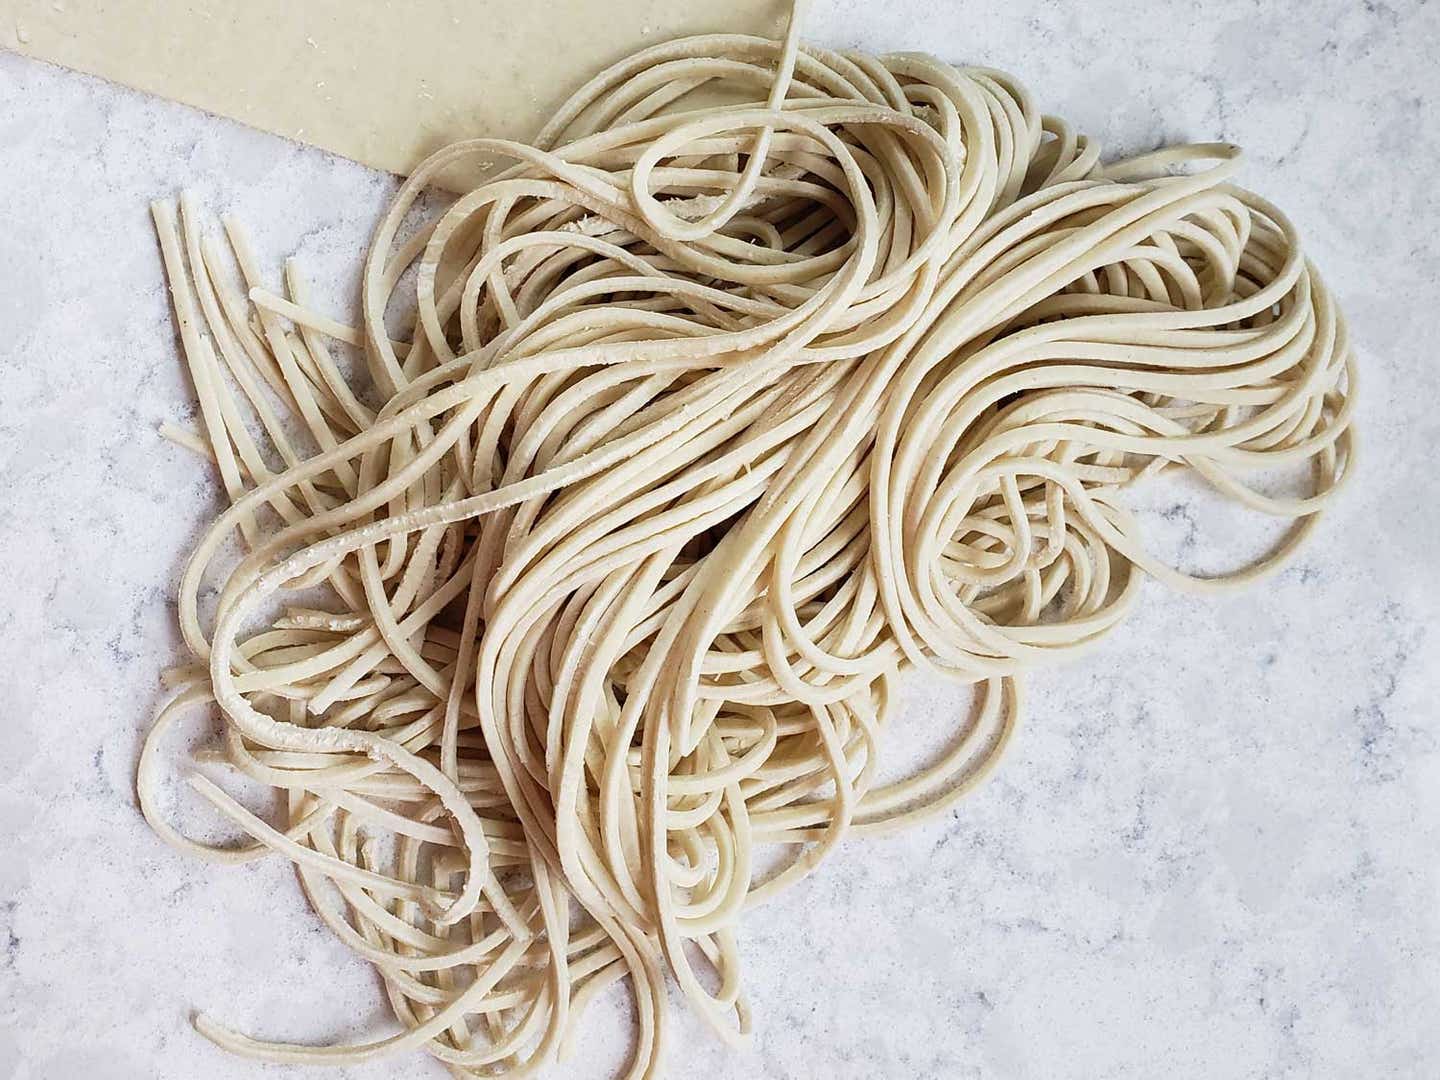
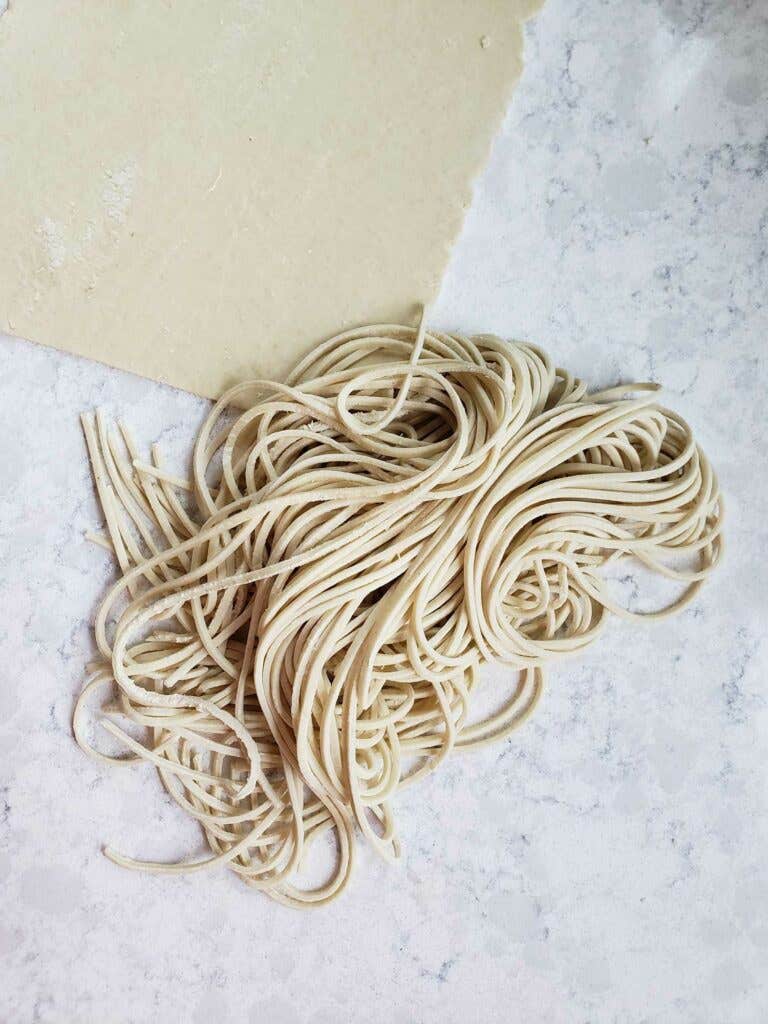
The alkaline solution called kansui is what gives ramen noodles their characteristic chewiness. Kansui is difficult to find, so we give a substitute—baking soda that is baked in the oven to increase its alkalinity—here. Be sure to prepare this ahead. Also, if you’d like to give the noodles the traditional deep yellow color, add a pinch of riboflavin. (This originates from a time when noodle makers used this to mask the darker hue of less-refined flour.) Ramen is a much drier dough than egg pasta. At first, the dough will be craggy and messy. Don’t give up! As the mixture is worked and run through the pasta machine, it will gradually come together, forming a silky, beautiful dough.
Equipment
Ingredients
- ½ cups baking soda
- 5 grams (1 tsp.) fine sea salt
- A pinch of riboflavin, (often sold as vitamin B2), (optional)
- 25 grams (3 Tbsp. plus 1 tsp.) whole wheat flour
- 475 grams (3½ cups) bread flour
- Cornstarch, for dusting
Instructions
Step 1
Step 2
Step 3
Step 4
Step 5
Step 6
Step 7
- At least an hour before you plan to make the noodles, prepare the kansui substitute: Preheat the oven to 275°F. Line a large baking sheet with parchment paper and spread the baking soda over it, then transfer to the oven and bake for one hour. Let the powder cool before using, then measure 5 grams (about 1 teaspoon) of the mixture into a medium bowl. Transfer the remainder to an airtight container and store at room temperature indefinitely.
- To the medium bowl of baked baking soda, add 200 grams (about 1 cup with 2 tablespoons removed) cool water, along with the salt and riboflavin (if using). Stir until dissolved. To a large bowl, add the whole wheat and bread flours and mix together with your hands. Using your fingertips, mix the flour in a circular motion as you slowly add the kansui liquid. When all of the liquid has been added, use both hands to continue mixing by dragging your hands through the mixture in opposing circles and occasionally stopping to rub the dough collected on your hands back into the bowl, until a shaggy dough forms, about one minute more. (The dough will look like a clumpy mess.) Cover the bowl tightly with plastic wrap and set aside to rest at room temperature for 30 minutes.
- Turn the rested dough out onto a wide work surface and squeeze it together into one cohesive piece, making sure to incorporate any loose crumbs. Cut the dough into four roughly equal pieces, then cover them with plastic wrap so that they do not dry out as you work. Set up a pasta roller with its rollers adjusted to its thickest setting. Flatten one piece of dough as much as possible with a rolling pin, then feed the dough through the machine. (It will tear and look generally terrible. Don’t worry!) Turn the machine’s thickness down a notch, and roll the dough through again. Turn the machine’s thickness down once more and feed the dough through a third time, then fold the shaggy ribbon of dough lengthwise (in thirds) so that it is about the width of the pasta roller, straightening the sides as well as you can. Press the dough down as much as possible with your rolling pin.
- Reset the pasta machine to its thickest setting, then feed the dough into it with one one of the open sides first (with the seamed edges running parallel to the ends of the rollers). Repeat steps 3 until the dough has come together in a smooth sheet (it may take as many as 5 times). In the final stage of compressing the dough, stop rolling with about three inches of dough not yet run through the machine. Fold the opposite end over and press the two ends together to form a loop. Continue to roll until you’ve compressed the new seam twice. Now you can use a paring knife to cut the dough to release it from the machine, giving it perfectly straight ends. Lay this sheet of dough out in a smooth, single layer, cover it with plastic wrap, and set aside to rest as you repeat the process with the remaining pieces of dough.
- Once all of the dough has been rolled out, reset the machine. Returning to the first sheet of dough, start rolling it out, one setting at a time, to your desired thickness. On a machine with 9 thickness settings, 4 or 5 is appropriate for thick noodles, 6 for medium noodles, and anything higher for thin noodles. Once you reach your desired thickness, cut the dough crosswise into roughly 12-inch sheets; continue rolling and cutting each of the quarters of dough in this manner, covering any dough you are not handling with plastic wrap to prevent it from drying out.
- Once all of the dough has been sheeted and cut, swap out the rollers on your pasta machine for its thinnest noodle cutter, then run the sheets through it one at a time. (If your pasta machine does not have a noodle cutter, you can also use a long chef’s knife to slice the noodles by hand to your desired width.) Divide the noodles into five 5-ounce portions. Lightly toss the noodles with cornstarch and place them on a parchment-lined sheet pan, then wrap the pan tightly with plastic wrap and refrigerate until ready to use. Though the noodles can be cooked right away, they are best when allowed to rest and fully hydrate for 24 hours and they keep in the refrigerator for up to 5 days or in the freezer, packed in individual portions in airtight plastic bags, for up to 1 month.
- To cook, drop the noodles in rapidly boiling, unsalted water, stir, and cook until tender and cooked through, 1–3 minutes, before straining and adding them to your ramen bowl. (If cooking frozen noodles, no need to thaw them before boiling.)
Keep Reading
Continue to Next Story


