The Step-By-Step Guide to Making Perfect PaellaHow to make the ultimate rice dish

For the uninitiated, paella sure looks intimidating. Even after you get the special pan, and figure out how to heat it on your possibly dinky stove, and acquire the right rice that Spaniards swear by, and track down the saffron you need to make it picture-perfect golden, you then need to get acquainted with cooking the damn thing. Burn the bottom right to get that crust, but not so much that your rice welds itself to your pan. Add just enough water to keep it hydrated so it doesn't dry out, but heaven help you if you over-hydrate it and turn the entire thing into mush.

Your complete guide to mastering the Spanish essential and scoring perfect soccarat

The Rules of Paella

Frankly, paella is intimidating, a true cooking project to tackle when you have a few hours of uninterrupted kitchen time. But while this classic Spanish recipe has a lot of steps and requires some investment, none of the actual cooking is that hard. Once you break the dish down into small components, it's all territory you've probably tread before.

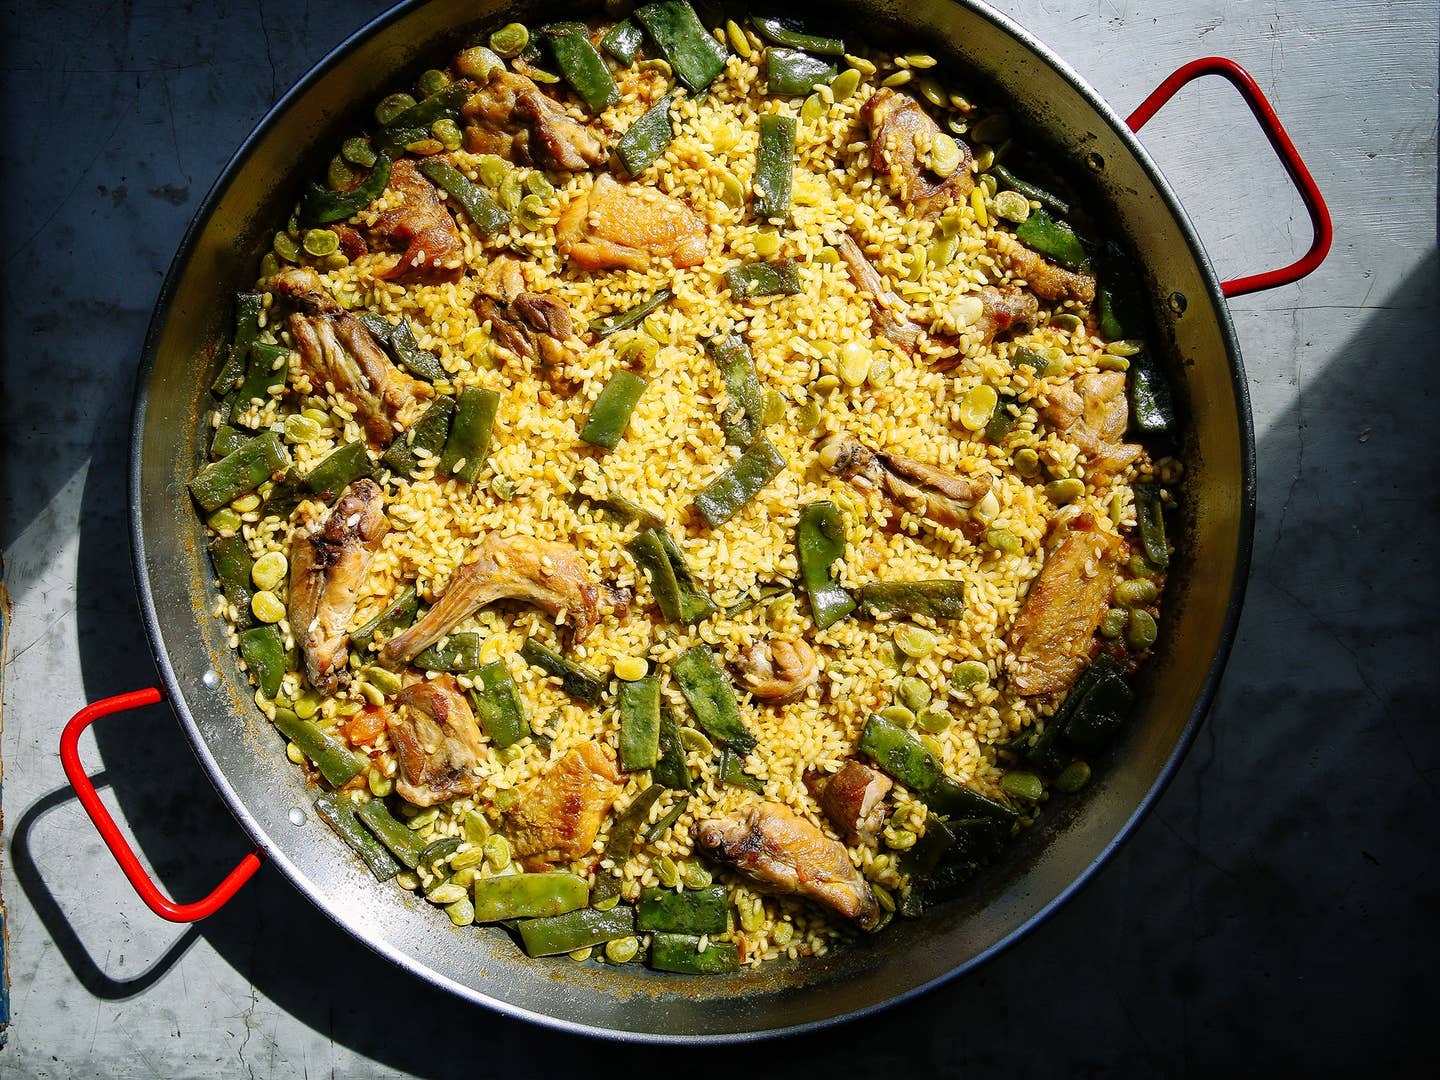
Think of making paella like dressing for fall—it's all about layering colors, textures, and flavors, one stage at a time, to build your way up to a final ensemble. Below, we've broken the process for our classic Valencian chicken and rabbit paella down into the main basic steps you want to follow.

paella
Brown Your Protein

The layering starts with creating a base of burnished flavor directly in the pan. Sear your protein—chicken, rabbit, or sausage (not traditional, but tasty)—to get a nice crust of browned bits on the pan. Don’t worry about cooking the meat through—it’ll finish later.

paella
Add Chunky Vegetables

Take advantage of the high residual heat in the pan and throw in your bigger chunks of vegetables. The high heat will add nice browned blisters on your beans, and as the veggies start releasing moisture, they’ll loosen up the stuck-on protein nubs to start the base of your rice-cooking liquid.

paella
Add Aromatics

Aromatics like garlic burn easily and lose their pungency if overcooked, so give them a quick stir in after your meat and vegetables are mostly seared.

paella
Add Tomato

Now that your dry-heat cooking is done, it’s time to introduce more liquid to further deglaze the pan and build another layer of flavor for the cooking liquid. You might use sofrito—a jammy cooked-down mush of tomato with aromatics in olive oil—but here we’re sticking with a simple rough tomato puree. Stir the tomato around to coat your meat and vegetables as well as to give it maximum contact with the pan. This will help excess liquid evaporate while caramelizing the tomato sugars for—you guessed it—another layer of flavor. This is also the stage where you add your pimenton—smoky Spanish paprika—so it infuses into the liquid.

paella
Add Cooking Liquid

You could use water, but do yourself a kindness and layer in some stock. Homemade is best, but don’t sweat the carton if that’s all you have, provided it’s a low-sodium variety. Pick a stock that will complement the rest of your ingredients; in this case, for a chicken paella, that means chicken stock.

paella
Start Your Simmer

Let this come to a boil over high heat and stir in saffron and quick-cooking veggies like lima beans. Here’s where all your layers of flavor—the browned protein bits, the seared veggies, the mix of fresh and caramelized tomato, the spices, and the stock—get to know each other. Once you add the rice, you can’t do much to adjust the taste of your cooking liquid, so now’s the time to taste like mad and make adjustments to seasoning.

paella
Add the Rice

Stir it around evenly so there’s no clumps of rice that would lead to uneven cooking. All the grains of rice should be coated in broth and just submerged.

paella
Then Leave. It. Alone.

Sure, add a sprig of rosemary for a final aromatic touch. But that’s it. Once the rice is evenly distributed, reduce the heat to a simmer and don’t touch the damn thing. Let the rice cook undisturbed and resist all your urges to poke and prod at it. Doing so will only release excess starch into the broth, which equals gooey paella. It’ll also disrupt the formation of the soccarat, the crucial layer of crust that forms when dissolved starches mix with vegetable sugars and fry in the base coat of fat after the water evaporates away.

paella
And Cook Until Dry—But Not Too Dry

Once the cooking liquid disappears and the rice looks pretty dry, start tasting individual grains (without disturbing the dish!!) for doneness. Depending on your heat sources and skill at even ingredient distribution, you may need to add a touch of water to dry spots to finish off the rice, but don’t over-do it. Only when free liquid fully leaves the pan will the crust truly develop on the bottom. This is your final layer, and in many ways the most important one, so don’t spoil all your work by skipping this final step. Only evacuate the pan from the heat if you smell nasty burnt aromas.
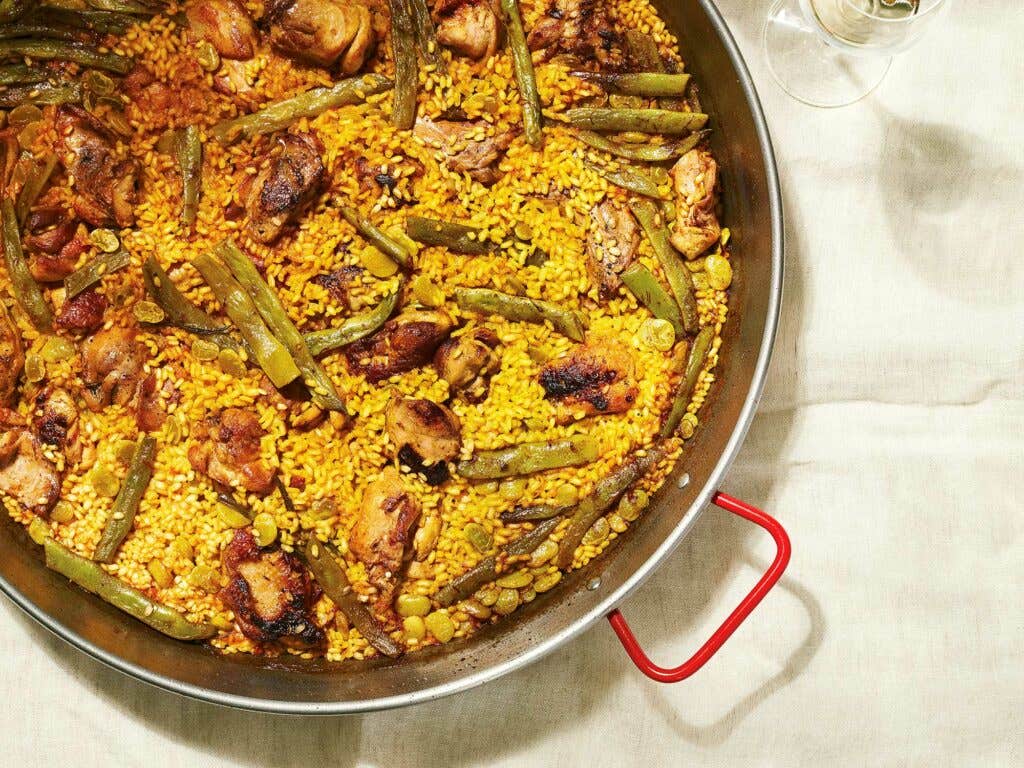
Get the full recipe for Valencian Paella
Culture

The Step-By-Step Guide to Making Perfect Paella

How to make the ultimate rice dish

By SAVEUR Editors


Published on July 27, 2017

For the uninitiated, paella sure looks intimidating. Even after you get the special pan, and figure out how to heat it on your possibly dinky stove, and acquire the right rice that Spaniards swear by, and track down the saffron you need to make it picture-perfect golden, you then need to get acquainted with cooking the damn thing. Burn the bottom right to get that crust, but not so much that your rice welds itself to your pan. Add just enough water to keep it hydrated so it doesn't dry out, but heaven help you if you over-hydrate it and turn the entire thing into mush.

Your complete guide to mastering the Spanish essential and scoring perfect soccarat

The Rules of Paella

Frankly, paella is intimidating, a true cooking project to tackle when you have a few hours of uninterrupted kitchen time. But while this classic Spanish recipe has a lot of steps and requires some investment, none of the actual cooking is that hard. Once you break the dish down into small components, it's all territory you've probably tread before.

Think of making paella like dressing for fall—it's all about layering colors, textures, and flavors, one stage at a time, to build your way up to a final ensemble. Below, we've broken the process for our classic Valencian chicken and rabbit paella down into the main basic steps you want to follow.

paella
Brown Your Protein

The layering starts with creating a base of burnished flavor directly in the pan. Sear your protein—chicken, rabbit, or sausage (not traditional, but tasty)—to get a nice crust of browned bits on the pan. Don’t worry about cooking the meat through—it’ll finish later.

paella
Add Chunky Vegetables

Take advantage of the high residual heat in the pan and throw in your bigger chunks of vegetables. The high heat will add nice browned blisters on your beans, and as the veggies start releasing moisture, they’ll loosen up the stuck-on protein nubs to start the base of your rice-cooking liquid.

paella
Add Aromatics

Aromatics like garlic burn easily and lose their pungency if overcooked, so give them a quick stir in after your meat and vegetables are mostly seared.

paella
Add Tomato

Now that your dry-heat cooking is done, it’s time to introduce more liquid to further deglaze the pan and build another layer of flavor for the cooking liquid. You might use sofrito—a jammy cooked-down mush of tomato with aromatics in olive oil—but here we’re sticking with a simple rough tomato puree. Stir the tomato around to coat your meat and vegetables as well as to give it maximum contact with the pan. This will help excess liquid evaporate while caramelizing the tomato sugars for—you guessed it—another layer of flavor. This is also the stage where you add your pimenton—smoky Spanish paprika—so it infuses into the liquid.

paella
Add Cooking Liquid

You could use water, but do yourself a kindness and layer in some stock. Homemade is best, but don’t sweat the carton if that’s all you have, provided it’s a low-sodium variety. Pick a stock that will complement the rest of your ingredients; in this case, for a chicken paella, that means chicken stock.

paella
Start Your Simmer

Let this come to a boil over high heat and stir in saffron and quick-cooking veggies like lima beans. Here’s where all your layers of flavor—the browned protein bits, the seared veggies, the mix of fresh and caramelized tomato, the spices, and the stock—get to know each other. Once you add the rice, you can’t do much to adjust the taste of your cooking liquid, so now’s the time to taste like mad and make adjustments to seasoning.

paella
Add the Rice

Stir it around evenly so there’s no clumps of rice that would lead to uneven cooking. All the grains of rice should be coated in broth and just submerged.

paella
Then Leave. It. Alone.

Sure, add a sprig of rosemary for a final aromatic touch. But that’s it. Once the rice is evenly distributed, reduce the heat to a simmer and don’t touch the damn thing. Let the rice cook undisturbed and resist all your urges to poke and prod at it. Doing so will only release excess starch into the broth, which equals gooey paella. It’ll also disrupt the formation of the soccarat, the crucial layer of crust that forms when dissolved starches mix with vegetable sugars and fry in the base coat of fat after the water evaporates away.

paella
And Cook Until Dry—But Not Too Dry

Once the cooking liquid disappears and the rice looks pretty dry, start tasting individual grains (without disturbing the dish!!) for doneness. Depending on your heat sources and skill at even ingredient distribution, you may need to add a touch of water to dry spots to finish off the rice, but don’t over-do it. Only when free liquid fully leaves the pan will the crust truly develop on the bottom. This is your final layer, and in many ways the most important one, so don’t spoil all your work by skipping this final step. Only evacuate the pan from the heat if you smell nasty burnt aromas.

Get the full recipe for Valencian Paella

Continue to Next Story

Want more SAVEUR?

Get our favorite recipes, stories, and more delivered to your inbox.