Plum and Raspberry Jam
Forget the store-bought stuff. DIY preserves are the sweetest way to extend your summer.
- Serves
makes Three 8-oz. jars
- Time
1 day
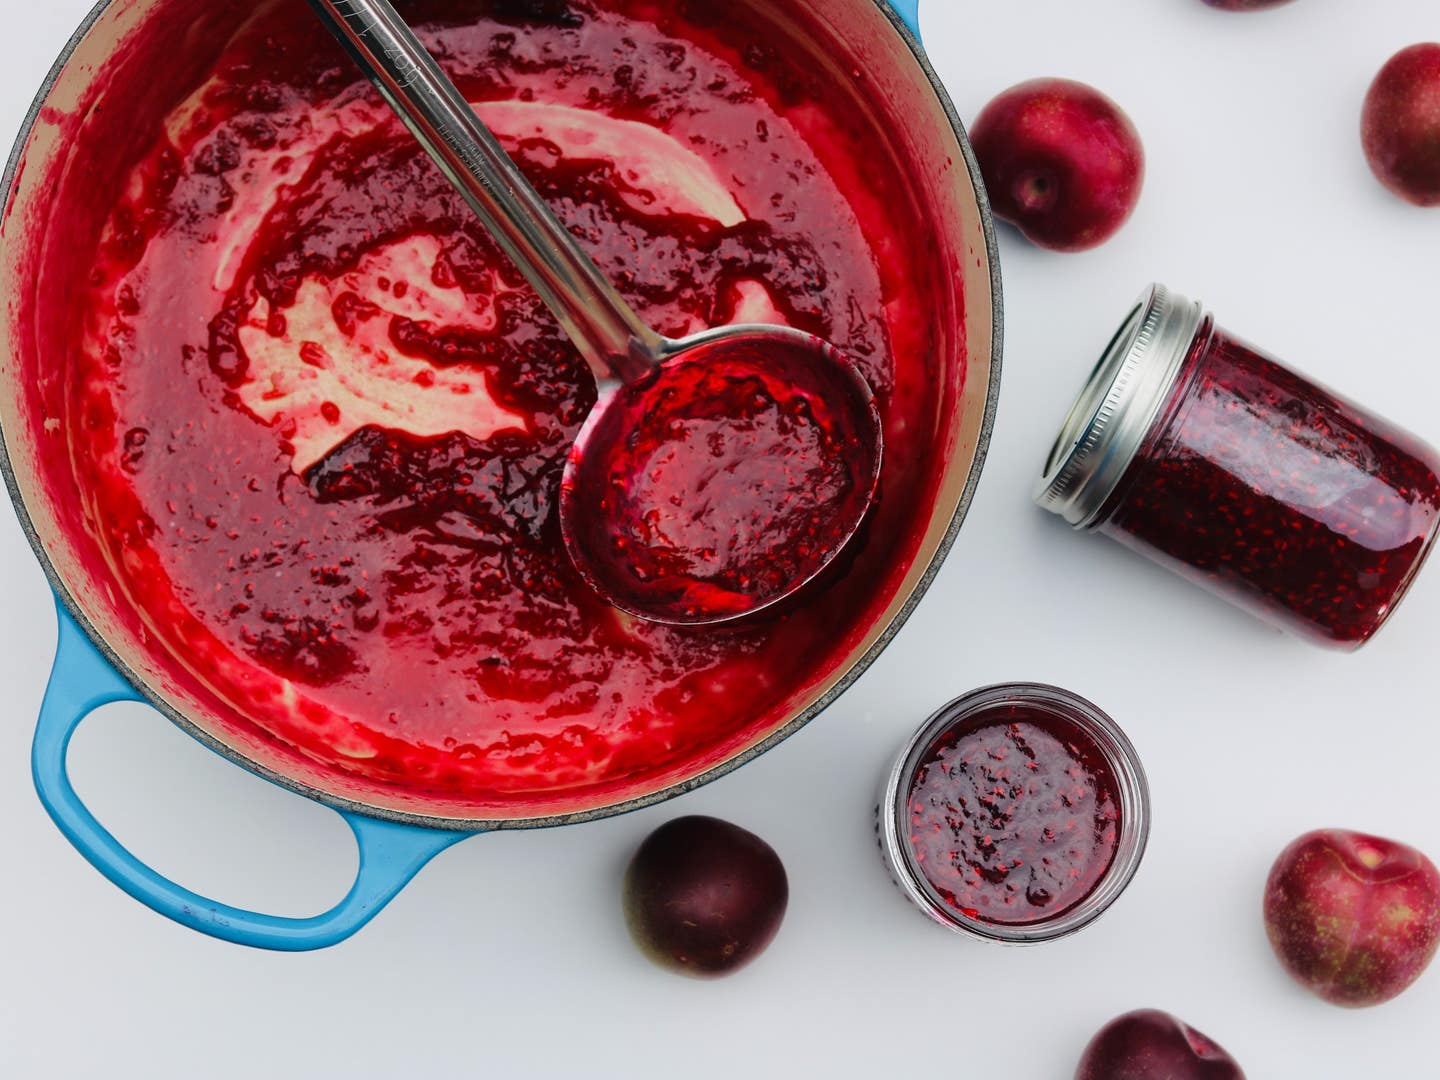
Pectin—a naturally occurring polysaccharide in fruit—is what makes jam gel. Different fruits naturally contain more or less pectin, so, while you never need to worry about a Seville orange marmalade or quince jelly getting a proper set (unless you undercook or overcook them), some low-pectin fruits, like cherries and pears, don’t gel so easily.
High-pectin fruits include apples, citrus, currants, cranberries, gooseberries, plums, and quince. On the lower end of the pectin spectrum are blueberries, cherries, peaches, pears, and strawberries. You must also take the fruit’s degree of ripeness into account, however. The riper the fruit, the less natural pectin it contains. For the best jams and jellies, aim for a mixture of 75% perfectly ripe fruit and 25% slightly underripe fruit.
This recipe, which can be adjusted to feature a variety of different fruits, is adapted from the basic jam recipe in Camilla Wynne’s book Jam Bake: Inspired Recipes for Creating and Baking with Preserves.
Featured in: "How to Quickly and Safely Can Jams and Jellies."
Ingredients
- 1 lb. 1½ oz. raspberries (3¾ cups)
- 1 lb. 1½ oz. pitted plums, finely chopped (3 cups)
- 1 lb. 3 oz. sugar (2½ cups)
- 3 tbsp. fresh lemon juice
- 2 small cinnamon sticks
- 3 star anise pods
Instructions
Step 1
Step 2
Step 3
Step 4
- To a large bowl, add the berries, plums, sugar, lemon juice, cinnamon, and star anise, and toss to combine. Cover and mascerate for at least 15 minutes or up to 1 week. (If mascerating for longer than 24 hours, transfer to the fridge.)
- Sanitize your jars: Preheat the oven to 250°F. Wash three 8-ounce mason jars and place them upside down on a baking sheet, reserving your ring bands and unused snap lids. Transfer the jars to the oven and bake for at least 20 minutes.
- Meanwhile, make the jam: To a wide, heavy-bottomed pot, transfer the fruit mixture, then bring to a boil over medium-high heat and cook, stirring occasionally, until the bubbles are sputtering violently, the surface is glossy and jewel-like, and the jam is thick when stirred with a silicone spatula (this is the “setting point”), around 15–20 minutes. (The jam should slide off the spatula in sheets or clumps or try to cling to the spatula when you bring it to eye level. If you’re uncertain, pour a teaspoon of jam on an ice cold plate and place in the freezer for two minutes. Remove and run your finger through the jam. If it has formed a skin and parts evenly, it’s ready; if not, continue cooking 3–4 minutes more.
- When the jam is ready to be added to the jars, remove them from the oven and flip them over carefully. Working over the sheet pan and using a funnel or ladle, fill the jars to within ¼ to ⅛ inch of the rim. Tap the jars gently or use an air bubble remover, then wipe the rims clean of any drips or splatters. Place the snap lids on the jars and screw the ring bands on tightly. Once filled, invert the jars for 2 minutes, then flip right side up. Set aside and do not disturb for 24 hours; if canned properly, the jam will be hot enough to create a vacuum and seal the jars closed.
Keep Reading
Continue to Next Story
