How to Make Sprouted Seeds and Beans at Home
The power of germination compels you

By Farideh Sadeghin


Published on March 1, 2016

How to Make Homegrown Sprouts
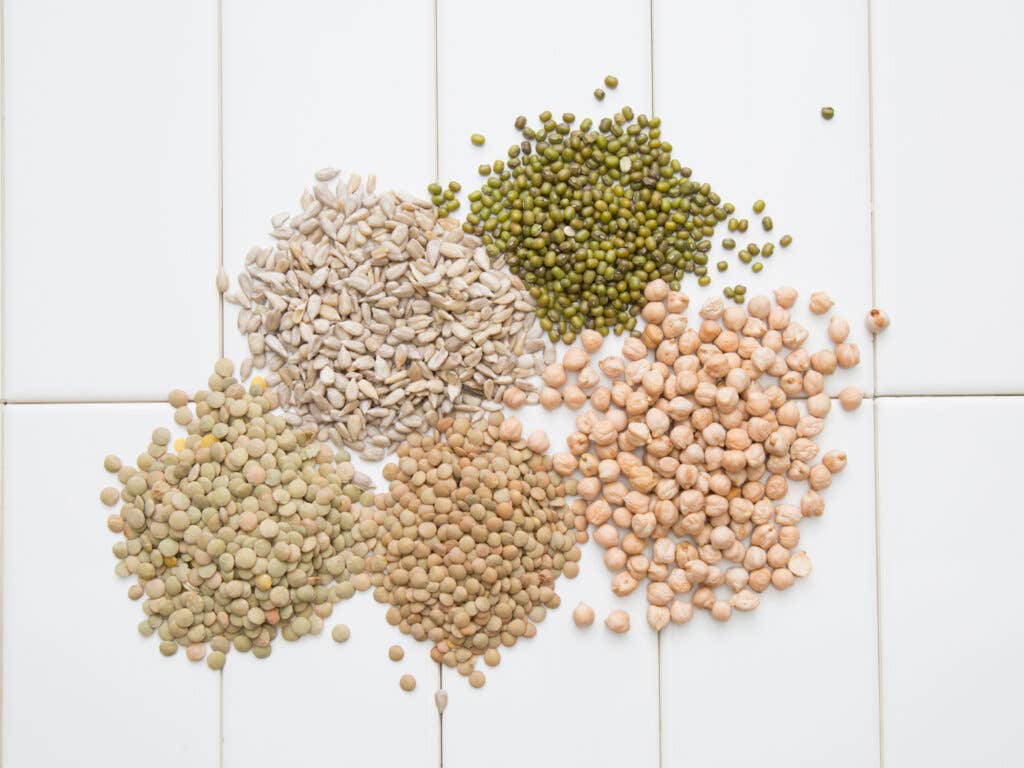
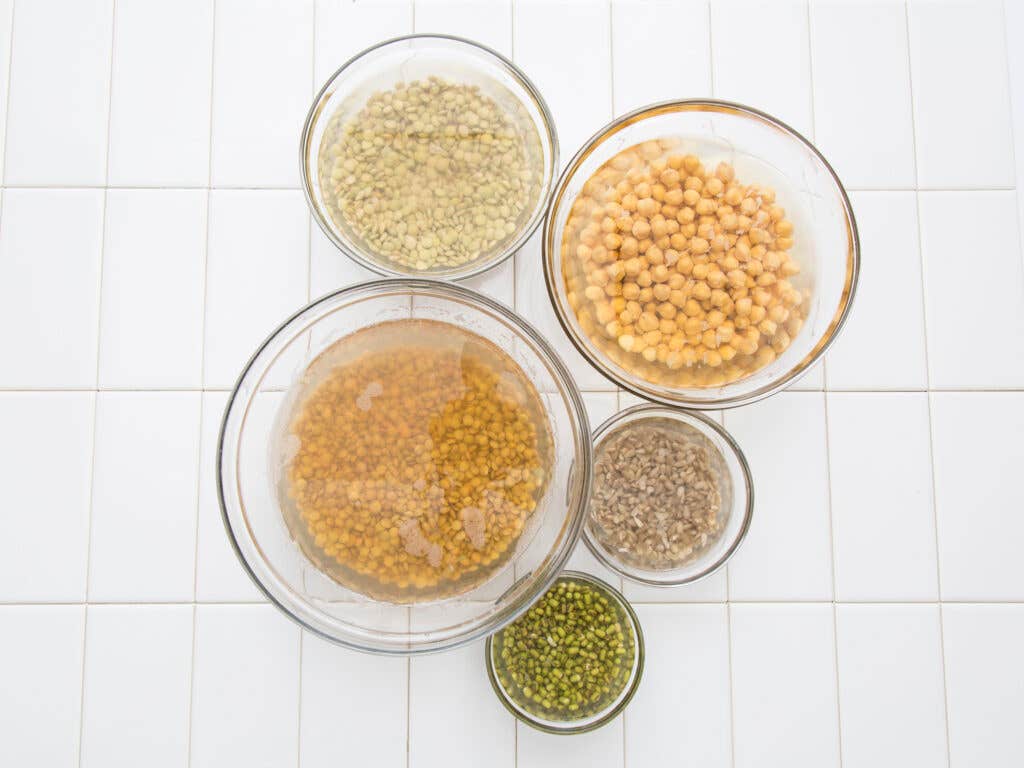
A variety of beans and seeds, waiting to be sprouted

Seeds of all sorts are at their most nutritious when they’re sprouting. Before they reach this phase, a growth inhibitor called phytic acid keeps vitamins, fiber, and other crucial nutrients locked within their shells, preventing us from absorbing them. This is why cooked dried lentils have only a tenth of the vitamin C of raw sprouted ones. All it takes to dissolve the phytic acid and allow the plants to start growing is a little soak in water. Once you see those telltale green sprouts, you know the seeds will pack a nutrient punch.
How to Make Homegrown Sprouts
Beans and seeds in water

With a little bit of planning and patience, you can grow your own sprouts at home quite easily, without much effort or equipment. Start with 2 cups of any seed or dried legume—chickpeas, lentils, black-eyed peas, or sunflower seeds—and soak them in water for 8 to 12 hours or overnight.
Sprouts undergoing transformation
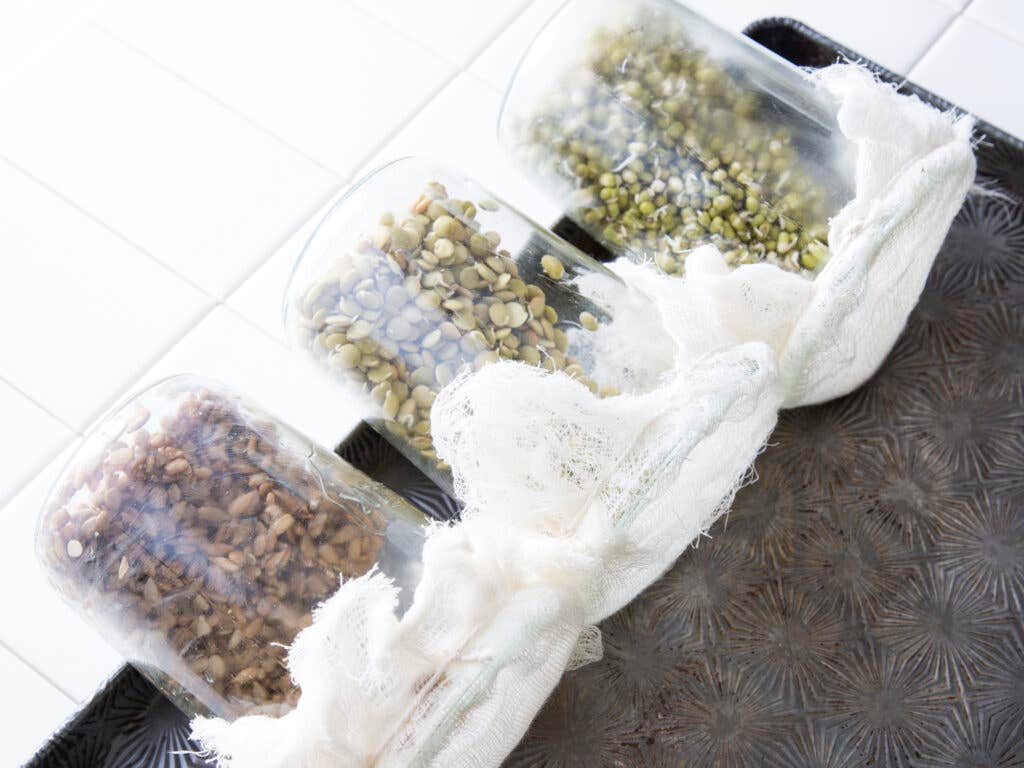
Sprouts undergoing germination

The next day, drain the legumes almost completely, leaving the last few trickles of water behind. Transfer them to a large, cylindrical container and cover the opening with cheesecloth secured with a rubber band or string. Lay the container on its side on a rimmed baking sheet, propping the bottom of the container on the rim of the baking sheet so it gently slopes downward and the legumes fall naturally into a shallow, even layer in the container. Allow the legumes to sit like this for at least 12 hours and then fill the container with water again, drain immediately, and reposition the container on the baking sheet (this ensures the legumes stay hydrated).

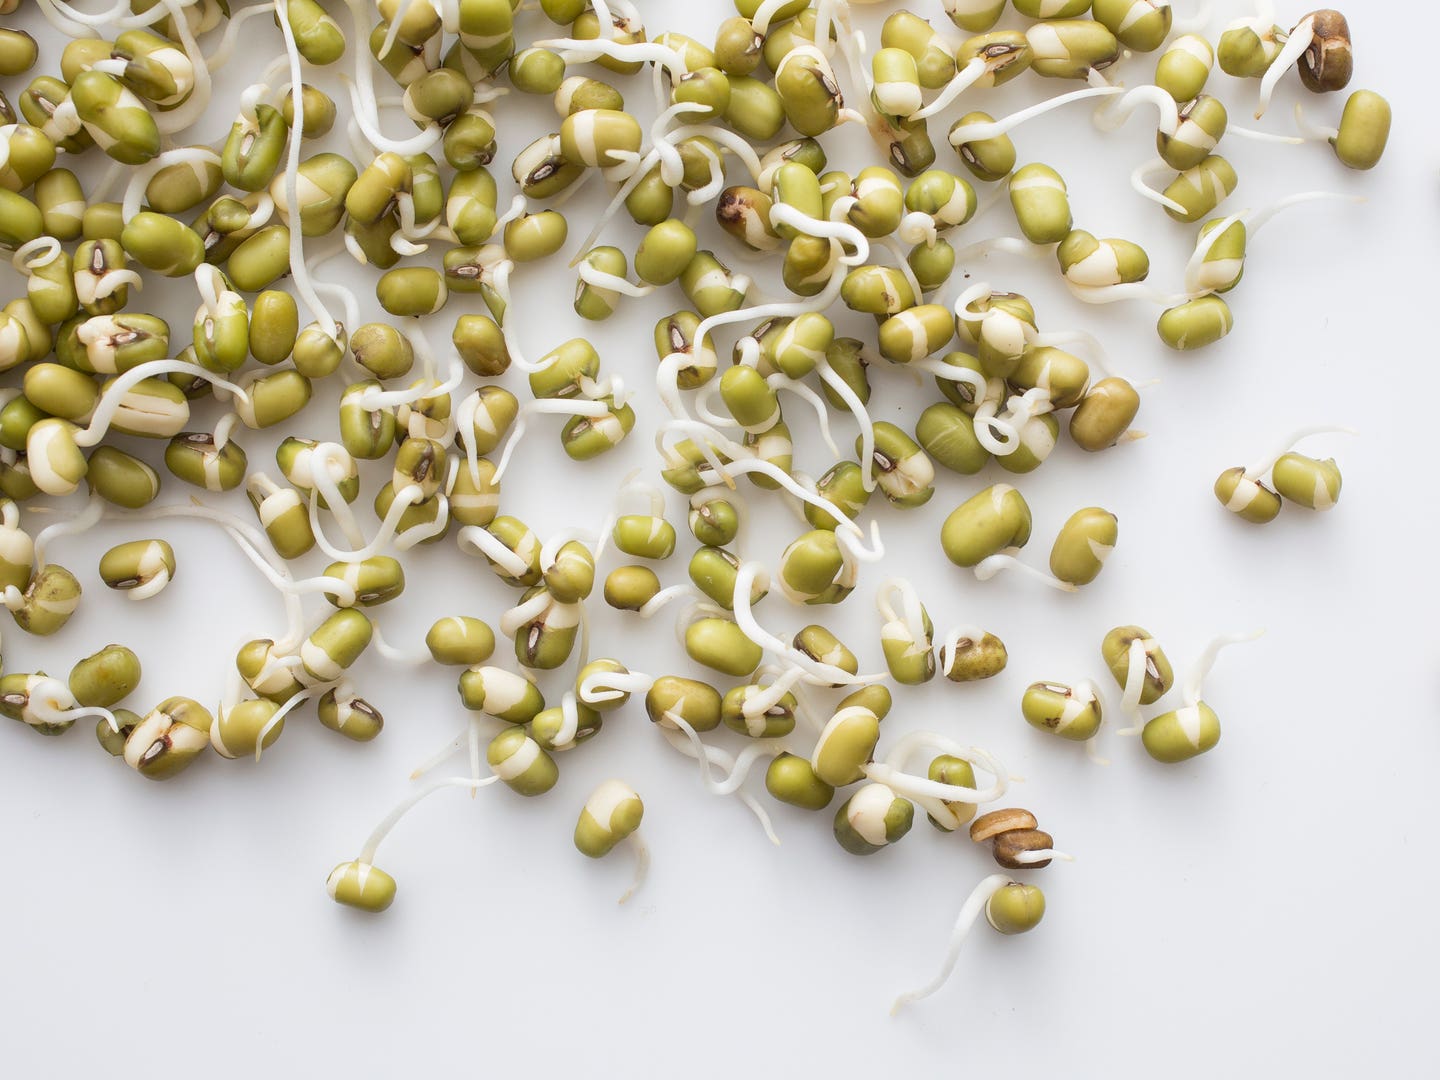
Sprouted Mung Beans
Sprouted Mung Beans

Sprouted Mung Beans

Let the legumes sit for another 12 hours; by then they should have sprouted little tails. You can use the sprouted legumes immediately or transfer them, still covered in cheesecloth to allow them to breathe, to the refrigerator and store them for about 5 days.

For more on the power of sprouts—plus recipes for using them—see Give Beans a Fresher Flavor by Sprouting Them »

Sprouted Mung Beans

Sprouted Mung Beans
MATT TAYLOR-GROSS
Techniques

How to Make Sprouted Seeds and Beans at Home

The power of germination compels you

By Farideh Sadeghin


Published on March 1, 2016

How to Make Homegrown Sprouts
A variety of beans and seeds, waiting to be sprouted

Seeds of all sorts are at their most nutritious when they’re sprouting. Before they reach this phase, a growth inhibitor called phytic acid keeps vitamins, fiber, and other crucial nutrients locked within their shells, preventing us from absorbing them. This is why cooked dried lentils have only a tenth of the vitamin C of raw sprouted ones. All it takes to dissolve the phytic acid and allow the plants to start growing is a little soak in water. Once you see those telltale green sprouts, you know the seeds will pack a nutrient punch.

How to Make Homegrown Sprouts
Beans and seeds in water

With a little bit of planning and patience, you can grow your own sprouts at home quite easily, without much effort or equipment. Start with 2 cups of any seed or dried legume—chickpeas, lentils, black-eyed peas, or sunflower seeds—and soak them in water for 8 to 12 hours or overnight.

Sprouts undergoing transformation
Sprouts undergoing germination

The next day, drain the legumes almost completely, leaving the last few trickles of water behind. Transfer them to a large, cylindrical container and cover the opening with cheesecloth secured with a rubber band or string. Lay the container on its side on a rimmed baking sheet, propping the bottom of the container on the rim of the baking sheet so it gently slopes downward and the legumes fall naturally into a shallow, even layer in the container. Allow the legumes to sit like this for at least 12 hours and then fill the container with water again, drain immediately, and reposition the container on the baking sheet (this ensures the legumes stay hydrated).

Sprouted Mung Beans
Sprouted Mung Beans

Sprouted Mung Beans

Let the legumes sit for another 12 hours; by then they should have sprouted little tails. You can use the sprouted legumes immediately or transfer them, still covered in cheesecloth to allow them to breathe, to the refrigerator and store them for about 5 days.

For more on the power of sprouts—plus recipes for using them—see Give Beans a Fresher Flavor by Sprouting Them »

Continue to Next Story

Want more SAVEUR?

Get our favorite recipes, stories, and more delivered to your inbox.