How to Make Farinata—Italy’s Savory Chickpea Pancake
Start with Fresh Pantry Ingredients
Unlike more delicate wheat-based breads and pastries, a farinata is made up of boldly flavored ingredients, so freshness is important here. Like all other unrefined flours, chickpea flour is best consumed within 1 year of milling. To retain its freshness, store in a non-absorbent, airtight container in a cool, dry place for up to 6 months, or in the freezer for up to a year. Before using, give it a sniff; if you detect a hint of rancidity, or notice any mites or moths, replace it.
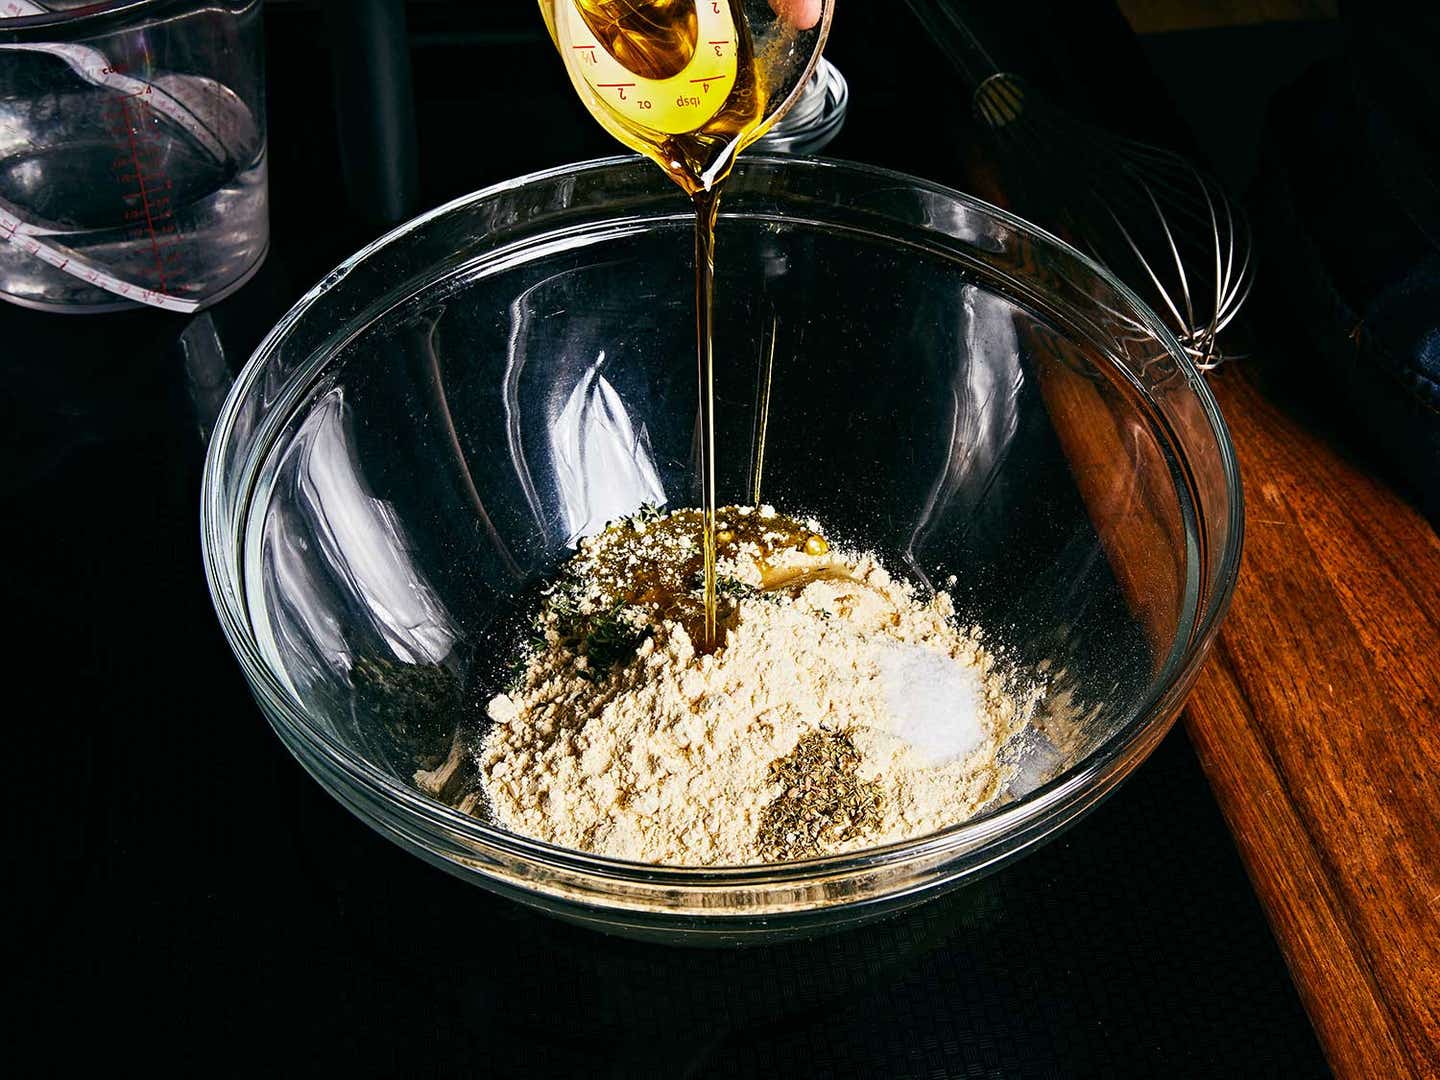
Two other pantry ingredients are key to the batter: extra-virgin olive oil—use a robust Mediterranean style for peppery richness—and dried herbs. Thyme and oregano retain plenty of their aroma when dried, so I often rely on them even in the summer. Take note that olive oil should be stored in a cool dry place for no longer than 2 years and dried herbs for no longer than 6 months.
Make the Batter in Advance
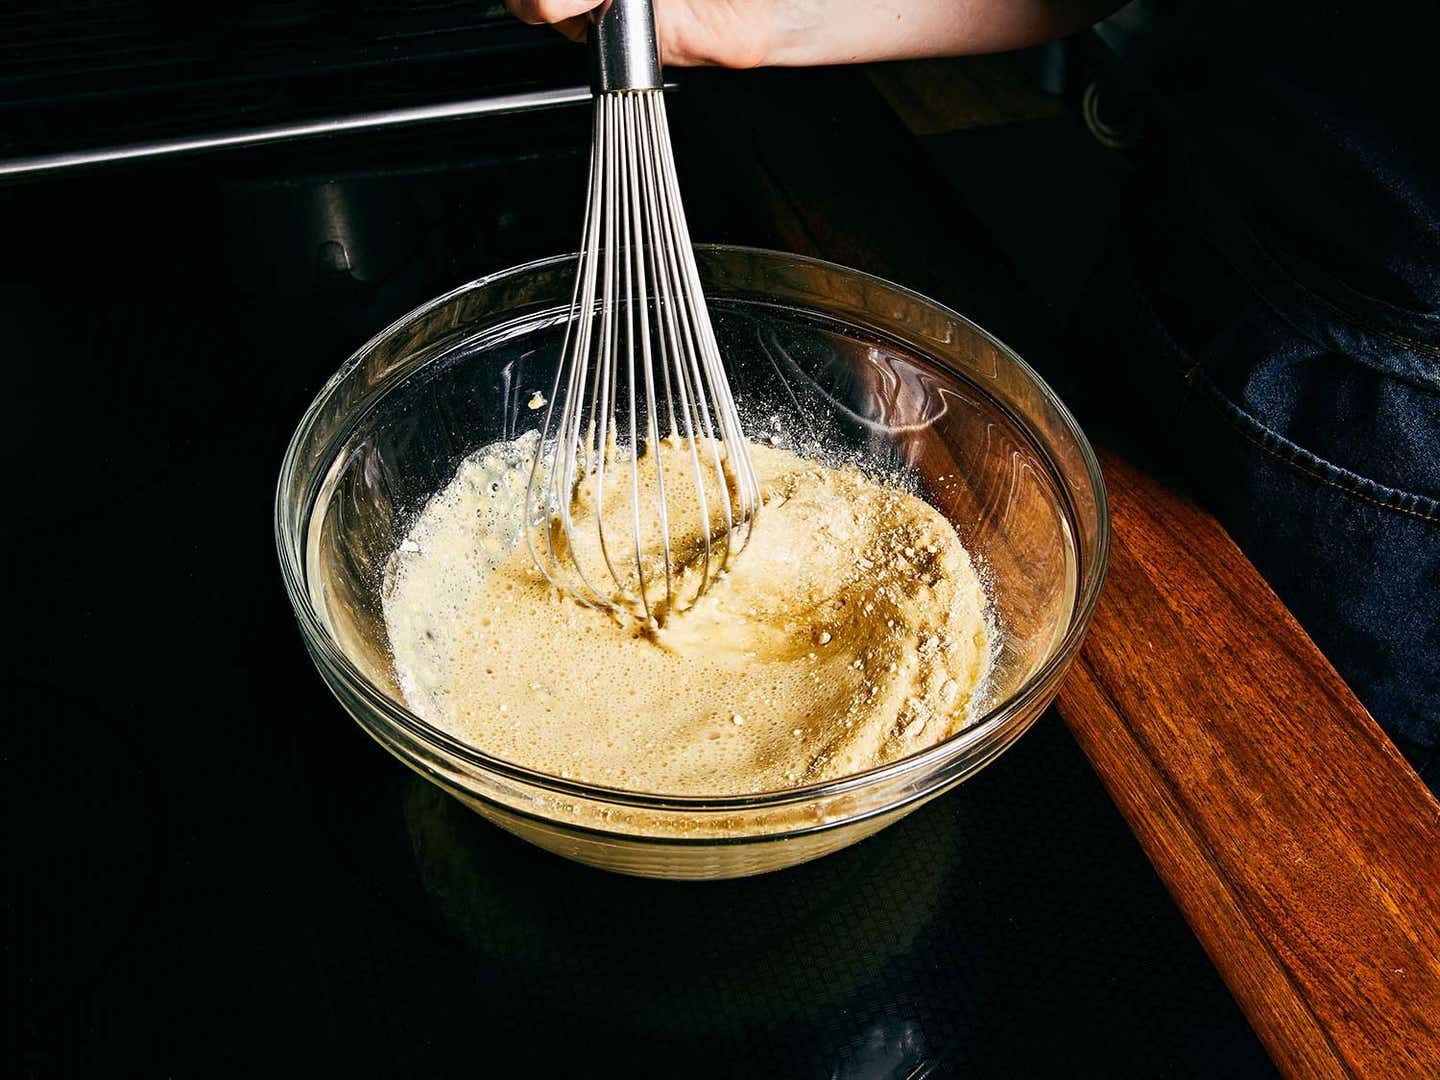
At least half an hour before you plan to cook the farinata, make the simple batter. This will allow the grains of chickpea flour to fully hydrate, resulting in a creamy, slightly fudgy texture at the pancake’s center. Season the batter generously with salt, as the legumes absorb a great deal of flavor.
The batter can be stored at room temperature for up to 12 hours, so consider mixing it before work in the morning for a quick and easy dinner.
Keep the Summer Squash Chunky
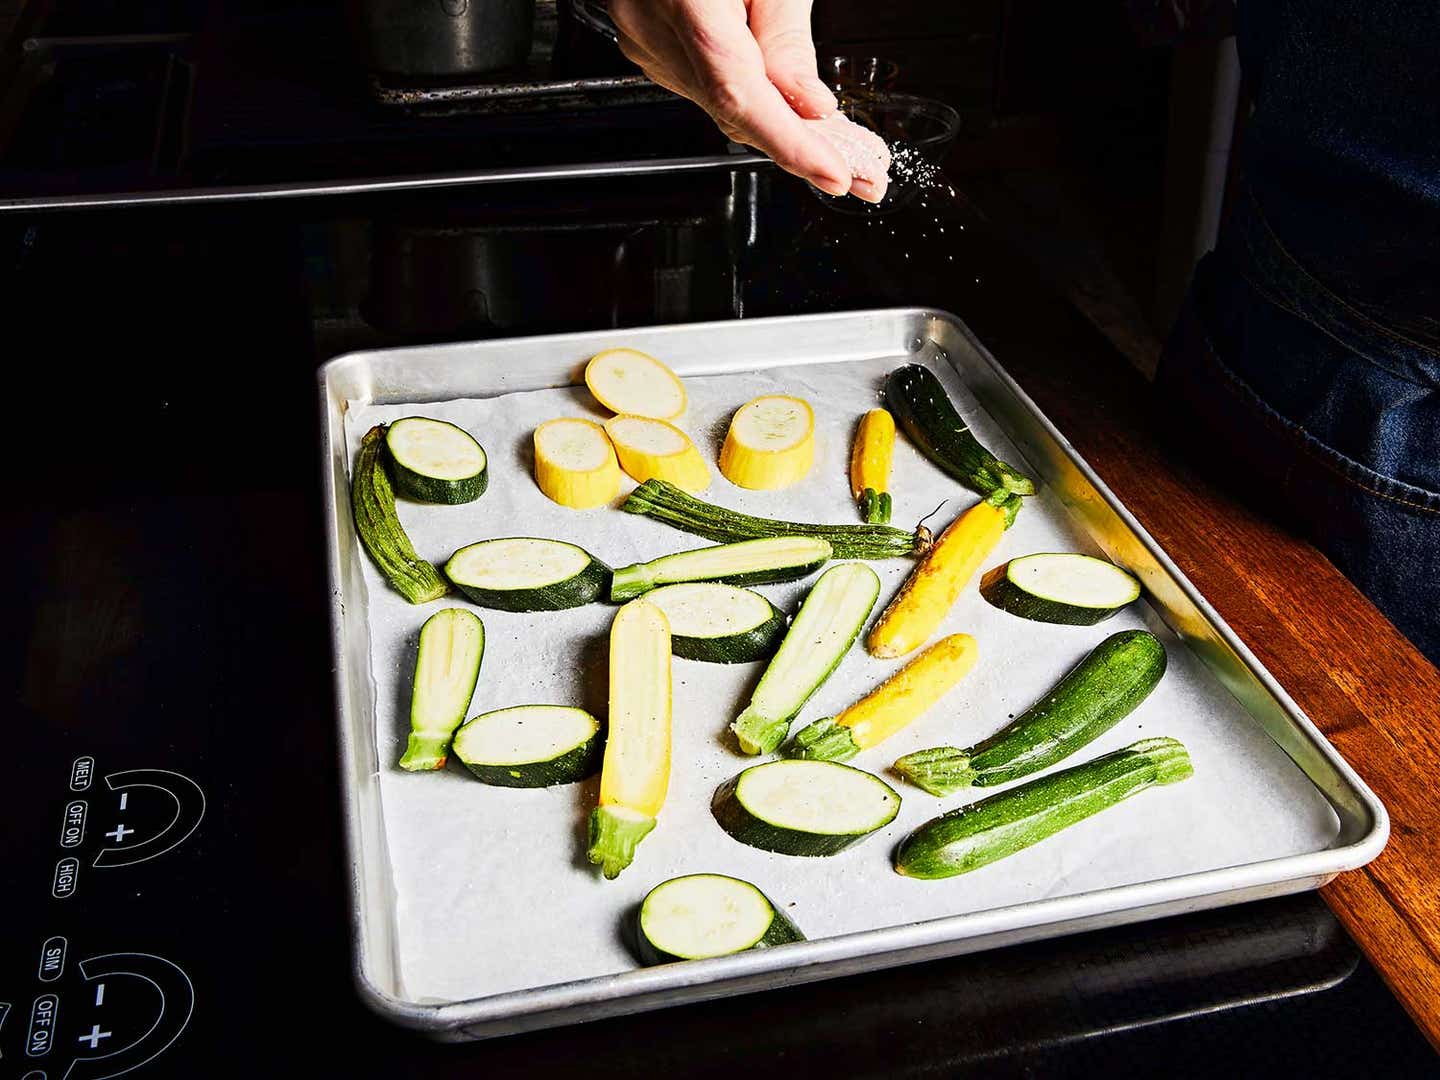
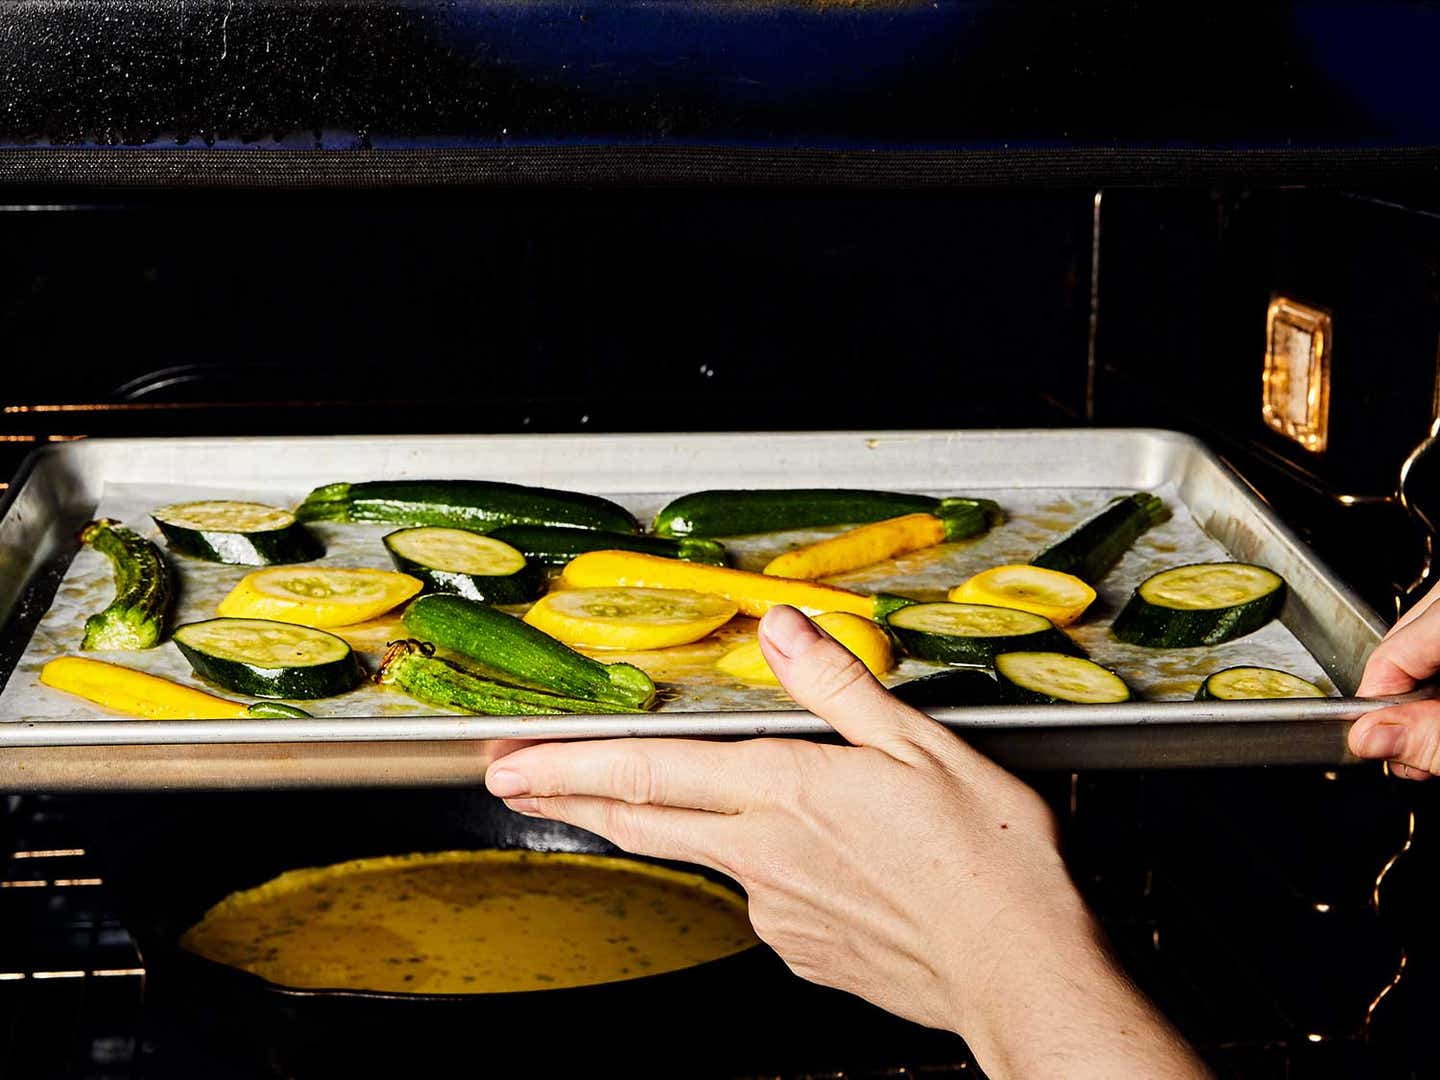
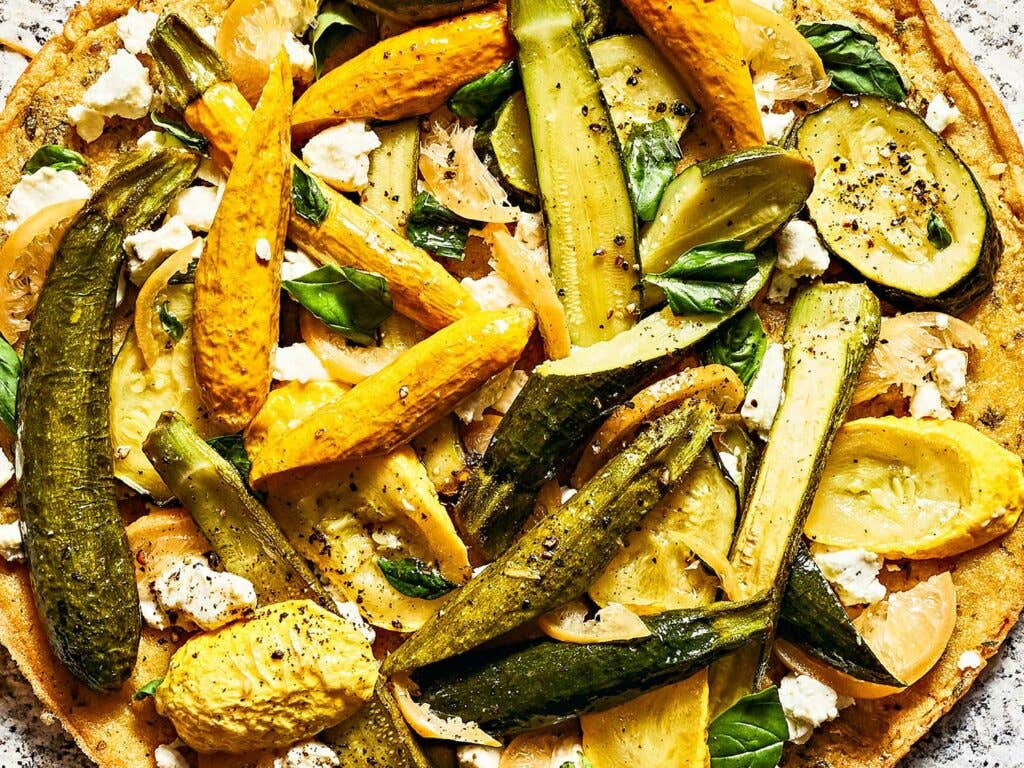
While the batter rests, prepare the vegetables for roasting. Summer squash can turn watery if allowed to cook slowly; to prevent this, cut into chunks, oil liberally, and spread out on a large baking sheet with plenty of space in between each piece. A quick roast in a hot oven will soften and lightly brown the vegetables without turning them to mush.
Preheat Your Cast-Iron Skillet
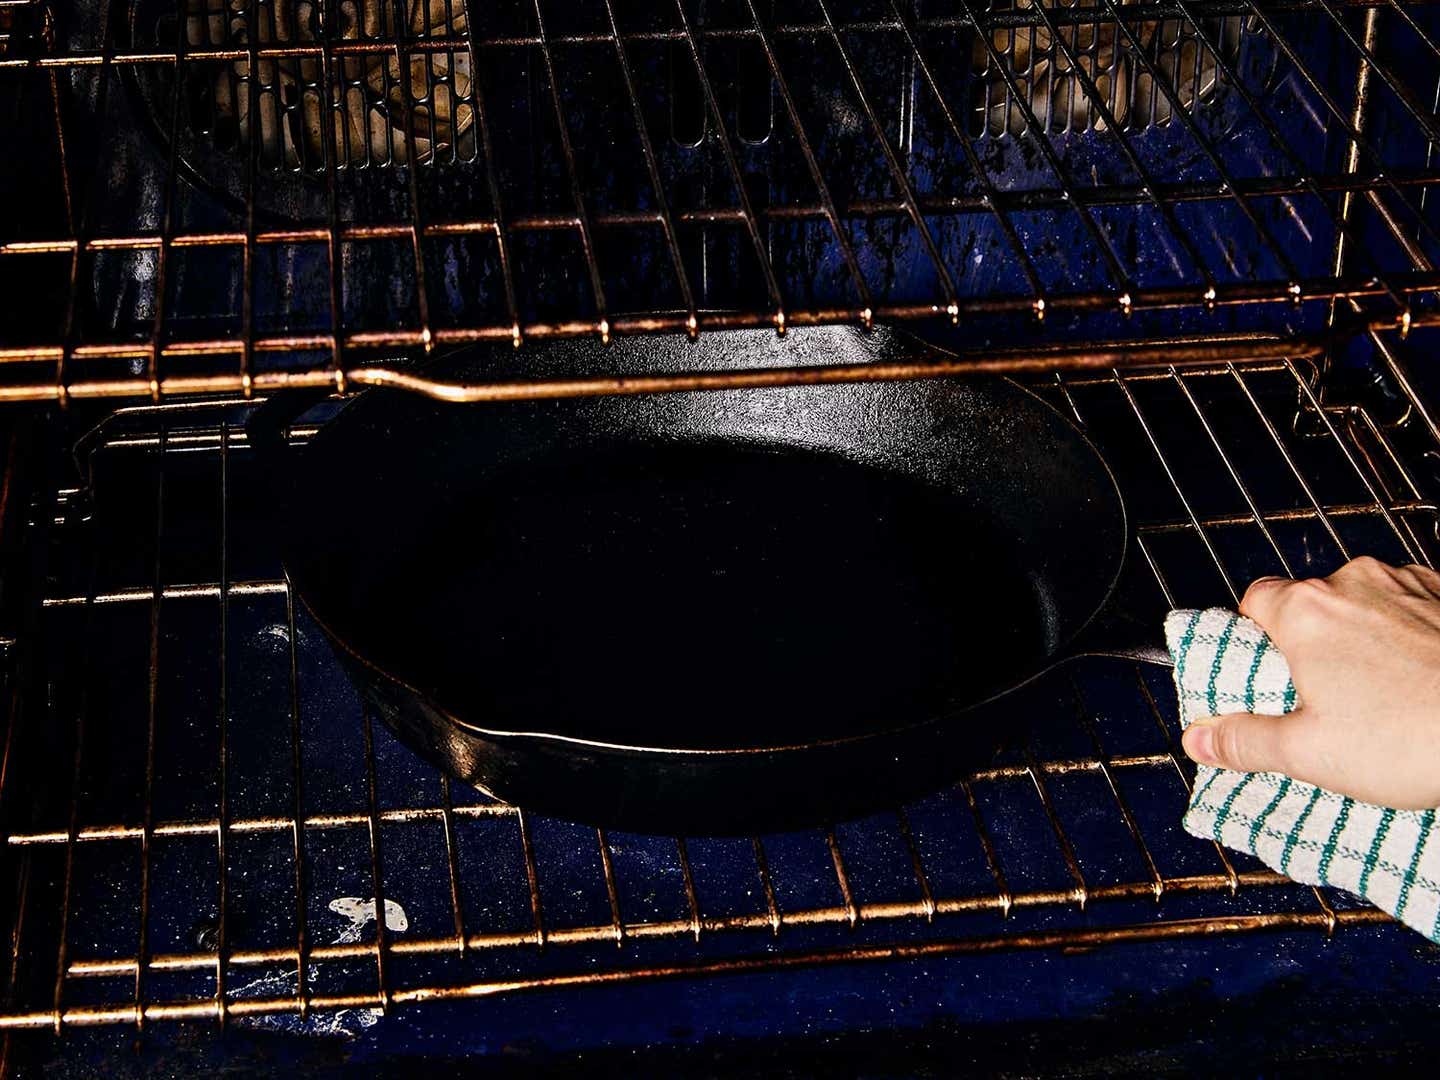
Place a large, well-seasoned cast-iron skillet in a cold oven and allow them to preheat to 425°F together. While a farinata is traditionally baked in a thick layer in a copper pan, we used a wide skillet to create a thinner pancake. The more equal ratio of pillowy core to crispy exterior gives it a sturdier texture that’s better suited for supporting a heap of roasted vegetables.
Preheat the Oil
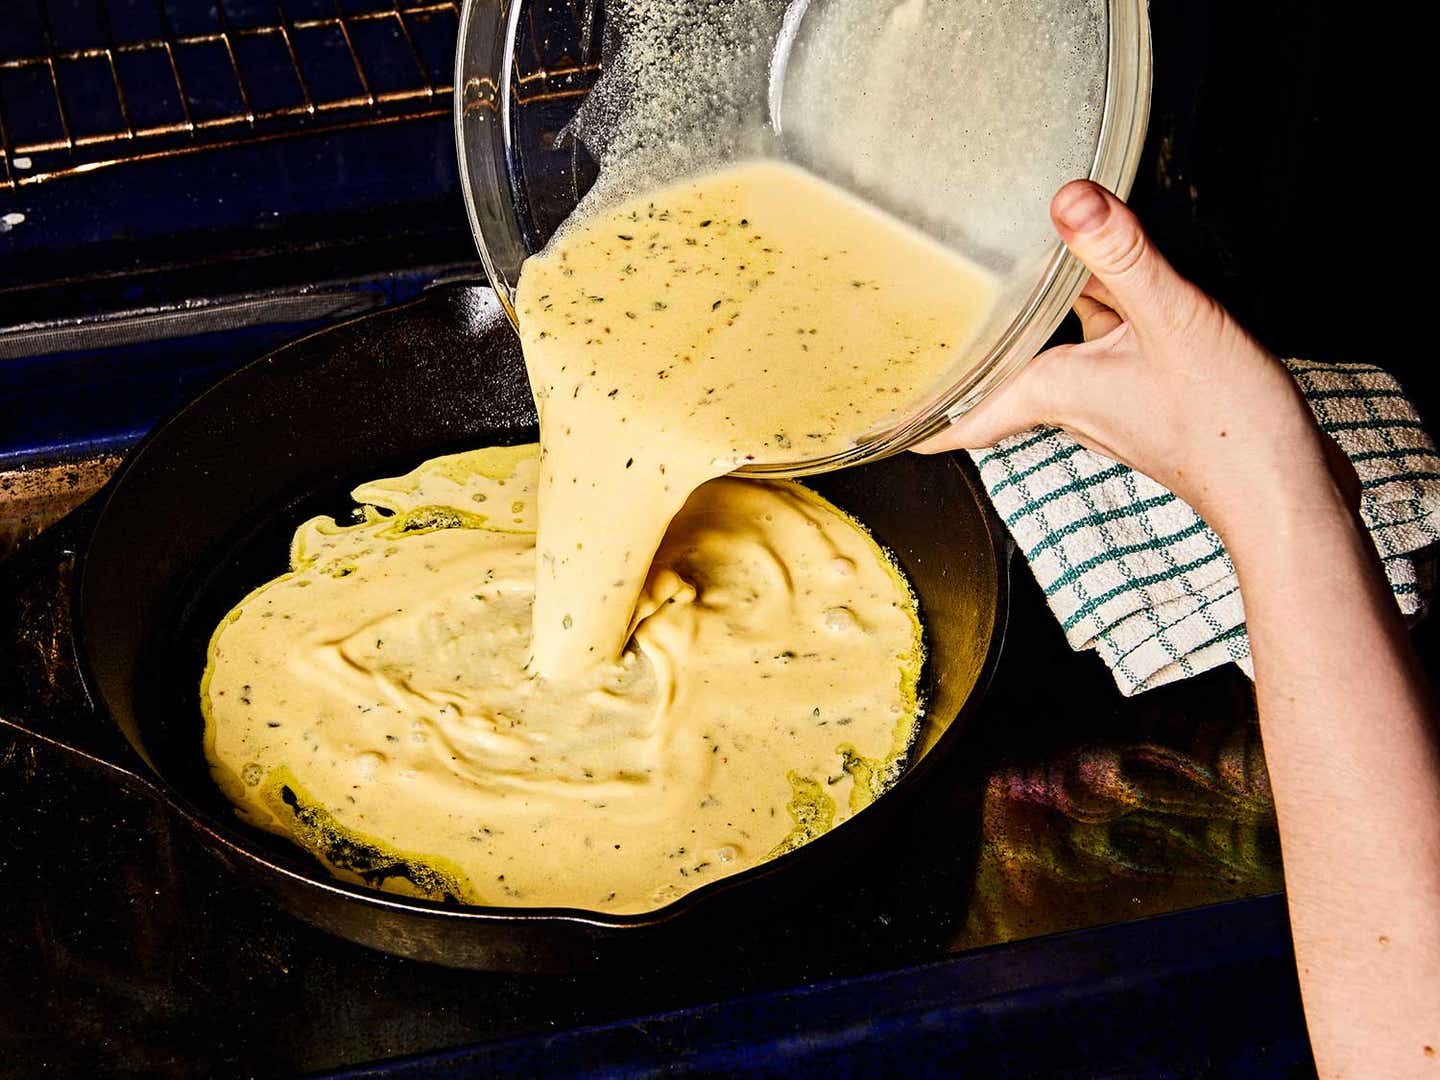
Once the skillet and oven are very hot, add a thin layer of olive oil and swirl it around to coat. Return to the oven, close the door, and allow the oil to heat for a few minutes. When the oil is very hot and just beginning to smoke, carefully pour in the batter. The hot skillet may sizzle as you pour; avoid burning yourself by keeping it on the rack or setting it on the oven door.
Swirl the Batter to an Even Layer
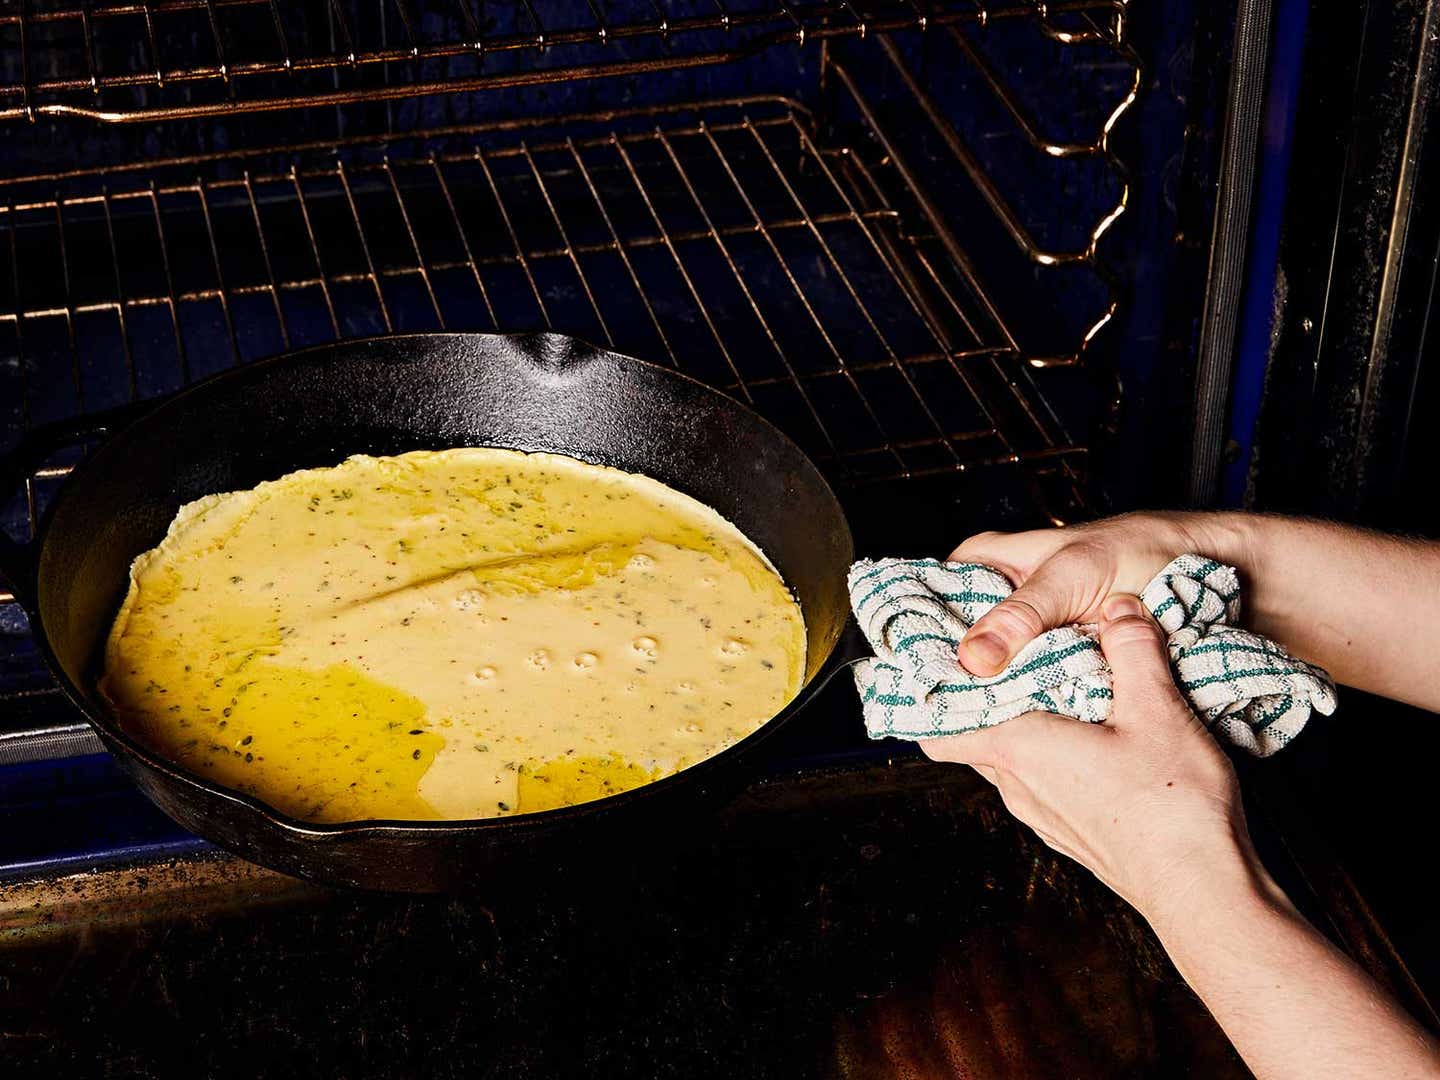
Before closing the oven door to bake, firmly grasp the handle of the skillet and tilt gently to swirl the batter into an even layer, allowing it to come up the edges slightly. When the farinata is unmolded, this step will create a slight lip around the perimeter of the crust, making the pancake more tart-like and helping to prevent any juices from spilling over the edges.
Roast the Vegetables as the Farinata Bakes
Cut into ½-inch chunks, the squash will cook perfectly in the time it takes the pancake to set and crisp. You can use the same method for eggplant or heirloom tomatoes, though depending on ripeness, the tomatoes will cook down to a sweet and jammy topping in about half the time.
Unmold the Farinata
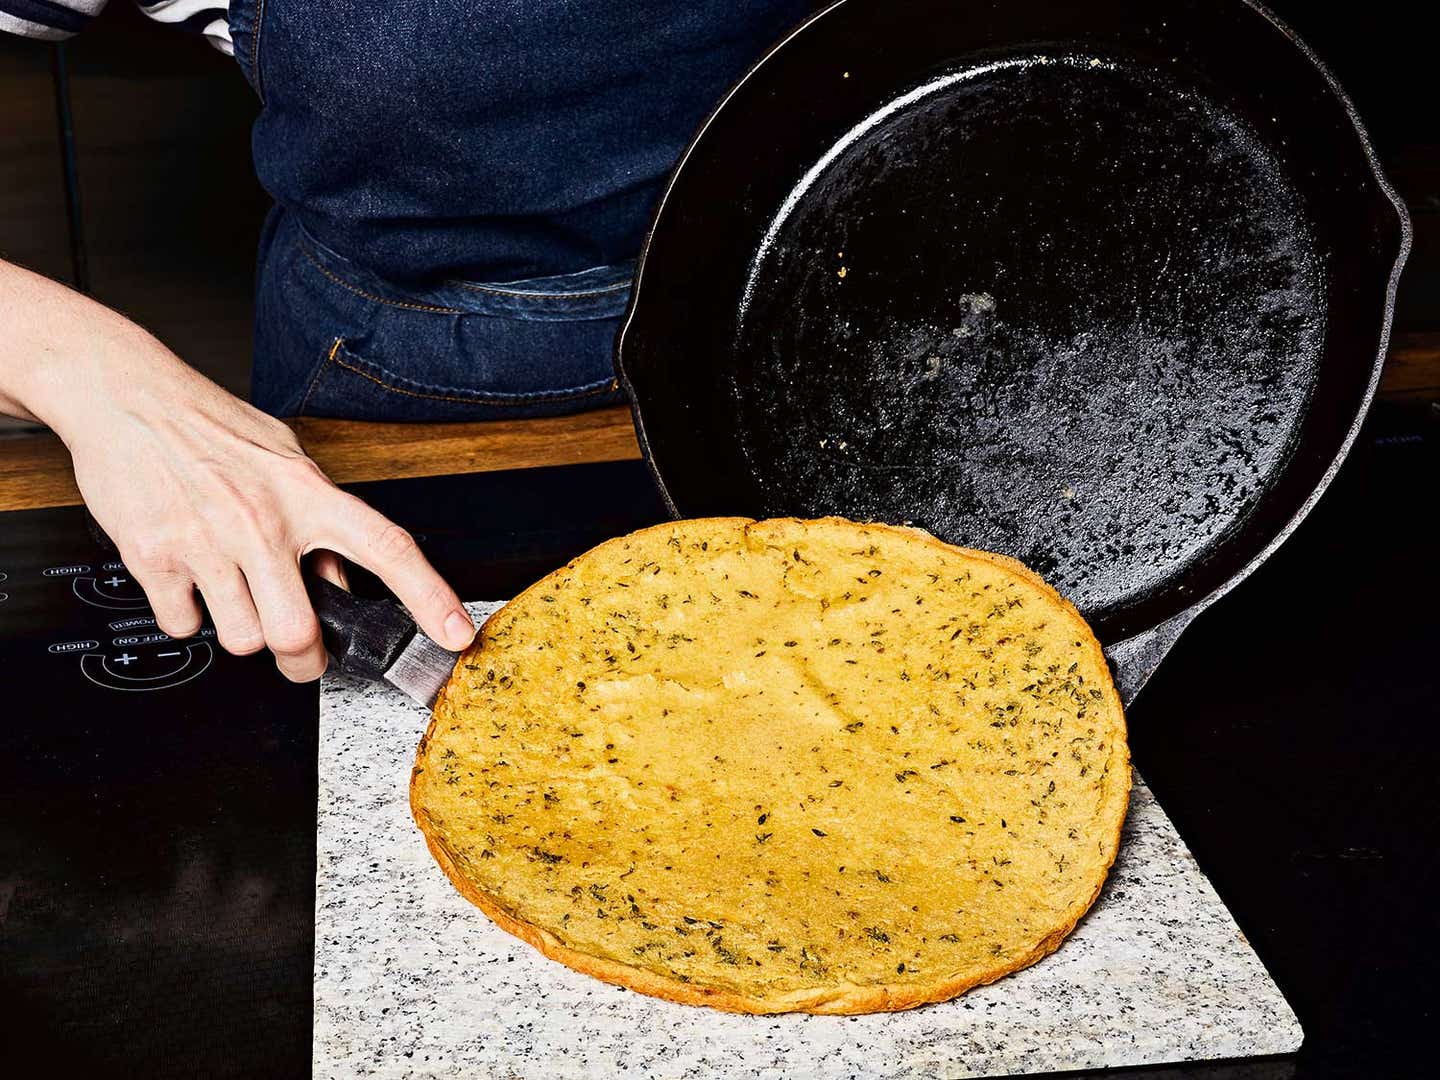
Allow the farinata to cool slightly in the pan—it will continue to cook and solidify as it rests. Run a thin offset metal spatula along the edge of the pancake, then tilt the skillet and use the spatula to gently slide it onto a large, flat platter or cutting board.
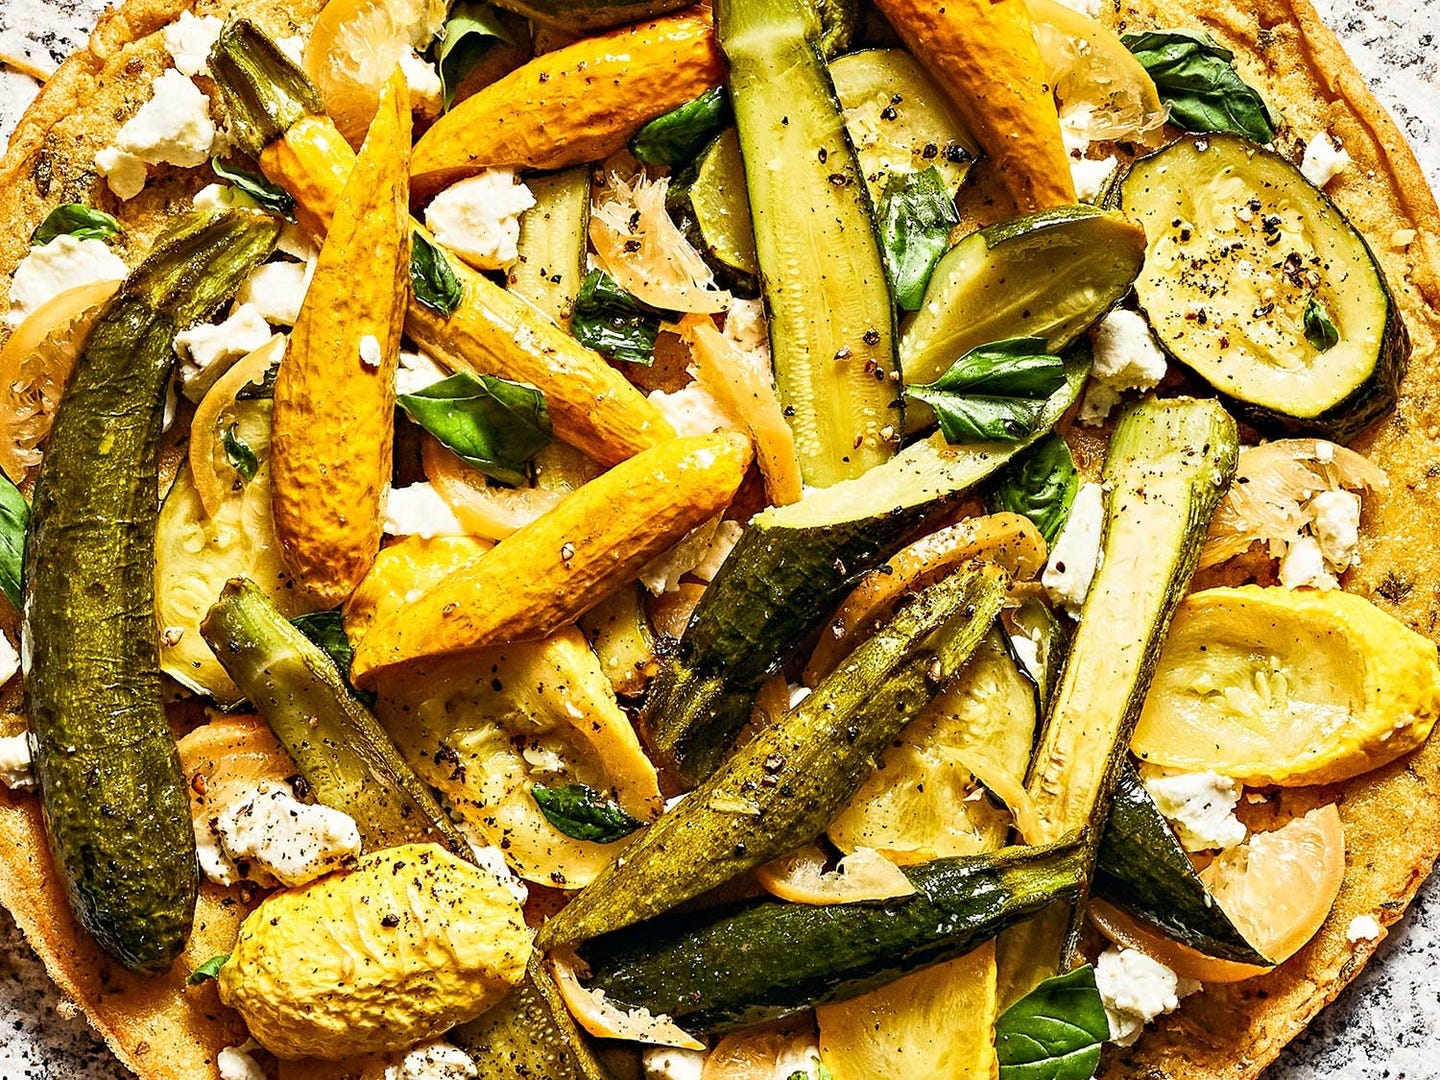
Top the Farinata
You can add the toppings while the crust is still warm or wait until it has cooled completely and serve at room temperature. If you bake the farinata more than an hour ahead of time, wrap the pancake tightly in plastic wrap to prevent it from drying out and recrisp in a hot skillet on the stovetop before topping. See the full recipe for Farinata with Summer Squash, Goat Cheese, and Preserved Lemon Recipe
Keep Reading
Continue to Next Story
