How to Cut Up a Whole Chicken
Our simple, step-by-step guide to breaking down a bird.

By Naomi Tomky


Updated on November 4, 2022

Buying a whole chicken always costs less than buying individual parts, and it gets you a few bonus parts that you’d otherwise miss out on, like the carcass and wingtips for stock. But for it to be worth the effort, you have to know how to cut up a whole chicken. Thankfully, professional butcher Kristina Glinoga now dedicates her time to helping people break down their own birds (and pigs, and more) on her Butchery 101 YouTube channel. Recently she shared her favorite simple method for removing the breasts, wings, and legs from a whole chicken.

What you need

BEFORE YOU BEGIN

Always check your chicken for any remaining innards, either fresh or packaged in plastic and stored in the body cavity.

STEP 1: Score the skin on the back of the bird.
Photography by Belle Morizio; Food Styling by Ryan McCarthy

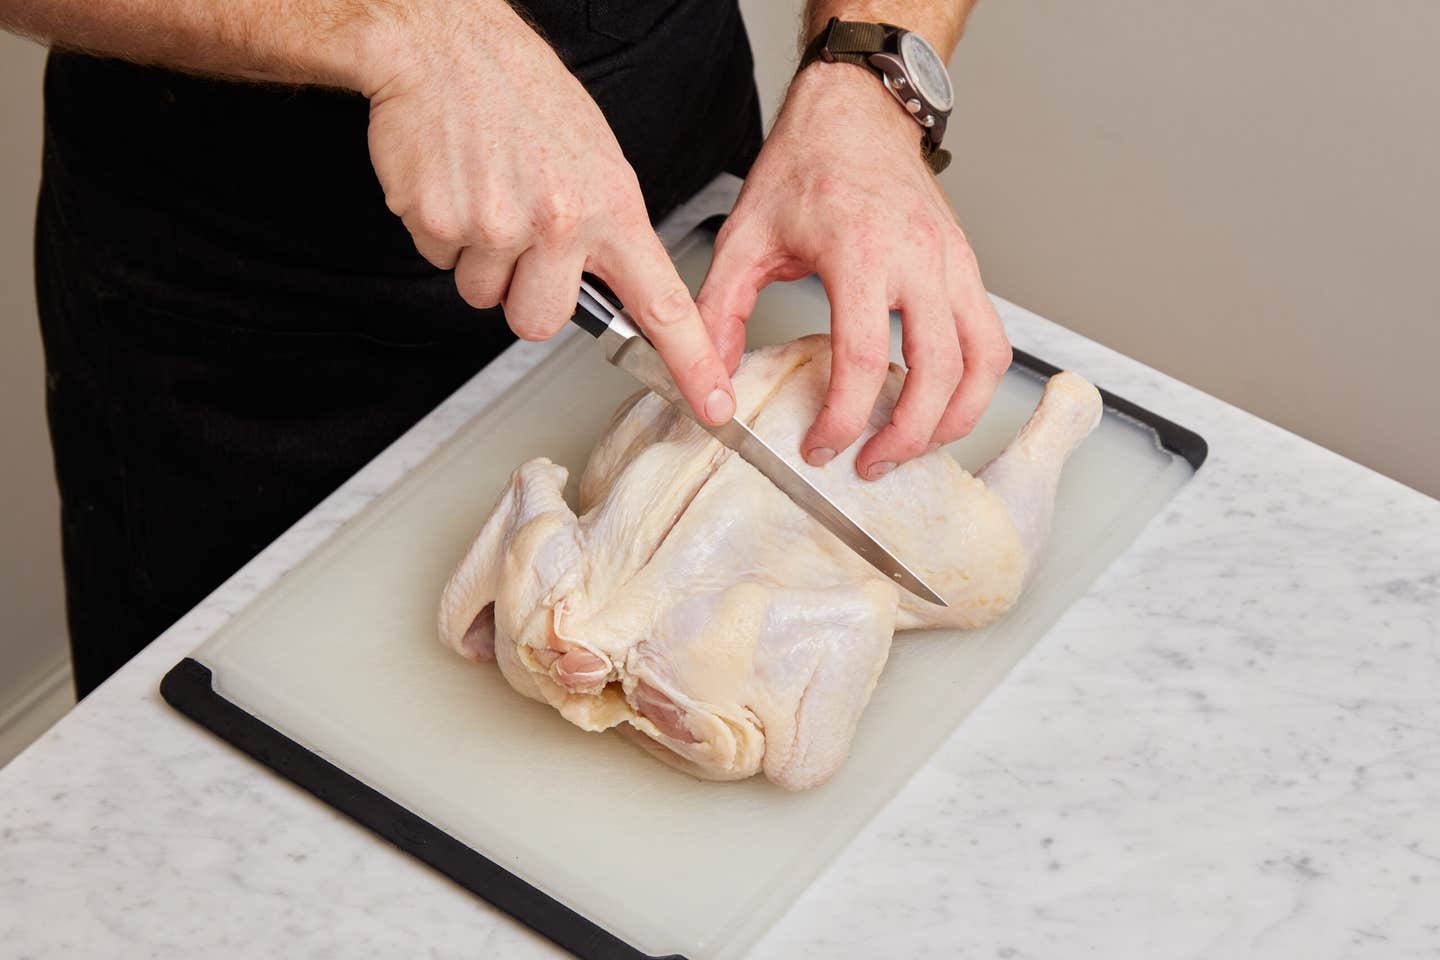
Set the bird on the cutting board so the breast side is down, the legs are pointing toward you and the wings point down at the cutting board. Score the skin straight down the middle of the two symmetrical sides, from the neck to the tail. Then cross that line, right in the middle, with a single cut that goes about halfway to either side of the bird. This will help you later in the process. 

STEP 2: Cut down both sides of the keel bone.
Photography by Belle Morizio; Food Styling by Ryan McCarthy

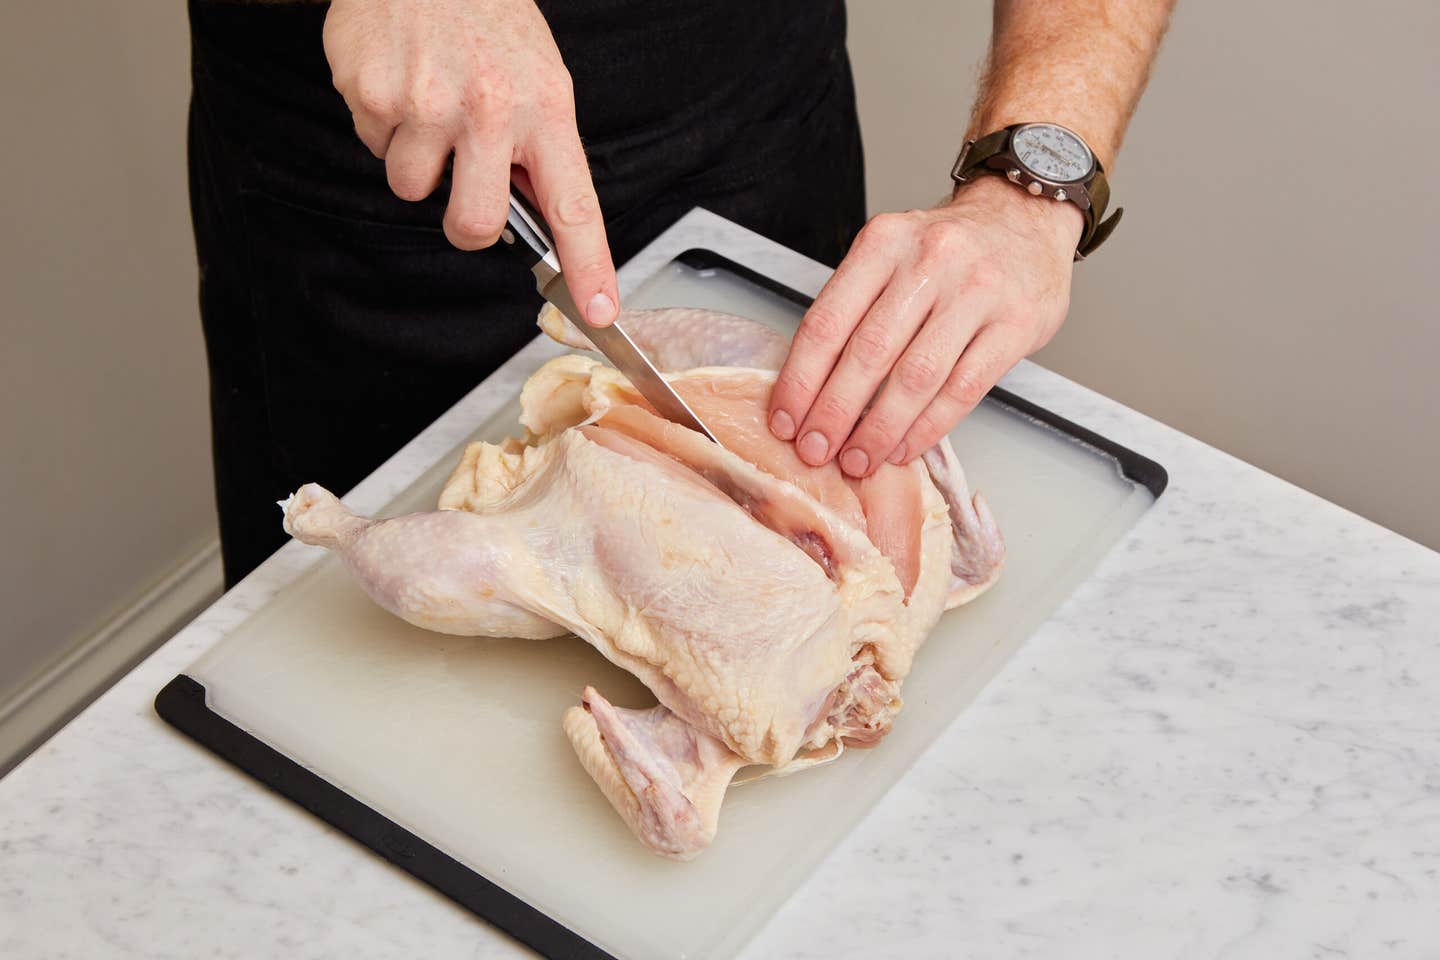
Flip the bird over, so that the breasts are facing up and the leg bones are pointing toward you. Feel for the keel bone, which runs straight down the center of your two symmetrical sides. Then, starting on one side, cut the meat away from the bone. "Use shallow, exploratory strokes that go the length from wishbone to breast tip," Glinoga describes. Continue cutting until the chicken is entirely open, then repeat on the other side of the keel bone.

STEP 3: Remove each half of the chicken from the carcass.
Photography by Belle Morizio; Food Styling by Ryan McCarthy

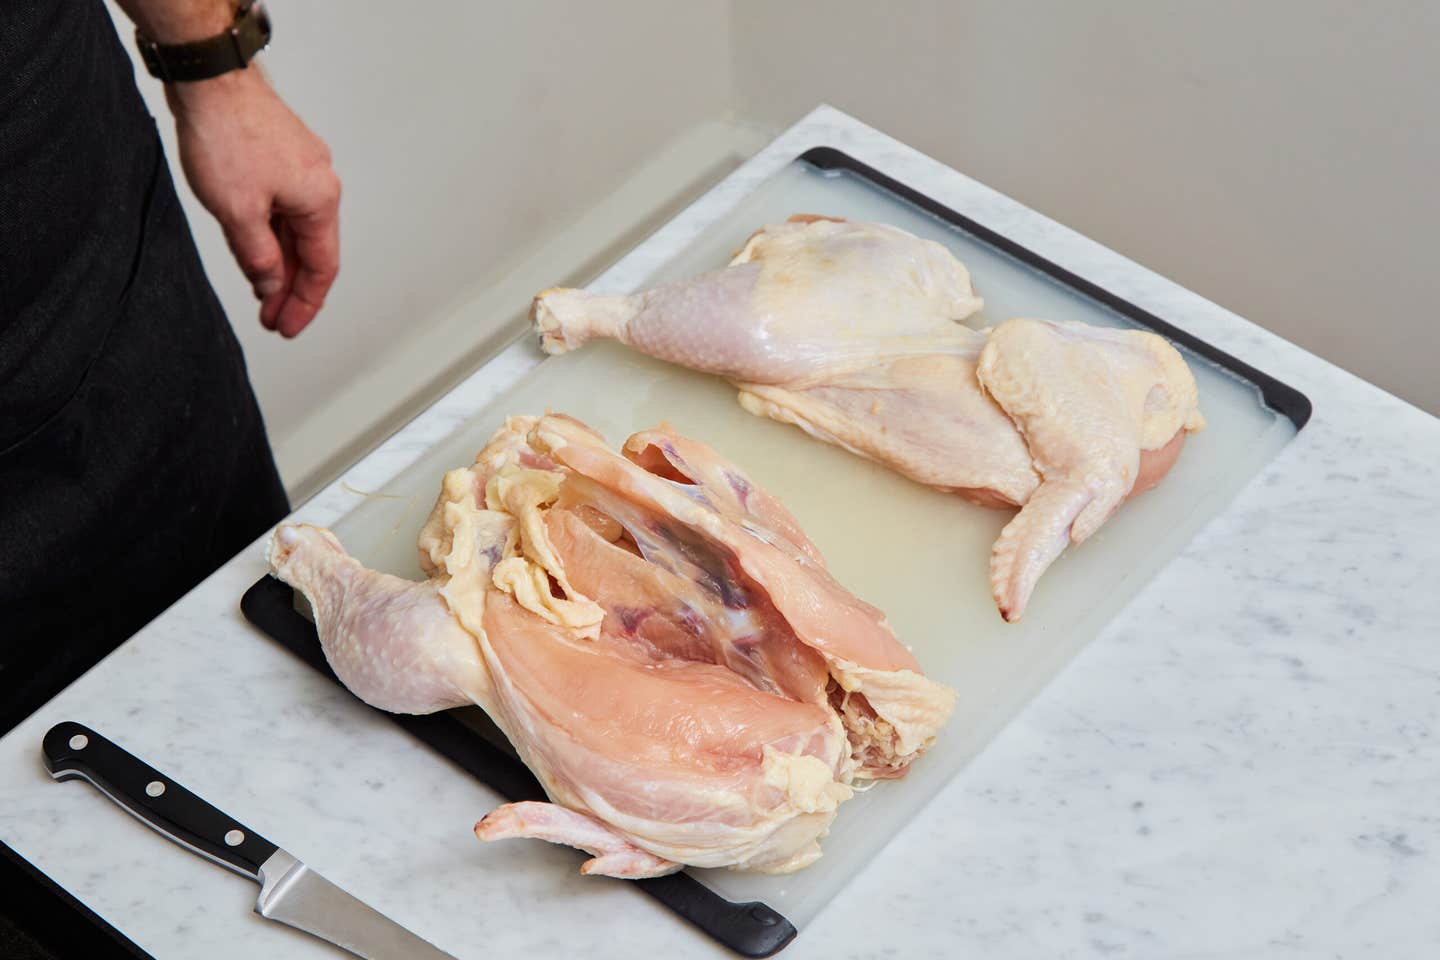
Fold the chicken over, like a book, down the center, so that the legs meet and the exposed meat and keel bone points out. Hold the top leg, the one you are removing, in one hand, using it to push and pull the meat away from the carcass. Use short, shallow knife strokes to just release the meat as your non-knife hand maneuvers it away from the rest of the body, continuing until that half, with leg, thigh, breast, and wing, are entirely separate from the carcass. "Your non-knife hand does just as much work," says Glinoga. "You have to get your hand a little dirty." Repeat on the second side. Set the carcass aside to use for stock.

STEP 4: Separate the breasts from the legs.
Photography by Belle Morizio; Food Styling by Ryan McCarthy

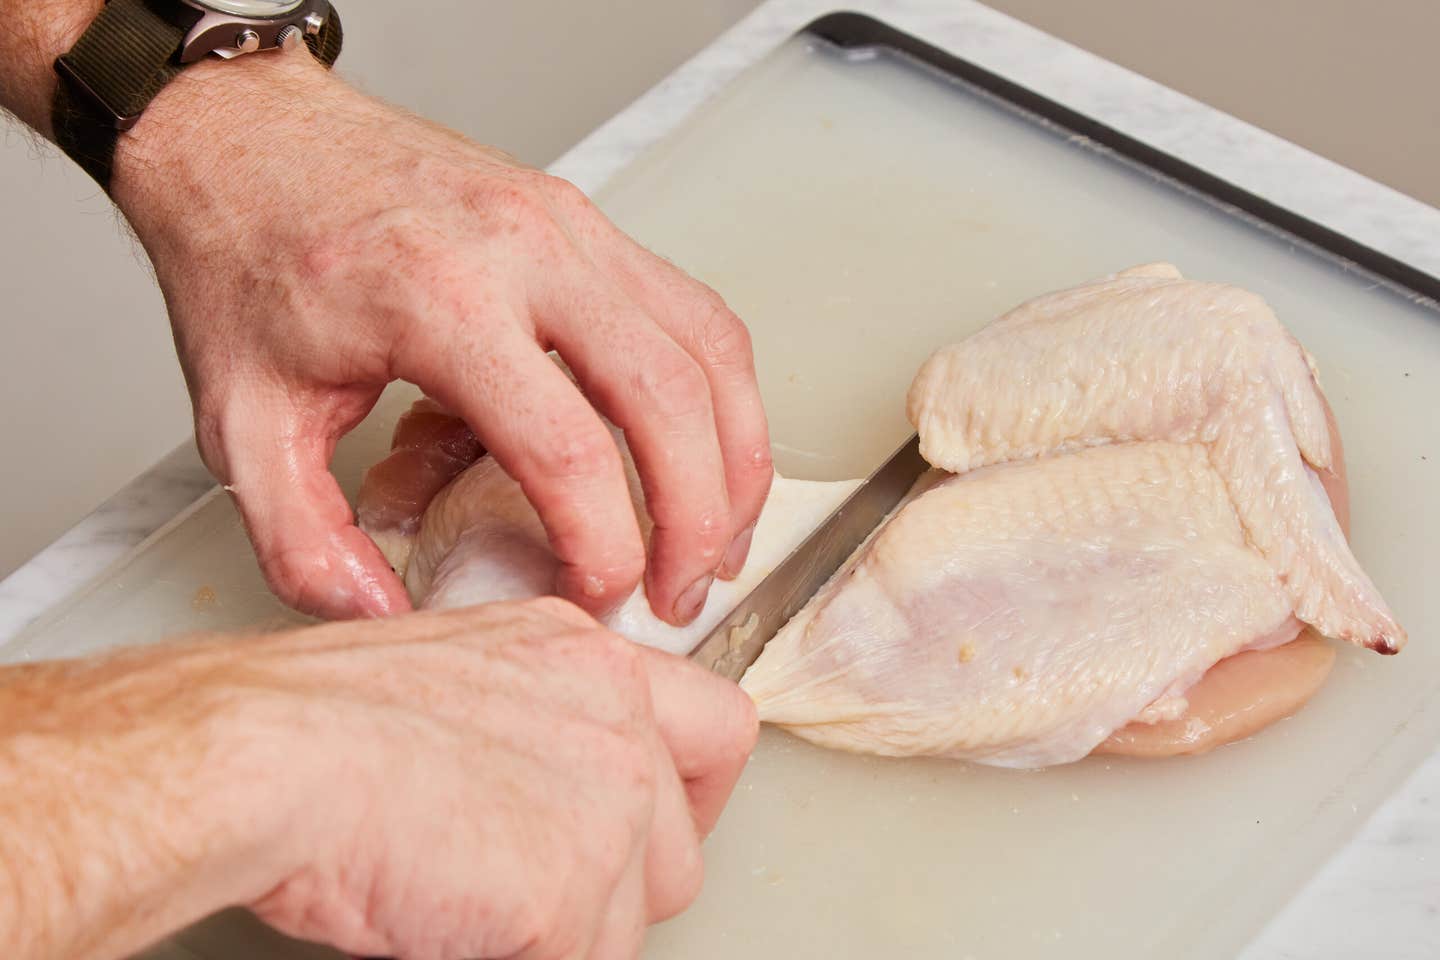
Lay the chicken half skin-side down, and find the area between the breast meat and the thigh. Cut the skin there, and separate the two parts. Smooth the skin down and lay the breast skin-side up and flat, to prevent the "crop-top look," as Glinoga phrases it. Check the top of the breasts for the wishbone and remove it by pulling.

STEP 5: Remove the wing and wingtips.
Photography by Belle Morizio; Food Styling by Ryan McCarthy

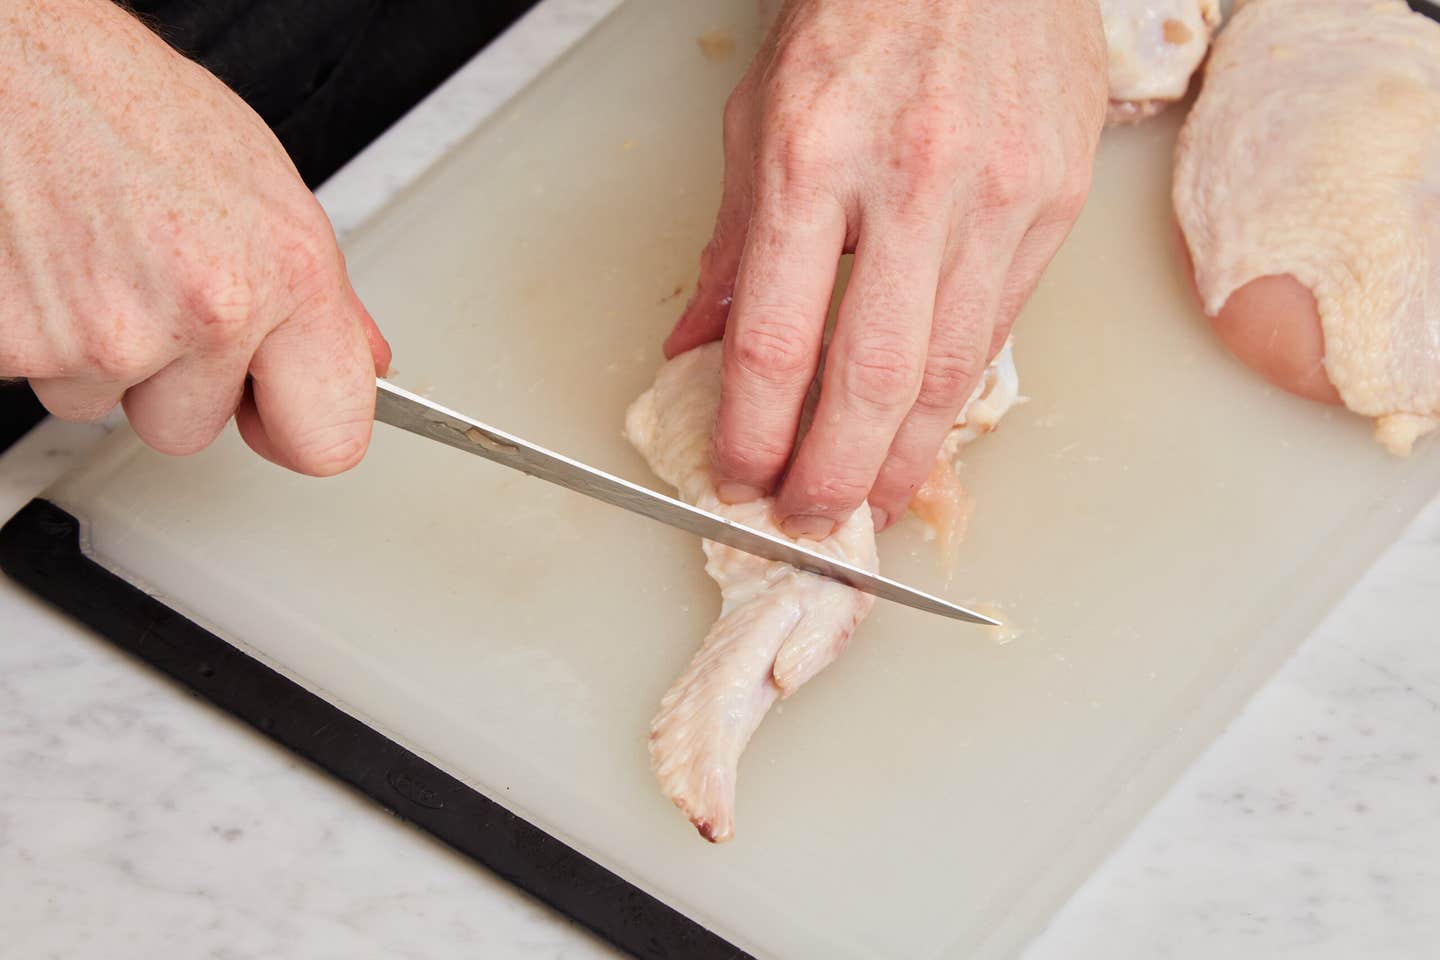
Find the elbow of the wing—the closest big joint to the breast—and slice off the wing from the breast. Then move to the next joint out and cut again, which will separate the wingtips from the wings. You should now have two breasts, two wingtips (not great eating, but a good addition to stock), and two wings ready to go.

STEP 6: Split the drumsticks from the thighs.
Photography by Belle Morizio; Food Styling by Ryan McCarthy

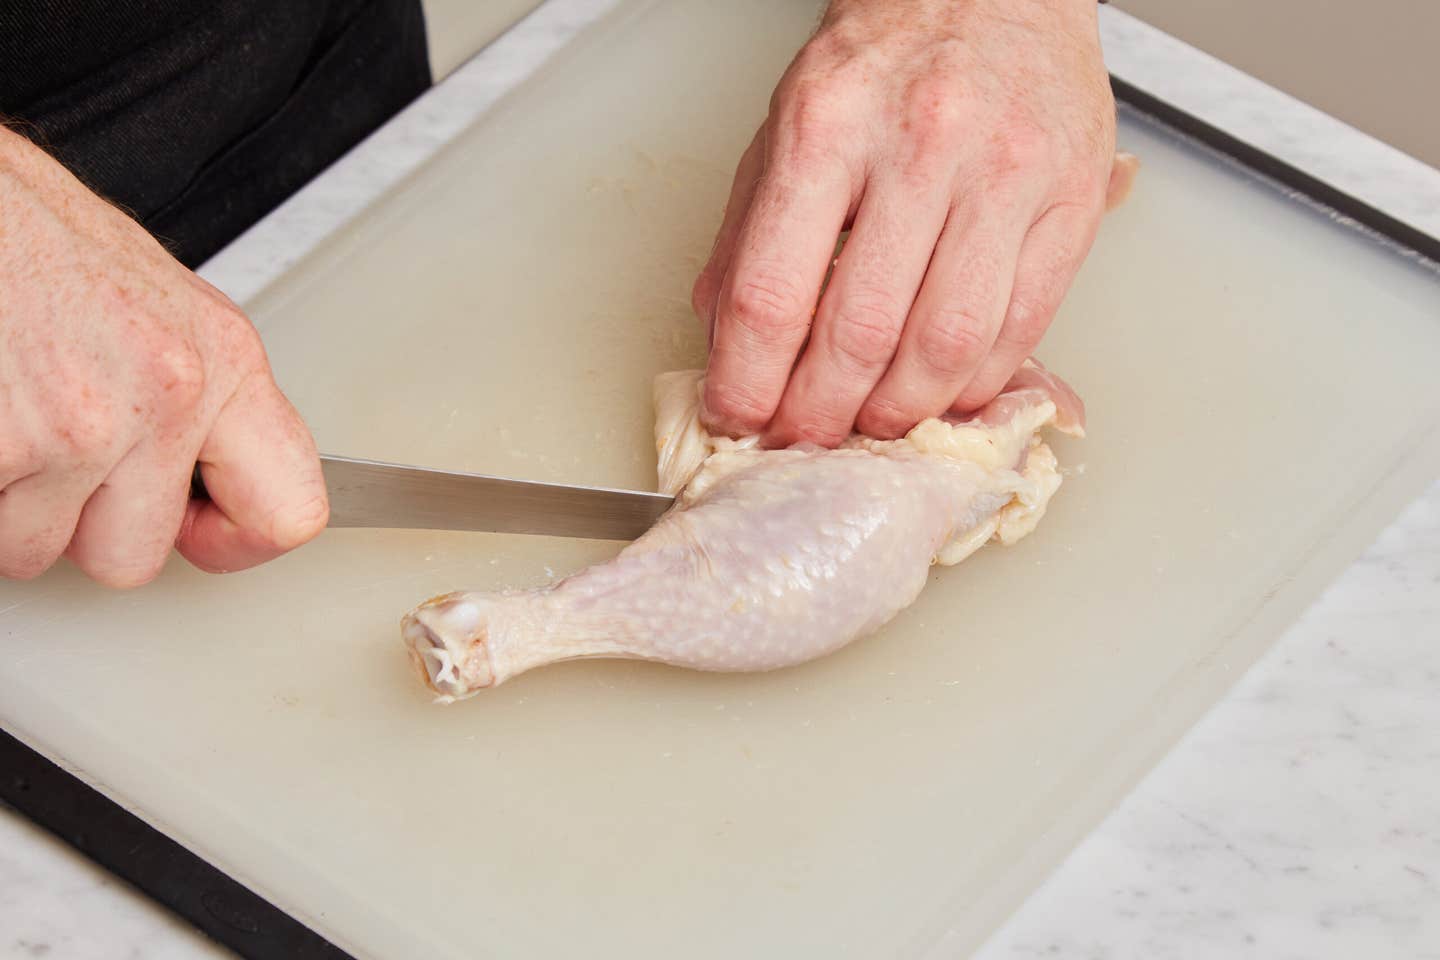
To split the drumstick from the thighs, lay the leg quarter skin-side down, with the joint facing away from you. On the far edge of the upward-facing surface, just to the cut edge from the joint, you will see a stripe of fat. Use that as your guide and cut straight down to separate the

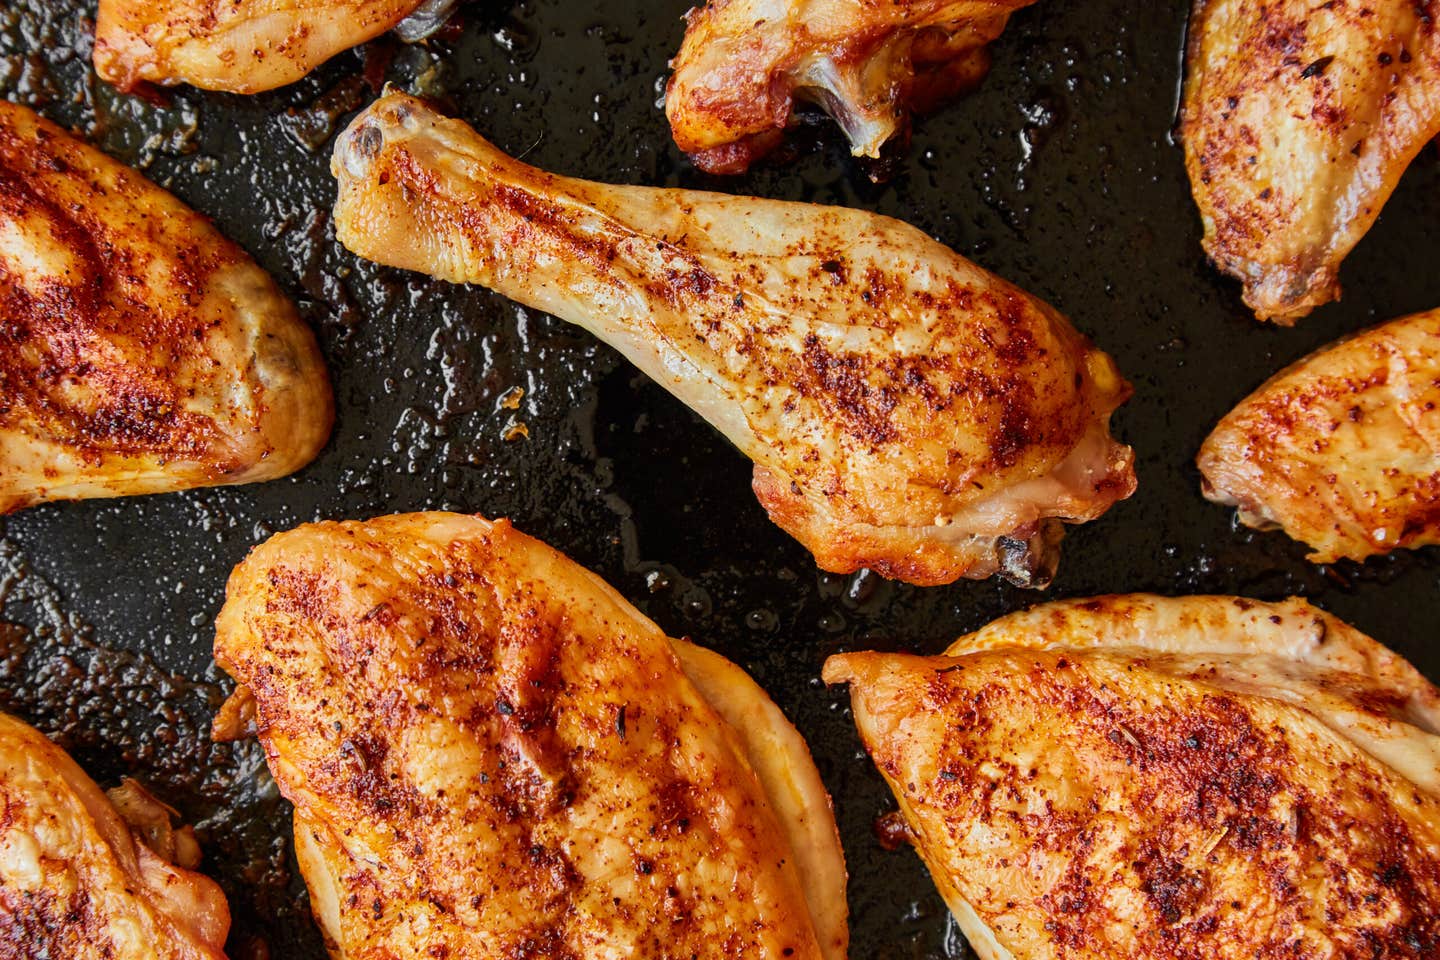
drumstick from the thigh. You now have two thighs and two drumsticks, and have successfully broken down an entire chicken.

Final Thoughts
Photography by Belle Morizio; Food Styling by Ryan McCarthy

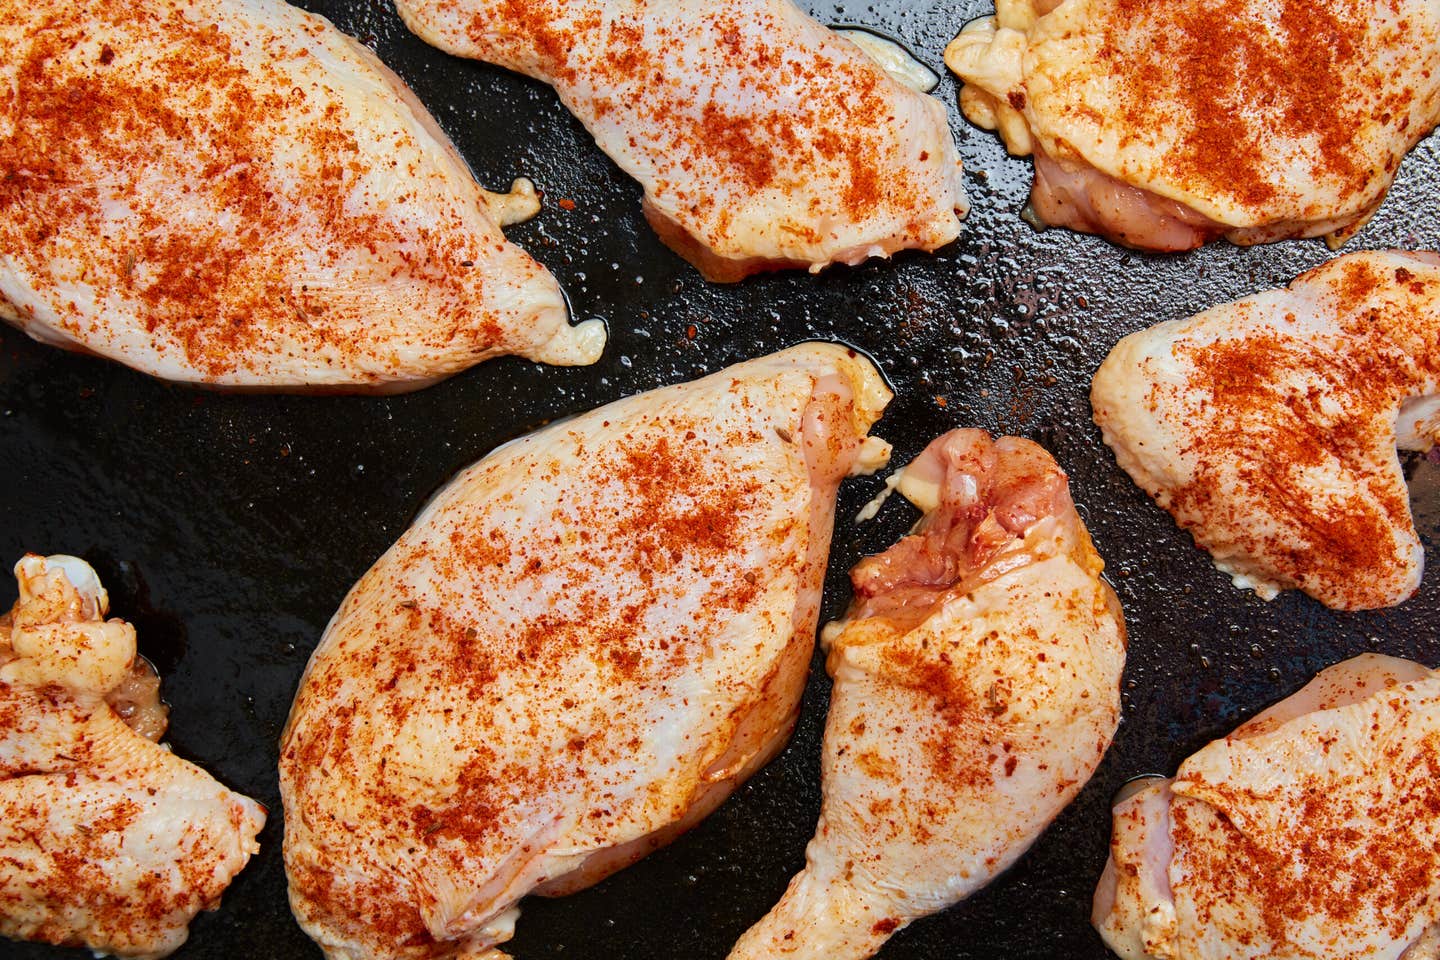
Cutting up a whole chicken costs less than buying parts, plus it gives you a wide variety of cuts to use in various ways—which may inspire you or require a bit more planning. But either way, you use the entire animal, making it a more ethical way to eat meat. You also end up with a great pile of bones you can make into stock right away or stash in the freezer for another time. 

Chicken Saveur
PHOTOGRAPHY BY BELLE MORIZIO; FOOD STYLING BY RYAN MCCARTHY
Techniques

How to Cut Up a Whole Chicken

Our simple, step-by-step guide to breaking down a bird.

By Naomi Tomky


Updated on November 4, 2022

Buying a whole chicken always costs less than buying individual parts, and it gets you a few bonus parts that you’d otherwise miss out on, like the carcass and wingtips for stock. But for it to be worth the effort, you have to know how to cut up a whole chicken. Thankfully, professional butcher Kristina Glinoga now dedicates her time to helping people break down their own birds (and pigs, and more) on her Butchery 101 YouTube channel. Recently she shared her favorite simple method for removing the breasts, wings, and legs from a whole chicken.

What you need

BEFORE YOU BEGIN

Always check your chicken for any remaining innards, either fresh or packaged in plastic and stored in the body cavity.

STEP 1: Score the skin on the back of the bird.

Photography by Belle Morizio; Food Styling by Ryan McCarthy

Set the bird on the cutting board so the breast side is down, the legs are pointing toward you and the wings point down at the cutting board. Score the skin straight down the middle of the two symmetrical sides, from the neck to the tail. Then cross that line, right in the middle, with a single cut that goes about halfway to either side of the bird. This will help you later in the process. 

STEP 2: Cut down both sides of the keel bone.

Photography by Belle Morizio; Food Styling by Ryan McCarthy

Flip the bird over, so that the breasts are facing up and the leg bones are pointing toward you. Feel for the keel bone, which runs straight down the center of your two symmetrical sides. Then, starting on one side, cut the meat away from the bone. "Use shallow, exploratory strokes that go the length from wishbone to breast tip," Glinoga describes. Continue cutting until the chicken is entirely open, then repeat on the other side of the keel bone.

STEP 3: Remove each half of the chicken from the carcass.

Photography by Belle Morizio; Food Styling by Ryan McCarthy

Fold the chicken over, like a book, down the center, so that the legs meet and the exposed meat and keel bone points out. Hold the top leg, the one you are removing, in one hand, using it to push and pull the meat away from the carcass. Use short, shallow knife strokes to just release the meat as your non-knife hand maneuvers it away from the rest of the body, continuing until that half, with leg, thigh, breast, and wing, are entirely separate from the carcass. "Your non-knife hand does just as much work," says Glinoga. "You have to get your hand a little dirty." Repeat on the second side. Set the carcass aside to use for stock.

STEP 4: Separate the breasts from the legs.

Photography by Belle Morizio; Food Styling by Ryan McCarthy

Lay the chicken half skin-side down, and find the area between the breast meat and the thigh. Cut the skin there, and separate the two parts. Smooth the skin down and lay the breast skin-side up and flat, to prevent the "crop-top look," as Glinoga phrases it. Check the top of the breasts for the wishbone and remove it by pulling.

STEP 5: Remove the wing and wingtips.

Photography by Belle Morizio; Food Styling by Ryan McCarthy

Find the elbow of the wing—the closest big joint to the breast—and slice off the wing from the breast. Then move to the next joint out and cut again, which will separate the wingtips from the wings. You should now have two breasts, two wingtips (not great eating, but a good addition to stock), and two wings ready to go.

STEP 6: Split the drumsticks from the thighs.

Photography by Belle Morizio; Food Styling by Ryan McCarthy

To split the drumstick from the thighs, lay the leg quarter skin-side down, with the joint facing away from you. On the far edge of the upward-facing surface, just to the cut edge from the joint, you will see a stripe of fat. Use that as your guide and cut straight down to separate the

drumstick from the thigh. You now have two thighs and two drumsticks, and have successfully broken down an entire chicken.

Final Thoughts

Photography by Belle Morizio; Food Styling by Ryan McCarthy

Cutting up a whole chicken costs less than buying parts, plus it gives you a wide variety of cuts to use in various ways—which may inspire you or require a bit more planning. But either way, you use the entire animal, making it a more ethical way to eat meat. You also end up with a great pile of bones you can make into stock right away or stash in the freezer for another time. 

Continue to Next Story

Want more SAVEUR?

Get our favorite recipes, stories, and more delivered to your inbox.