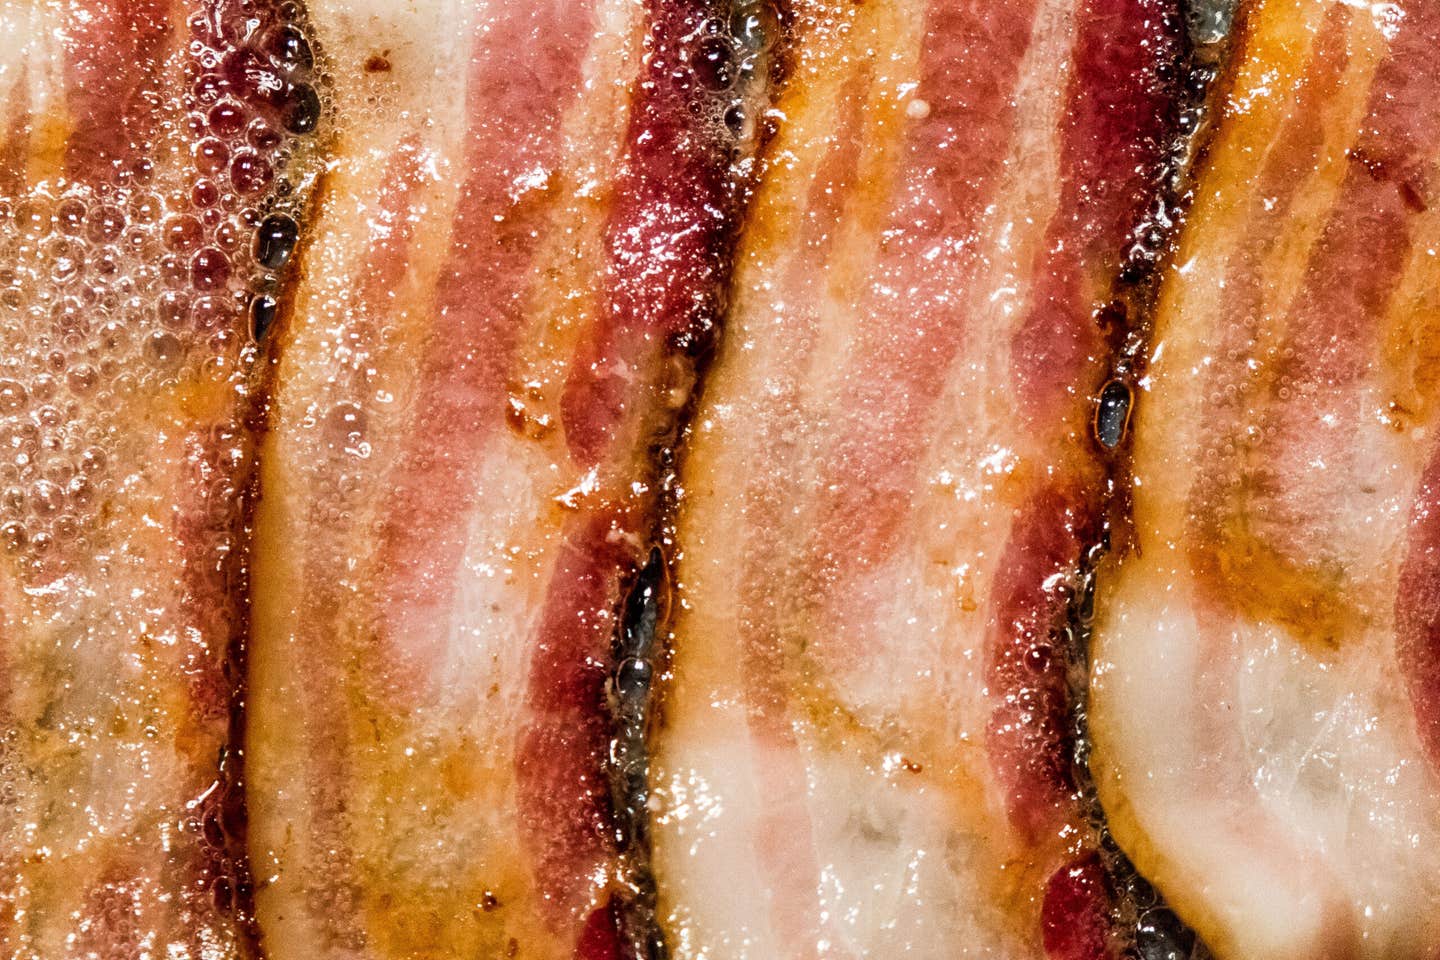
How to Make Oven-Fried Bacon
For god-tier crispness, easy cleanup, and splatter-free cooking, ditch the skillet and embrace the sheet pan.

By gabriella vigoreaux


Published on August 1, 2022

Few smells are more dopamine-inducing than that of smoky bacon in the morning. If only the frying—and the cleanup from stray splatters—weren’t so stressful. Enter oven-fried bacon: It’s time to swap the skillet for the sheet pan. 

Bacon cooks more evenly in the oven than on the stove. The consistent temperature eliminates hot spots, those burnt patches on otherwise undercooked slices, and makes the process less messy (hurray for no stovetop splatters!). Baking also allows you to cook more slices at once without babysitting or flipping. Translation? While the bacon sizzles away down below, you have time to fry eggs, flip pancakes, or prep your sandwich station. 

Happily, all you need to make oven-fried bacon is aluminum foil, a wire rack, a rimmed baking sheet, and a pack of your favorite bacon. Any type will do! So turn on the oven, and let’s get started.

Step 1: Prepare your baking sheet.

Position a rack in the center of the oven and preheat it to 400ºF. Meanwhile, line a heavy-duty, rimmed baking sheet with foil. I love Nordic Ware’s sturdy half sheet pans because they don’t warp or scratch. Grab a wire rack that fits snugly inside the baking sheet and set it atop the foil.  The aluminum makes cleanup a breeze, and the rack elevates the bacon, allowing it to cook and evenly crisp on all sides. 

Step 2: Arrange the bacon on the wire rack.

Lay the bacon in a single layer on the rack. Be careful not to overlap as the strips won’t be as crisp along the edges. Feel free to use multiple baking sheets.

Step 3: Bake the bacon.

The magic of this method is that it works with all cuts of bacon—even Canadian bacon and turkey bacon. Whether you like your strips thin and crispy, thick and chewy, or somewhere in between, it’s all a matter of timing. Thin- and medium-cut bacon take 10 to 15 minutes, while thick-cut will take 20 to 25. And for the Canadian and turkey bacon groupies out there, plan on 15 to 20, and flip the slices after 10 to maximize crispness. No matter the type, it’s best to rotate the baking sheet halfway through to ensure even cooking.

Step 4: Remove the excess grease.

Once the bacon has reached your desired doneness, remove it from the oven and use tongs to transfer it to paper-towel lined plates. This step eliminates extra grease. Be careful not to stack or overlap the bacon while it’s still warm, or you’ll lose some of that crunch factor. Bacon is best served right away, but you can hold it in the oven on the “warm” setting or as low as it can go (not over 200ºF) until you’re ready to eat.

Step 5: Plate it up!

Bacon traditionalists know the pleasure of eating it with greasy fingers between mouthfuls of syrup-soaked pancakes or fluffy scrambled eggs. (Seriously, does anyone eat bacon with a fork?) But oven-fried bacon is equally wondrous on a breakfast taco, BLT, club sandwich, grilled cheese, or burger. Crumbled, it’s the crown jewel of a wedge salad, chowder, or baked potato. I even add it to cornbread, waffle batter, and peanut butter cookie dough (don’t knock it till you try it!). 

Step 6: Store any leftover bacon for another use. 

We're willing to bet that a platter of hot, crispy bacon won’t last five minutes on your breakfast table, but if you happen to have leftovers, they reheat like a dream. Simply refrigerate the cooked, cooled strips in a plastic or reusable zip-top bag; they’ll keep for up to 4 days. To reheat the bacon, pop it back in the oven (on the rack-topped baking sheet as above) at 350ºF for 5–10 minutes, or until crisp. For longer-term storage, cooked bacon freezes surprisingly well: Wrap the cooled bacon in foil, then freeze it in a zip-top bag. (It will keep like this for three months.) 

Step 6: Save the bacon grease—it’s liquid gold!

When cool enough to handle, strain the bacon grease that’s accumulated on the bottom of the pan into a jar or heat-proof container. Use it to fry eggs, roast potatoes, make gravy, or pop bacon-flavored popcorn.

How to Cook Bacon
GETTY IMAGES
Techniques

How to Make Oven-Fried Bacon

For god-tier crispness, easy cleanup, and splatter-free cooking, ditch the skillet and embrace the sheet pan.

By gabriella vigoreaux


Published on August 1, 2022

Few smells are more dopamine-inducing than that of smoky bacon in the morning. If only the frying—and the cleanup from stray splatters—weren’t so stressful. Enter oven-fried bacon: It’s time to swap the skillet for the sheet pan. 

Bacon cooks more evenly in the oven than on the stove. The consistent temperature eliminates hot spots, those burnt patches on otherwise undercooked slices, and makes the process less messy (hurray for no stovetop splatters!). Baking also allows you to cook more slices at once without babysitting or flipping. Translation? While the bacon sizzles away down below, you have time to fry eggs, flip pancakes, or prep your sandwich station. 

Happily, all you need to make oven-fried bacon is aluminum foil, a wire rack, a rimmed baking sheet, and a pack of your favorite bacon. Any type will do! So turn on the oven, and let’s get started.

Step 1: Prepare your baking sheet.

Position a rack in the center of the oven and preheat it to 400ºF. Meanwhile, line a heavy-duty, rimmed baking sheet with foil. I love Nordic Ware’s sturdy half sheet pans because they don’t warp or scratch. Grab a wire rack that fits snugly inside the baking sheet and set it atop the foil.  The aluminum makes cleanup a breeze, and the rack elevates the bacon, allowing it to cook and evenly crisp on all sides. 

Step 2: Arrange the bacon on the wire rack.

Lay the bacon in a single layer on the rack. Be careful not to overlap as the strips won’t be as crisp along the edges. Feel free to use multiple baking sheets.

Step 3: Bake the bacon.

The magic of this method is that it works with all cuts of bacon—even Canadian bacon and turkey bacon. Whether you like your strips thin and crispy, thick and chewy, or somewhere in between, it’s all a matter of timing. Thin- and medium-cut bacon take 10 to 15 minutes, while thick-cut will take 20 to 25. And for the Canadian and turkey bacon groupies out there, plan on 15 to 20, and flip the slices after 10 to maximize crispness. No matter the type, it’s best to rotate the baking sheet halfway through to ensure even cooking.

Step 4: Remove the excess grease.

Once the bacon has reached your desired doneness, remove it from the oven and use tongs to transfer it to paper-towel lined plates. This step eliminates extra grease. Be careful not to stack or overlap the bacon while it’s still warm, or you’ll lose some of that crunch factor. Bacon is best served right away, but you can hold it in the oven on the “warm” setting or as low as it can go (not over 200ºF) until you’re ready to eat.

Step 5: Plate it up!

Bacon traditionalists know the pleasure of eating it with greasy fingers between mouthfuls of syrup-soaked pancakes or fluffy scrambled eggs. (Seriously, does anyone eat bacon with a fork?) But oven-fried bacon is equally wondrous on a breakfast taco, BLT, club sandwich, grilled cheese, or burger. Crumbled, it’s the crown jewel of a wedge salad, chowder, or baked potato. I even add it to cornbread, waffle batter, and peanut butter cookie dough (don’t knock it till you try it!). 

Step 6: Store any leftover bacon for another use. 

We're willing to bet that a platter of hot, crispy bacon won’t last five minutes on your breakfast table, but if you happen to have leftovers, they reheat like a dream. Simply refrigerate the cooked, cooled strips in a plastic or reusable zip-top bag; they’ll keep for up to 4 days. To reheat the bacon, pop it back in the oven (on the rack-topped baking sheet as above) at 350ºF for 5–10 minutes, or until crisp. For longer-term storage, cooked bacon freezes surprisingly well: Wrap the cooled bacon in foil, then freeze it in a zip-top bag. (It will keep like this for three months.) 

Step 6: Save the bacon grease—it’s liquid gold!

When cool enough to handle, strain the bacon grease that’s accumulated on the bottom of the pan into a jar or heat-proof container. Use it to fry eggs, roast potatoes, make gravy, or pop bacon-flavored popcorn.

Continue to Next Story

Want more SAVEUR?

Get our favorite recipes, stories, and more delivered to your inbox.