Learn How to Can Tomatoes the Easy WayThis safe and simple water bath technique makes the flavor of summer last all year long.

A summer tomato, warmed by the sun and bursting with juice, is a singular delight. To hold onto that sublime flavor as the temperatures drop, many turn to canned tomatoes. Canning tomatoes at the end of summer is a family tradition across cultures: This is when the fruit (yes, fruit!) is most abundant and affordable. Who could help but envision their future with a pantry filled with the flavor of sunnier times? 

Unfortunately, some popular canning methods aren’t safe or reliable. While tomatoes used to be fine for canning straight up, we’ve bred them to be sweeter. They now require additional acid to ward against botulism. It’s also critical that the jars be correctly processed in a hot water bath once filled; otherwise, you could end up with jars that mold, fizz, or explode! Fear not: My method results in safe, delicious canned tomatoes every time. They’ll shepherd you through the depths of winter in sauces, soups, and stews—and you can even show off their quality in an off-season panzanella. 

Before you begin
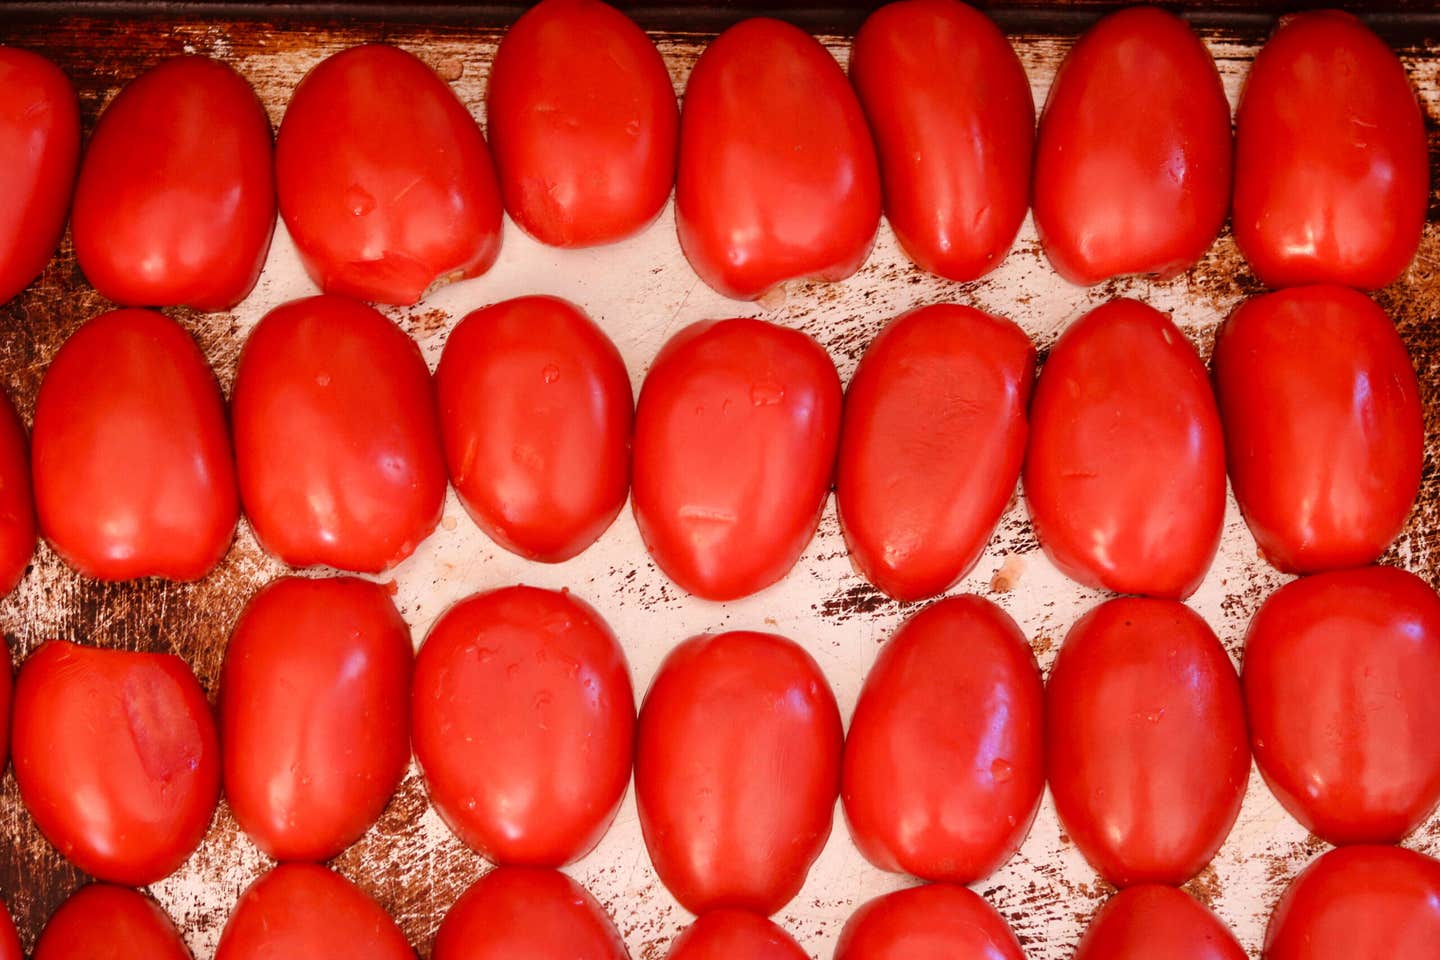
Start with good tomatoes. Choose meaty varieties, such as Roma or plum, and avoid excessively juicy types. They should be ripe, which will make for optimum flavor as well as easy peeling. If you can’t process your tomatoes immediately, or if they need time to ripen, spread them in a single layer on a baking sheet or in a cardboard box and leave them somewhere cool and away from direct sunlight. Never use tomatoes that have been subjected to frost, as they are too low in acid for canning. Allot one pint jar per pound of tomatoes. Either pint or quart jars may be used; they should be clean with new snap lids.

Step 1: Prepare your canning station.

Line the bottom of a large pot with something that will protect the jars from the hot metal such as a perforated silicone mat or pizza pan, round cake rack, or folded tea towel. Place the lids and empty jars in the empty pot and fill with enough water to cover by 2 inches. 

Step 2: Sterilize the jars.

Bring the pot to a boil, then turn off the heat. Later, when you place the filled jars in the pot, the water will be hot so that it will return to a boil quickly (yet not so hot that there’s a risk of thermal shock, which could crack the jars). 

Step 3: Peel the tomatoes.

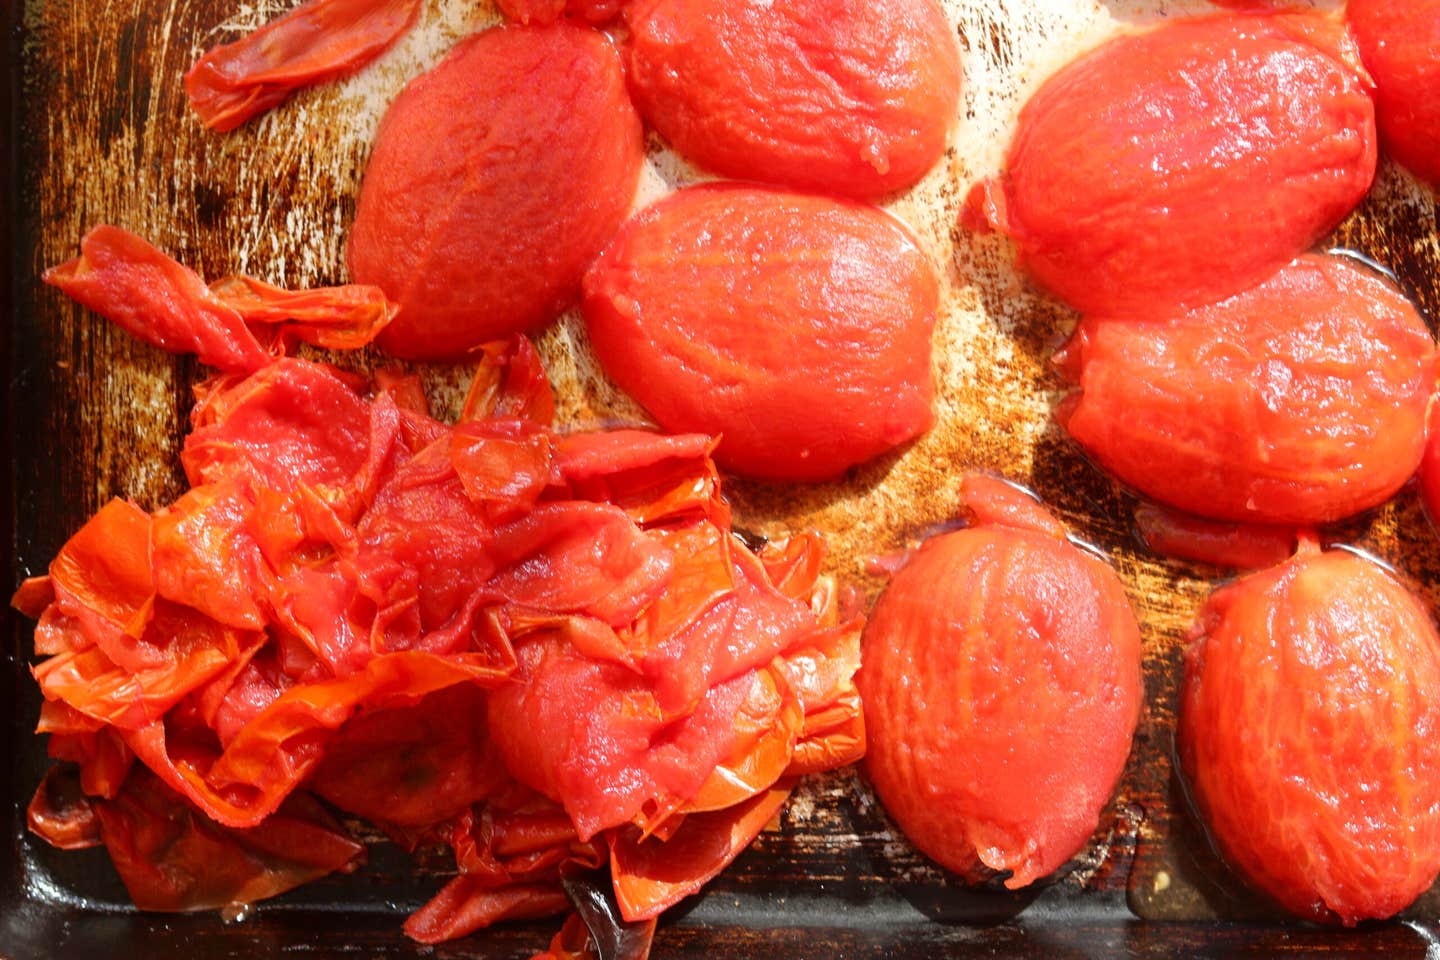
Halve the tomatoes lengthwise and place them cut-side down on a parchment-lined rimmed baking sheet. Broil (or grill if desired), rotating the pan halfway through cooking, until the skins are loose and slightly charred, about 7 minutes. (Blanching, a popular alternative, is messier and less efficient.) The skins should slide right off; if you own a dehydrator, dry the skins and use them as garnishes, or grind them into powder to make tomato salt. Note: Halve the tomatoes just before boiling; cut tomatoes release an enzyme that breaks down pectin, which can affect the texture of the final product.
Step 4: Season and pack the jars.
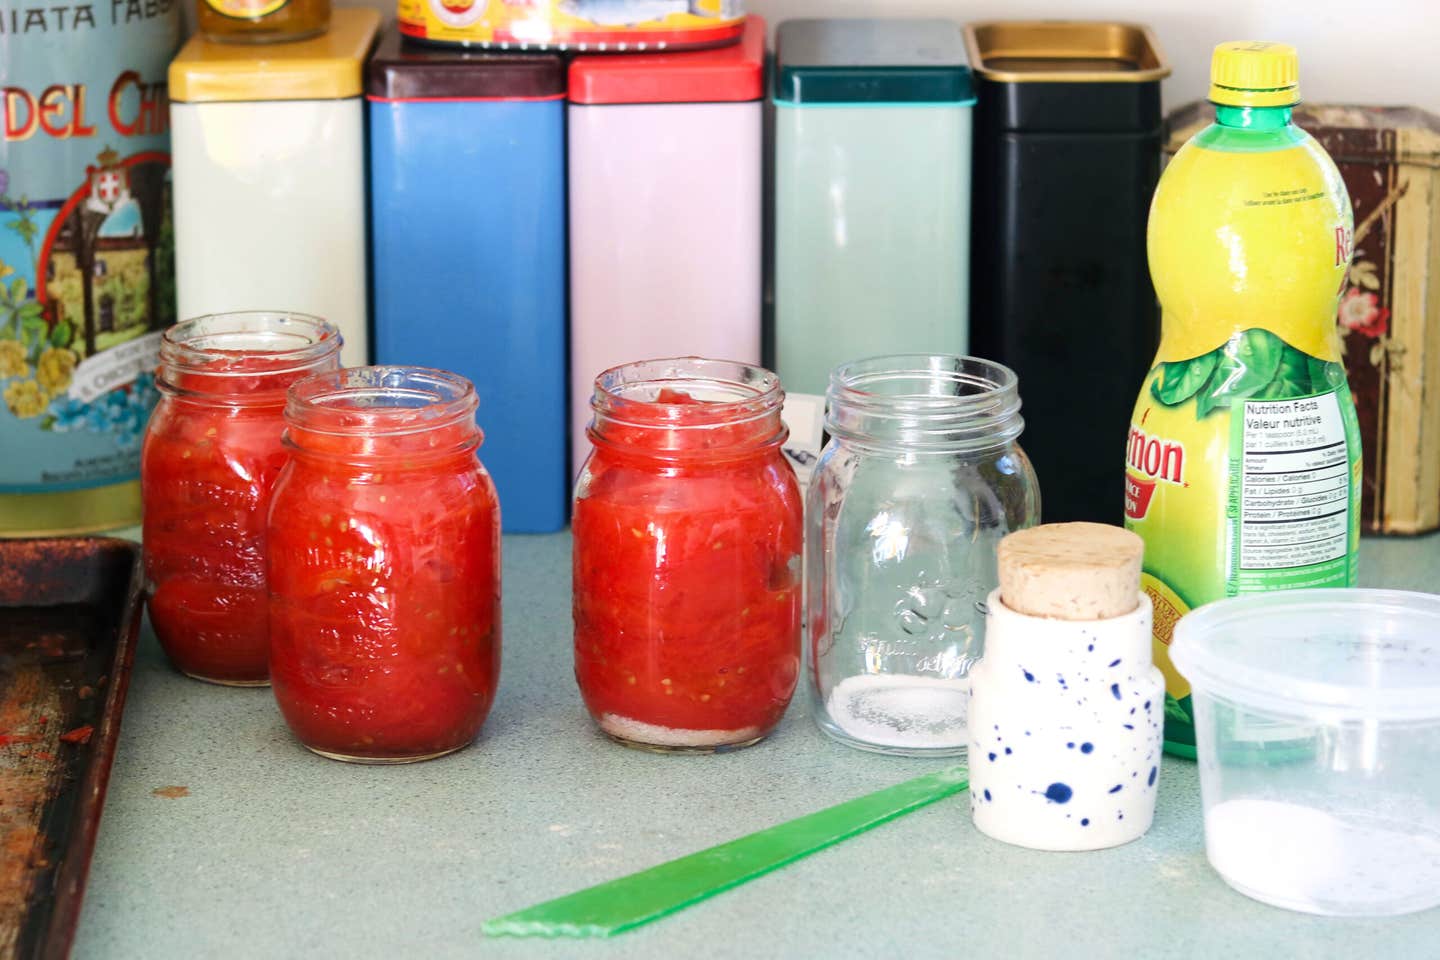
To each pint jar, add ¼ teaspoon of citric acid or one tablespoon of bottled lemon juice (double these measurements if using quart jars). The lemon juice must be bottled as packaged versions have a more reliable pH than fresh. Salt is optional, but recommended: ½ teaspoon of kosher salt per jar. Now, gently pack in the tomato halves and their juices, leaving a ½-inch space below the rim. Top with boiling water to within ½ inch of the rim, then use an air bubble remover (or something similar, like a chopstick) to swish out any bubbles trapped in the jar. Check the headspace again and add more boiling water to hit the ½-inch mark if necessary. If there’s any tomato residue on the rim, wipe it away with a damp paper towel. Seal the jars by twisting the lids just until you feel resistance.

Step 5: Process the jars. 

Bring a kettle of water to boil. Use a jar lifter or sieve to lower the filled jars into the pot of hot water, ensuring they are covered by at least two inches of water once the pot is full. Cover and bring to a boil over high heat, then turn the heat to medium and simmer for 40 minutes (or 45 minutes for quart jars). Check the pot occasionally to ensure that the water is always covering the jars; add more boiling water from the kettle if necessary. Uncover the pot and let the jars settle for 10 minutes before transferring them to a tea towel or cooling rack. Allow them to sit undisturbed for 24 hours. 

Step 6: Store your canned tomatoes.

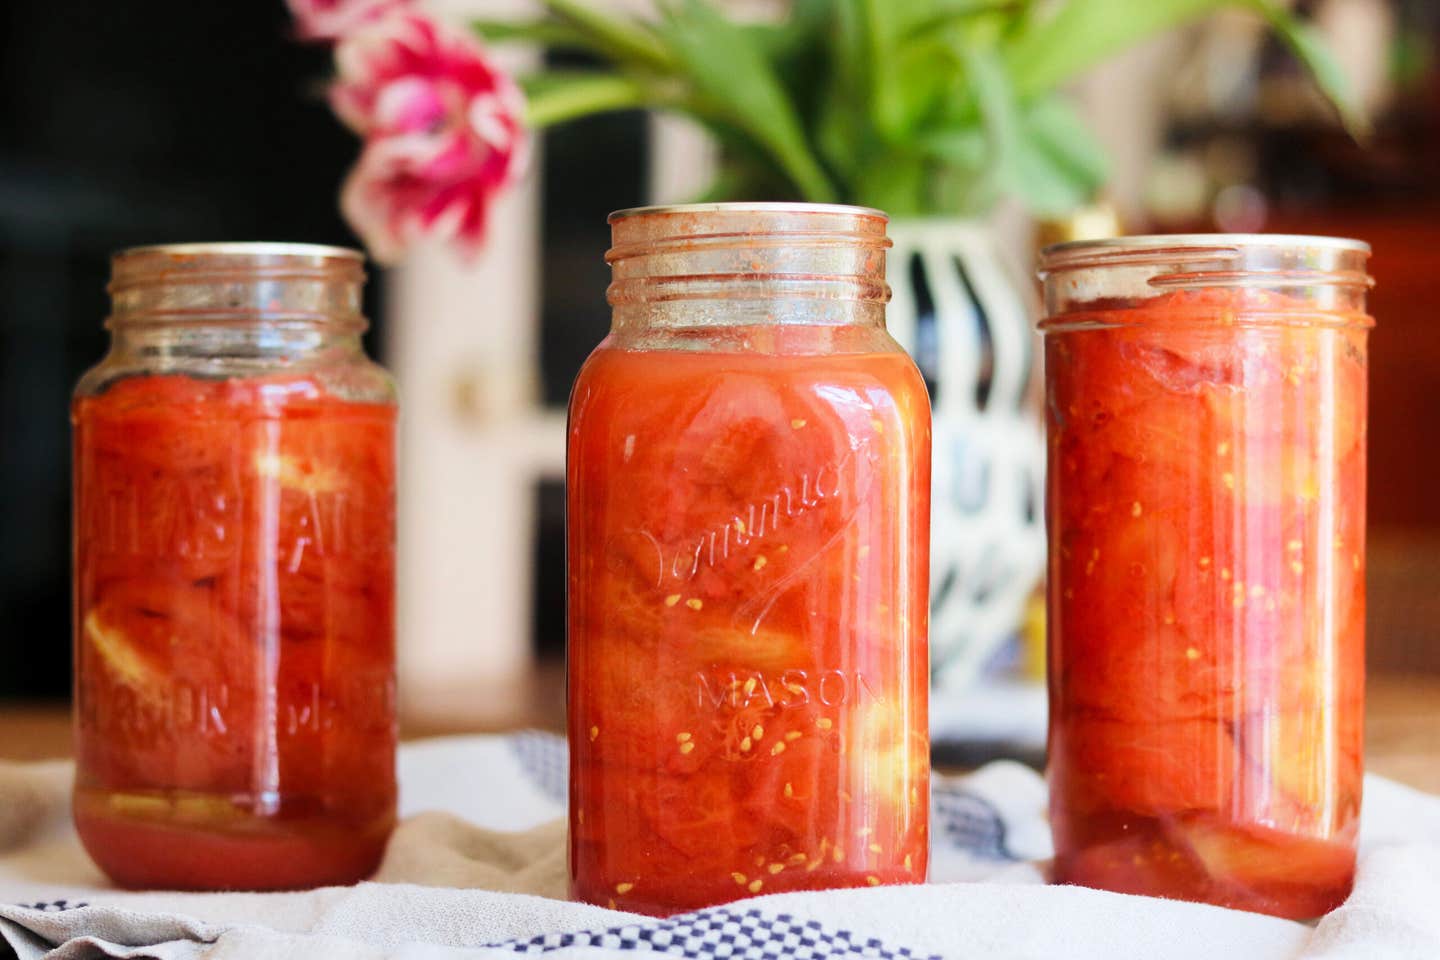
Check the seal of each jar—the lids should be concave. Label them if desired, then move the jars to a cool, dark, and dry storage space, where they’ll keep for at least one year.

Recipes

How to Can Tomatoes
PHOTOGRAPHY BY CAMILLA WYNNE
Techniques

Learn How to Can Tomatoes the Easy Way

This safe and simple water bath technique makes the flavor of summer last all year long.

By Camilla Wynne


Published on July 8, 2022

A summer tomato, warmed by the sun and bursting with juice, is a singular delight. To hold onto that sublime flavor as the temperatures drop, many turn to canned tomatoes. Canning tomatoes at the end of summer is a family tradition across cultures: This is when the fruit (yes, fruit!) is most abundant and affordable. Who could help but envision their future with a pantry filled with the flavor of sunnier times? 

Unfortunately, some popular canning methods aren’t safe or reliable. While tomatoes used to be fine for canning straight up, we’ve bred them to be sweeter. They now require additional acid to ward against botulism. It’s also critical that the jars be correctly processed in a hot water bath once filled; otherwise, you could end up with jars that mold, fizz, or explode! Fear not: My method results in safe, delicious canned tomatoes every time. They’ll shepherd you through the depths of winter in sauces, soups, and stews—and you can even show off their quality in an off-season panzanella. 

Before you begin

Start with good tomatoes. Choose meaty varieties, such as Roma or plum, and avoid excessively juicy types. They should be ripe, which will make for optimum flavor as well as easy peeling. If you can’t process your tomatoes immediately, or if they need time to ripen, spread them in a single layer on a baking sheet or in a cardboard box and leave them somewhere cool and away from direct sunlight. Never use tomatoes that have been subjected to frost, as they are too low in acid for canning. Allot one pint jar per pound of tomatoes. Either pint or quart jars may be used; they should be clean with new snap lids.

Step 1: Prepare your canning station.

Line the bottom of a large pot with something that will protect the jars from the hot metal such as a perforated silicone mat or pizza pan, round cake rack, or folded tea towel. Place the lids and empty jars in the empty pot and fill with enough water to cover by 2 inches. 

Step 2: Sterilize the jars.

Bring the pot to a boil, then turn off the heat. Later, when you place the filled jars in the pot, the water will be hot so that it will return to a boil quickly (yet not so hot that there’s a risk of thermal shock, which could crack the jars). 

Step 3: Peel the tomatoes.

Halve the tomatoes lengthwise and place them cut-side down on a parchment-lined rimmed baking sheet. Broil (or grill if desired), rotating the pan halfway through cooking, until the skins are loose and slightly charred, about 7 minutes. (Blanching, a popular alternative, is messier and less efficient.) The skins should slide right off; if you own a dehydrator, dry the skins and use them as garnishes, or grind them into powder to make tomato salt. Note: Halve the tomatoes just before boiling; cut tomatoes release an enzyme that breaks down pectin, which can affect the texture of the final product.

Step 4: Season and pack the jars.

To each pint jar, add ¼ teaspoon of citric acid or one tablespoon of bottled lemon juice (double these measurements if using quart jars). The lemon juice must be bottled as packaged versions have a more reliable pH than fresh. Salt is optional, but recommended: ½ teaspoon of kosher salt per jar. Now, gently pack in the tomato halves and their juices, leaving a ½-inch space below the rim. Top with boiling water to within ½ inch of the rim, then use an air bubble remover (or something similar, like a chopstick) to swish out any bubbles trapped in the jar. Check the headspace again and add more boiling water to hit the ½-inch mark if necessary. If there’s any tomato residue on the rim, wipe it away with a damp paper towel. Seal the jars by twisting the lids just until you feel resistance.

Step 5: Process the jars. 

Bring a kettle of water to boil. Use a jar lifter or sieve to lower the filled jars into the pot of hot water, ensuring they are covered by at least two inches of water once the pot is full. Cover and bring to a boil over high heat, then turn the heat to medium and simmer for 40 minutes (or 45 minutes for quart jars). Check the pot occasionally to ensure that the water is always covering the jars; add more boiling water from the kettle if necessary. Uncover the pot and let the jars settle for 10 minutes before transferring them to a tea towel or cooling rack. Allow them to sit undisturbed for 24 hours. 

Step 6: Store your canned tomatoes.

Check the seal of each jar—the lids should be concave. Label them if desired, then move the jars to a cool, dark, and dry storage space, where they’ll keep for at least one year.

Recipes

Continue to Next Story

Want more SAVEUR?

Get our favorite recipes, stories, and more delivered to your inbox.