Fireplace PâtissierBryan Ford breaks down his hearthside, one-pot apple dessert.

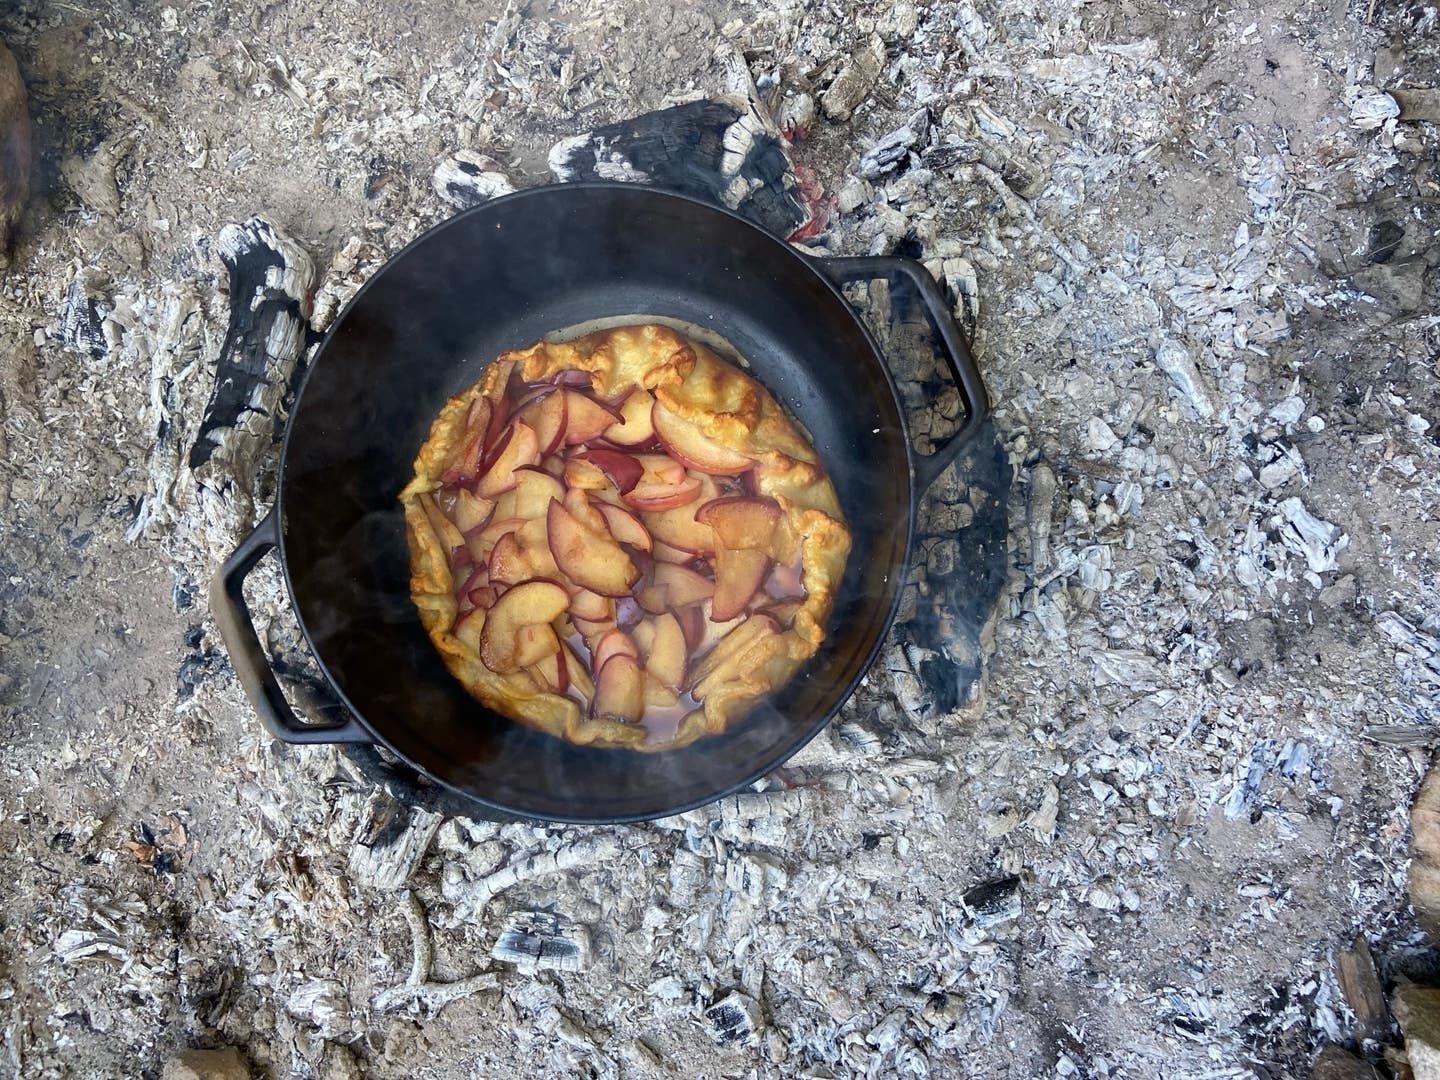
On a summer road trip through Georgia that became a peach-picking adventure, I was inspired to create a fruit galette baked in a cast-iron pot over the campfire. I now love this rustic technique—namely, that you don’t need an actual oven to create a delicious, from-scratch pastry. When the cold pie dough drops into the preheated Dutch oven, an initial pop of heat triggers the Maillard reaction—the chemical process that creates browning and caramelization—and leads to a thin and flaky-every-time crust.
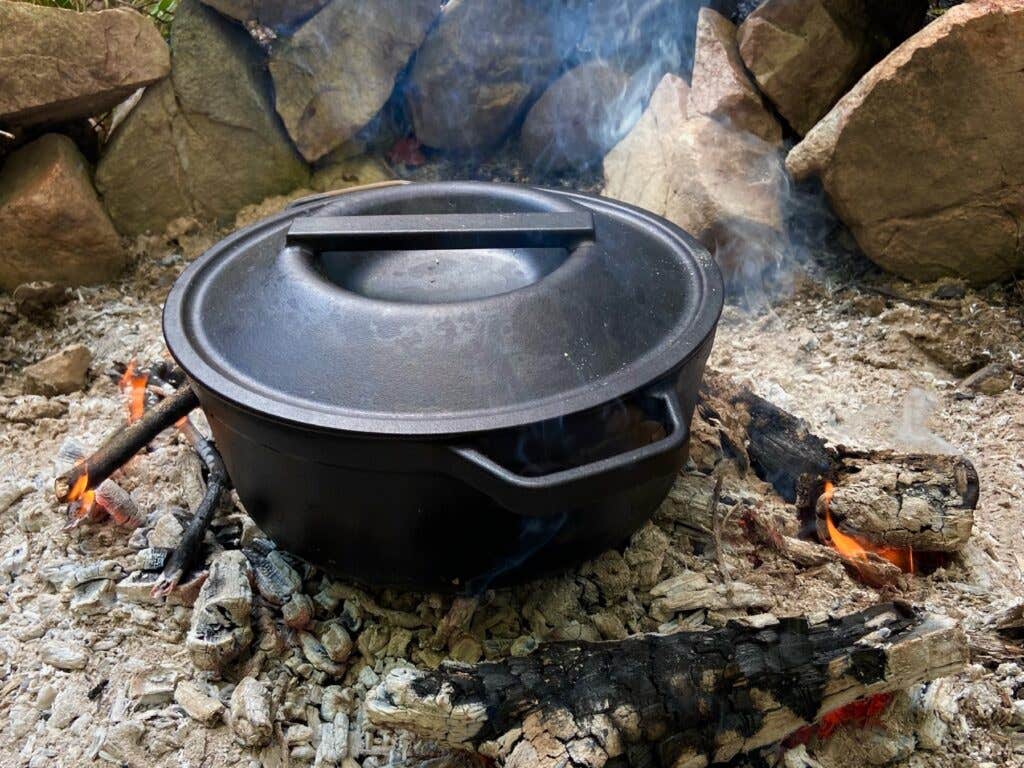
Leave the enamelware in the kitchen: Seasoned black cast iron is the best material for this open-fire method. We love the modern styling and heft of this version from Upstate New York brand Borough Furnace.

Now that the cooler weather has arrived, I’ve adapted this recipe for late fall and winter fruit, too. If you live where campfire cooking isn’t an option year-round, but have access to a fireplace, try taking the method indoors.

The Crust 

The key to a flaky crust is time. After making your dough, wrap it tightly and refrigerate for at least six and up to 24 hours. This allows the gluten to relax and the butter to firm back up, contributing to those flaky layers. 

The Filling 

Don’t overcomplicate things: A little sugar and cinnamon go a long way when it comes to flavor. Try different varieties of late-season orchard fruits like pear, quince, and any apple (except red delicious!). Slice the fruit thinly to ensure that it cooks quickly.

The Fire 

Build a wood fire in an indoor fireplace, a firepit, or even a kettle grill: Start with plenty of dry wood, and start the kindling with a fire starter or small slivers of wood and paper or cardboard. As the fire catches and grows, slowly layer larger chunks of wood over the kindling, then let the active fire burn down. Be patient, and take care to build up a thick bed of hot embers before beginning to bake. 

The Pot 

Use a seasoned cast-iron Dutch oven with a tight-fitting lid. Leave those Le Creusets in the kitchen; high temperatures can scorch and damage enamelled cookware. A layer of aluminum foil will protect the galette from burning on the bottom.

The Bake 

Nestle the Dutch oven into the embers of the fire and preheat for a good 10 minutes before beginning to bake (An infrared thermometer comes in handy for this; you’re going for 375 to 400 degrees Fahrenheit.) Use a wide metal spatula and the edges of the foil to gently guide the galette into the hot pot, then cover and cook, checking periodically, until the bottom is crispy and browned. (Depending on your fire, this can happen quickly.) Use your spatula to lift and slide the galette onto a large, heatproof plate. Place another sheet of foil over the pastry, then carefully invert it back into the pot to finish baking.

Recipes
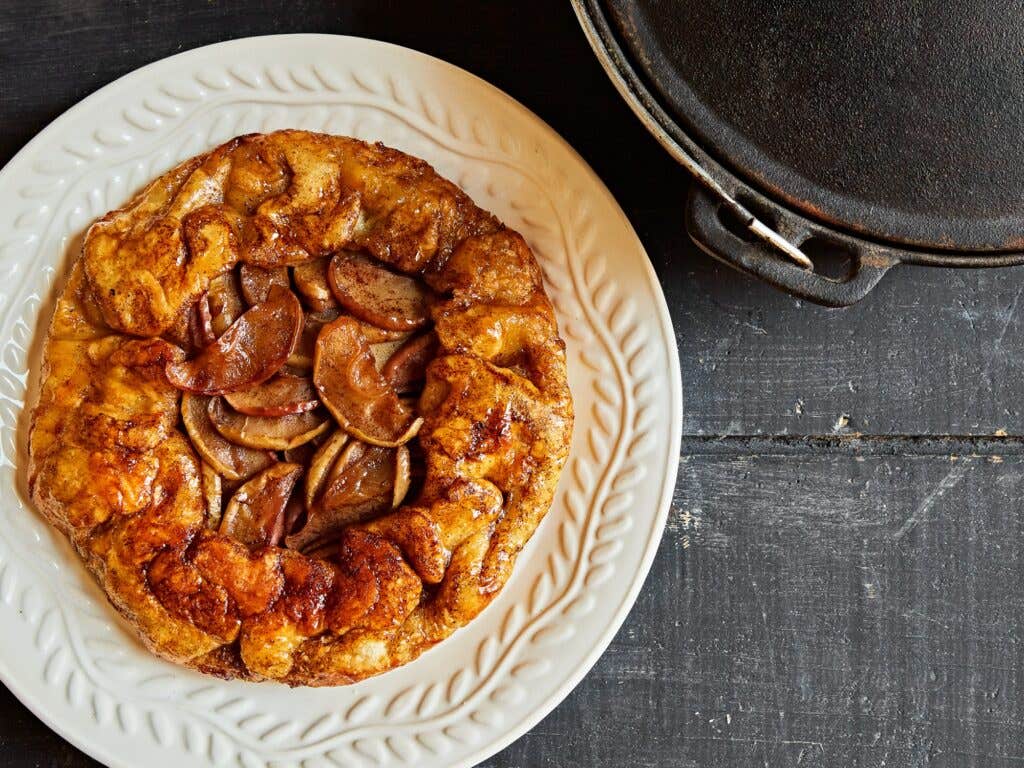
Fireplace patisserie Bryan Ford's no-oven baking method
SHANE MITCHELL
Techniques

Fireplace Pâtissier

Bryan Ford breaks down his hearthside, one-pot apple dessert.

By Bryan Ford


Updated on September 29, 2021

On a summer road trip through Georgia that became a peach-picking adventure, I was inspired to create a fruit galette baked in a cast-iron pot over the campfire. I now love this rustic technique—namely, that you don’t need an actual oven to create a delicious, from-scratch pastry. When the cold pie dough drops into the preheated Dutch oven, an initial pop of heat triggers the Maillard reaction—the chemical process that creates browning and caramelization—and leads to a thin and flaky-every-time crust.

Leave the enamelware in the kitchen: Seasoned black cast iron is the best material for this open-fire method. We love the modern styling and heft of this version from Upstate New York brand Borough Furnace.

Now that the cooler weather has arrived, I’ve adapted this recipe for late fall and winter fruit, too. If you live where campfire cooking isn’t an option year-round, but have access to a fireplace, try taking the method indoors.

The Crust 

The key to a flaky crust is time. After making your dough, wrap it tightly and refrigerate for at least six and up to 24 hours. This allows the gluten to relax and the butter to firm back up, contributing to those flaky layers. 

The Filling 

Don’t overcomplicate things: A little sugar and cinnamon go a long way when it comes to flavor. Try different varieties of late-season orchard fruits like pear, quince, and any apple (except red delicious!). Slice the fruit thinly to ensure that it cooks quickly.

The Fire 

Build a wood fire in an indoor fireplace, a firepit, or even a kettle grill: Start with plenty of dry wood, and start the kindling with a fire starter or small slivers of wood and paper or cardboard. As the fire catches and grows, slowly layer larger chunks of wood over the kindling, then let the active fire burn down. Be patient, and take care to build up a thick bed of hot embers before beginning to bake. 

The Pot 

Use a seasoned cast-iron Dutch oven with a tight-fitting lid. Leave those Le Creusets in the kitchen; high temperatures can scorch and damage enamelled cookware. A layer of aluminum foil will protect the galette from burning on the bottom.

The Bake 

Nestle the Dutch oven into the embers of the fire and preheat for a good 10 minutes before beginning to bake (An infrared thermometer comes in handy for this; you’re going for 375 to 400 degrees Fahrenheit.) Use a wide metal spatula and the edges of the foil to gently guide the galette into the hot pot, then cover and cook, checking periodically, until the bottom is crispy and browned. (Depending on your fire, this can happen quickly.) Use your spatula to lift and slide the galette onto a large, heatproof plate. Place another sheet of foil over the pastry, then carefully invert it back into the pot to finish baking.

Recipes
Continue to Next Story

Want more SAVEUR?

Get our favorite recipes, stories, and more delivered to your inbox.