Ask the Test Kitchen: Grilling 101Yes, you can master the grill this summer

In Ask The Test Kitchen, food editor Ben Mims provides solutions to your pesky cooking problems. In this installment, he offers guidance on how to set up and start a charcoal grill for those first-time grillers tackling their inaugural outdoor barbecue this weekend.

I’ve never grilled before, let alone set up a charcoal grill, but I want to host a grilling party this weekend. Where do I start and how can I make sure I do it right?

Well, the first thing you want to do is calm down, because if you’re like many first-time grillers, the thought of setting up a grill can be pretty intimidating. Yes, setting up a charcoal grill requires more steps than switching the burner on your stove to high heat, but once you’ve done it once, you’ll see how easy it is and how it really is worth the effort.

To get started, pick up an inexpensive, all-purpose kettle grill from Weber. Since you're a newbie, you want to start with the simplest contraption and then, once you've got about a dozen grilling sessions under your belt, you can move on to working with all the bells and whistles that come with fancier, pricier grills.

Next, when it comes to charcoal, your options are blessedly limited, because really, the charcoal briquettes that are sold at most every grocery in America are all you need and are reliably consistent in performance quality. Speaking of performance quality, most charcoal these days will, if lit and heated properly, heat up on its own perfectly, so stay away from lighter fluid, which is mostly made of petroleum and fatal if swallowed…you don’t want that evaporating into the air and getting into your food. And beware that there are also charcoal briquettes that are laced with lighter fluid, so stay away from those for the same reason. I like to stick with the classic Kingsford brand for my charcoal, but go with whatever brand you want.

While you're at the store, pick yourself up a chimney starter because, again, let's keep things simple and reliable. It's true that you don't need a chimney starter to get the coals going—my dad always used an electric charcoal starter), buried under the coals. It worked well, but required an outdoor plug, and then there's the issue of having an electrical cord hanging out of your grill when your tipsy, bare-legged friends are traipsing nearby. A chimney starter makes the job much easier to pull off and relays to your friends that you're a person that puts safety first…and it negates needing that unpleasant lighter fluid as well.

So now that you’ve got your grill, charcoal, and chimney starter, let’s get to it: remove the top grate from your grill and place the chimney starter upright on the bottom grate. Take a couple sheets of crumpled newspaper and stuff them in the bottom of the chimney starter (the smaller end with holes on the side) and then fill the chimney starter about half-full with charcoal. Using a long match or gas lighter, light the newspaper on fire and let it burn to heat up the charcoal. You’ll know your charcoal is ready when it’s coated in a gray ash; this will take about 15 minutes.

Once the charcoal is ready, use a pot holder, thick towel, oven mitt, or anything to keep your hands safe to grasp the handle on the chimney starter and pour the hot charcoal over the bottom grate of the grill. Use an errant stick or other heat-proof poker to spread the coals around evenly so they cover the bottom of the grate evenly. Replace the top grate over the coals (use that oven mitt, please!) and cover the grill with its top so it can heat up (about 5 minutes is plenty of time). Now you’re ready to grill your chicken thighs, ribs, steaks, hamburgers, and anything else that requires direct, hot heat.

If you want to set up the grill for cooking with indirect heat—for cooking larger cuts of meat like brisket, whole chickens, or prime rib—simply pile the charcoals to one side of the grill’s bottom grate, so you have all the coals under half the grill and the other half is completely empty. Place your meat on the empty side of the grill and cover with the top. This essentially turns the grill into an oven, so you can cook the meat slowly while still imparting it with that great grill flavor.

Now that you’re a grill pro, next time try using some wood chips, soaked in water and sprinkled on the hot coals—or woody herbs like rosemary and thyme—to add an extra layer of smoky flavor to your grilled kabobs and chicken thighs, or wrap vegetables like potatoes, lemons, and heads of garlic in foil and toss them straight onto the coals to cook them through and impart a delicious char on the outside. Once you get the basics down, you’ll wonder how you ever lived without grilling everything you eat.

If you have any cooking conundrums that you want answered, send them to us here at the SAVEUR test kitchen at testkitchen@saveur.com.

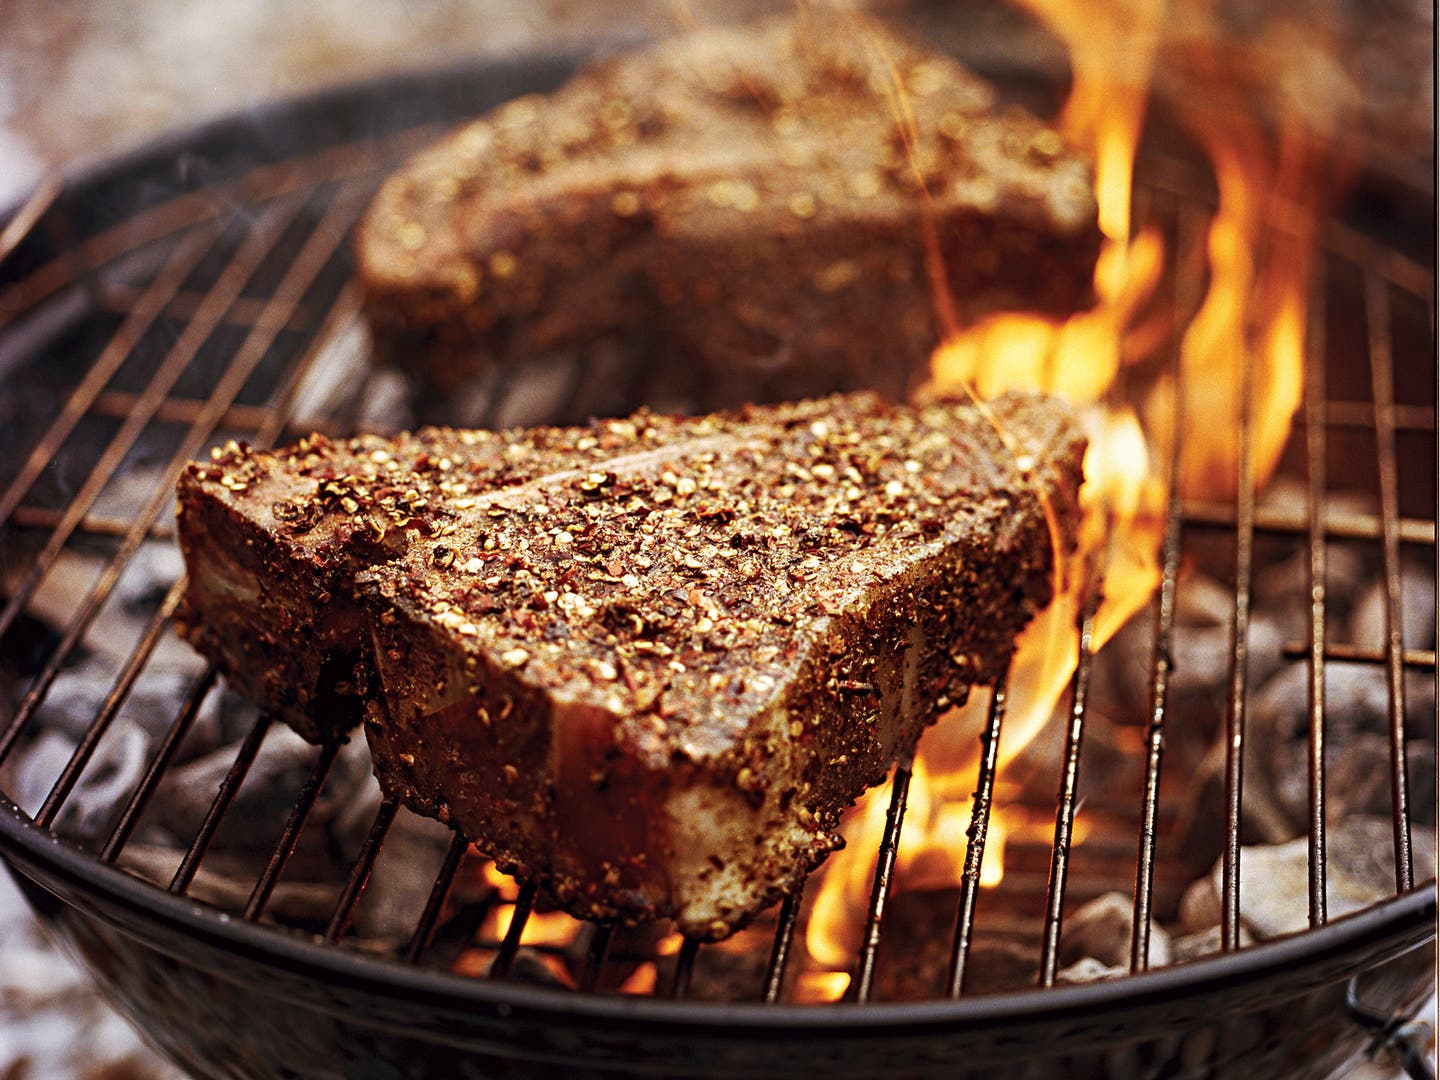
Fennel Chile Rubbed Steak, Grilling
MICHAEL TUREK
Techniques

Ask the Test Kitchen: Grilling 101

Yes, you can master the grill this summer

By Ben Mims


Published on July 2, 2015

In Ask The Test Kitchen, food editor Ben Mims provides solutions to your pesky cooking problems. In this installment, he offers guidance on how to set up and start a charcoal grill for those first-time grillers tackling their inaugural outdoor barbecue this weekend.

I’ve never grilled before, let alone set up a charcoal grill, but I want to host a grilling party this weekend. Where do I start and how can I make sure I do it right?

Well, the first thing you want to do is calm down, because if you’re like many first-time grillers, the thought of setting up a grill can be pretty intimidating. Yes, setting up a charcoal grill requires more steps than switching the burner on your stove to high heat, but once you’ve done it once, you’ll see how easy it is and how it really is worth the effort.

To get started, pick up an inexpensive, all-purpose kettle grill from Weber. Since you're a newbie, you want to start with the simplest contraption and then, once you've got about a dozen grilling sessions under your belt, you can move on to working with all the bells and whistles that come with fancier, pricier grills.

Next, when it comes to charcoal, your options are blessedly limited, because really, the charcoal briquettes that are sold at most every grocery in America are all you need and are reliably consistent in performance quality. Speaking of performance quality, most charcoal these days will, if lit and heated properly, heat up on its own perfectly, so stay away from lighter fluid, which is mostly made of petroleum and fatal if swallowed…you don’t want that evaporating into the air and getting into your food. And beware that there are also charcoal briquettes that are laced with lighter fluid, so stay away from those for the same reason. I like to stick with the classic Kingsford brand for my charcoal, but go with whatever brand you want.

While you're at the store, pick yourself up a chimney starter because, again, let's keep things simple and reliable. It's true that you don't need a chimney starter to get the coals going—my dad always used an electric charcoal starter), buried under the coals. It worked well, but required an outdoor plug, and then there's the issue of having an electrical cord hanging out of your grill when your tipsy, bare-legged friends are traipsing nearby. A chimney starter makes the job much easier to pull off and relays to your friends that you're a person that puts safety first…and it negates needing that unpleasant lighter fluid as well.

So now that you’ve got your grill, charcoal, and chimney starter, let’s get to it: remove the top grate from your grill and place the chimney starter upright on the bottom grate. Take a couple sheets of crumpled newspaper and stuff them in the bottom of the chimney starter (the smaller end with holes on the side) and then fill the chimney starter about half-full with charcoal. Using a long match or gas lighter, light the newspaper on fire and let it burn to heat up the charcoal. You’ll know your charcoal is ready when it’s coated in a gray ash; this will take about 15 minutes.

Once the charcoal is ready, use a pot holder, thick towel, oven mitt, or anything to keep your hands safe to grasp the handle on the chimney starter and pour the hot charcoal over the bottom grate of the grill. Use an errant stick or other heat-proof poker to spread the coals around evenly so they cover the bottom of the grate evenly. Replace the top grate over the coals (use that oven mitt, please!) and cover the grill with its top so it can heat up (about 5 minutes is plenty of time). Now you’re ready to grill your chicken thighs, ribs, steaks, hamburgers, and anything else that requires direct, hot heat.

If you want to set up the grill for cooking with indirect heat—for cooking larger cuts of meat like brisket, whole chickens, or prime rib—simply pile the charcoals to one side of the grill’s bottom grate, so you have all the coals under half the grill and the other half is completely empty. Place your meat on the empty side of the grill and cover with the top. This essentially turns the grill into an oven, so you can cook the meat slowly while still imparting it with that great grill flavor.

Now that you’re a grill pro, next time try using some wood chips, soaked in water and sprinkled on the hot coals—or woody herbs like rosemary and thyme—to add an extra layer of smoky flavor to your grilled kabobs and chicken thighs, or wrap vegetables like potatoes, lemons, and heads of garlic in foil and toss them straight onto the coals to cook them through and impart a delicious char on the outside. Once you get the basics down, you’ll wonder how you ever lived without grilling everything you eat.

If you have any cooking conundrums that you want answered, send them to us here at the SAVEUR test kitchen at testkitchen@saveur.com.

Continue to Next Story

Want more SAVEUR?

Get our favorite recipes, stories, and more delivered to your inbox.