Building a Garden: Where to StartFor a perfect edible garden, we start with the basics: Constructing a bed and prepping the soil

Smack dab in the middle of New York harbor, spitting distance from the Statue of Liberty and lower Manhattan’s towers of finance, is the little edible garden that could.

There's nothing about its location that makes sense: It's situated on the northern end of Governors Island, a military installation dating back to the Revolutionary War that was sold back to the people of New York in 2003. Helicopters buzz overhead, ferries and shipping fleets cruise by, and centuries' worth of unexploded ammunition are rumored to be hiding in the soil below. This is not what you picture when you think of fertile ground. But it was here that, last year, the nonprofit organization GrowNYC—they provide support for greenmarkets and community gardens all around New York City—first planted the unlikeliest of urban gardens and used it as a classroom to teach local school kids about food and where it comes from.

And it is here, on a cold, windy April afternoon, that I first meet with Shawn Connell and Sebert Harper to start my internship: Over the next five months this New York City-living, don't-know-cruciferae-from-creeping-thyme, "ew, worms!" magazine editor is going to learn everything he can about fruits and vegetables and the best way to grow them.

My first surprise: Sebert and Shawn are psyched about the "it couldn’t have been any colder" winter that settled in over the American Northeast, put its feet up, and took a nap for a good six months. Cold winters kill pests that lurk in the soil, it turns out, and since the GrowNYC garden doesn't mess with pesticides, spring and summer are going to be blessedly less buggy.

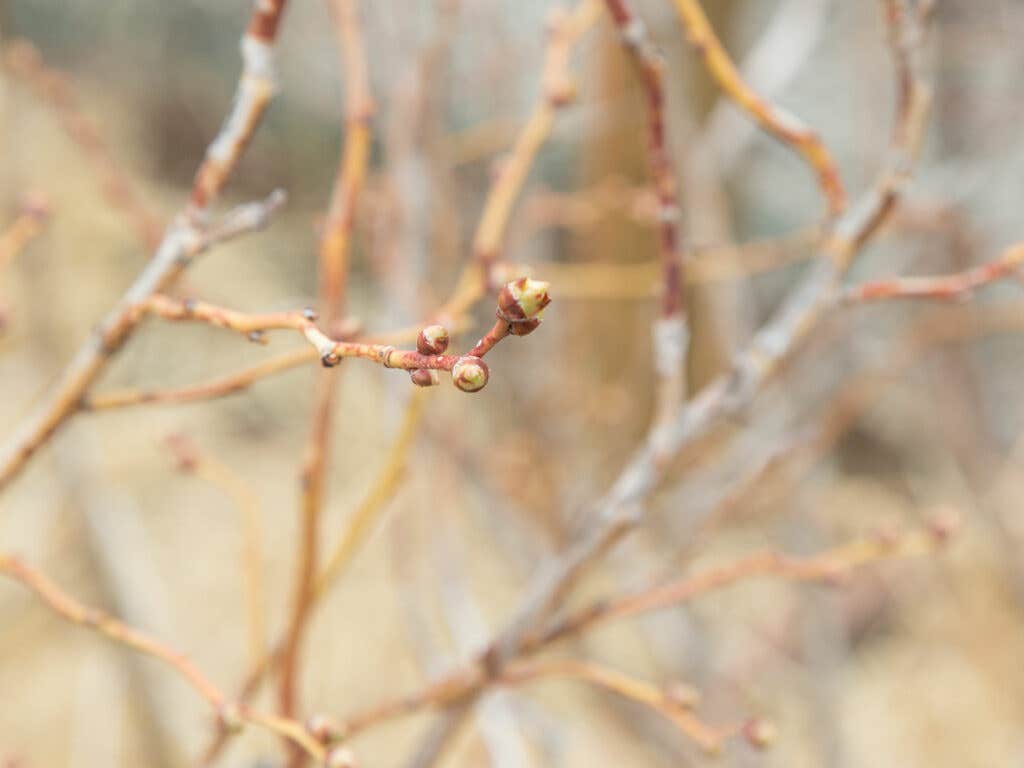
But the cold weather has also pushed planting season a little later than usual. It's mid-April, and only the heartiest of perennials from last year's planting have begun to peek out of the soil: Green shoots of chives and garlic are starting to show off. There's a hint of purple sage. One lonely little strawberry bush tendril has found a new spot to dig into. As the rest of the garden waits for the starter pistol, these seem like false starts.

I ask Shawn and Sebert about how to make preparations for what we want to be (and what can be!) the Best Growing Season Ever. For the next 45 minutes, we pretty much stick to talking about dirt.

They explain to me that topsoil, with its clay, slit, sand, and other natural components, provides the physical structure in which plants can grow. For people replanting an existing garden, the soil needs to be aerated with a broadfork and turned over for planting season because plants don't just need water and sun to survive—they also need air, and over time soil can get compacted. Newbie gardeners need to start from scratch.

Shawn is a firm believer in the raised bed. You may not be worried as he is about unexploded ammunition lurking below, but you still don't know what's in your soil, so the safest bet is to build a bed on top of it. Shawn points to one of their 68 raised beds (that will be home to 114 varieties of plants over the course of the season), and notes how they use recycled plastic lumber, available wherever decking supplies are sold. Sure, pine looks better, but it's a pain to move around. Recycled plastic is lightweight, so if after one year you realize you need to move your garden to a sunnier spot, that's easy. And it will last for decades, where wood might last only a few seasons. To avoid contamination with the soil below, lay landscape fabric down, then a layer of wood chips, then plop your bed on top and pour in the topsoil—or even easier, have someone build a bed for you.

It's important to build your bed to accommodate your size, Shawn explains. Make it as wide and deep as you want for your comfort, so you don't have to bend too low or far to reach every corner of it. Anything wider than 4 feet, and you might be really stretching to get to the middle.

No matter how deep the bed, fill it up with topsoil. And remember: Not all topsoil is created equal. Look for a ratio of less than 50% sand, a little more than 25% of silt, and a little less than 25% of clay—most garden centers carry topsoil products that are meant for home gardens and have a ratio that is close to this. Topsoil with too much sand will drain water too quickly, causing the plant's roots to dry out; topsoil with too much clay will retain too much water causing the plant's roots to suffocate.

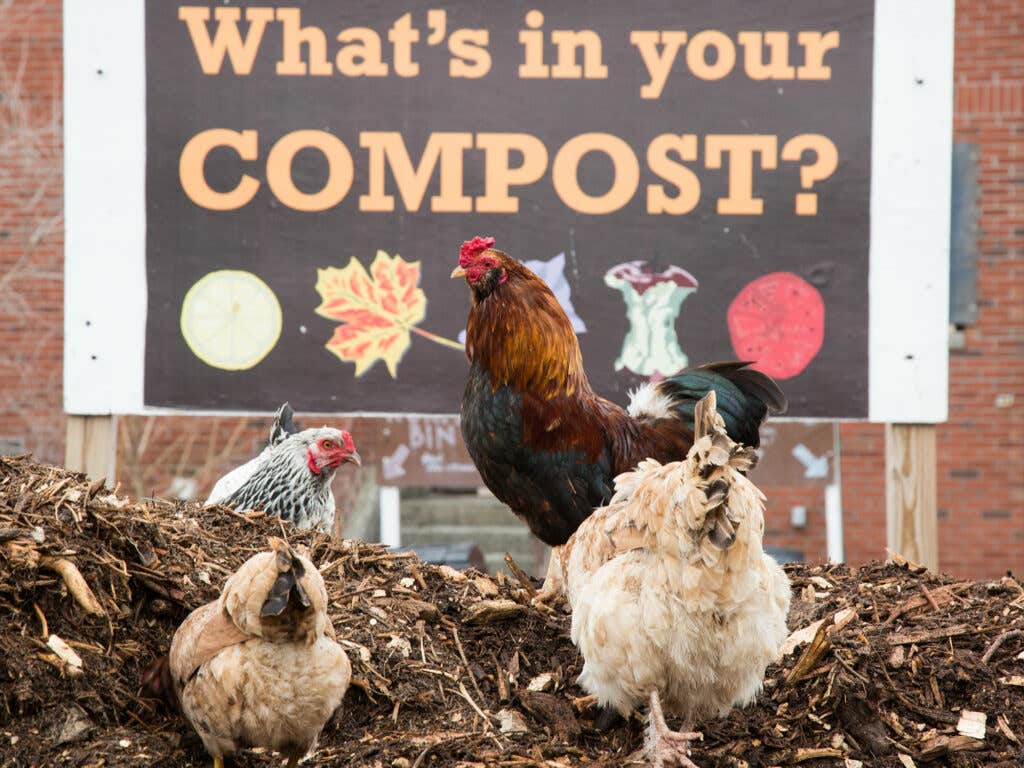
Stop with the topsoil once you get six inches from the top of the bed. Shawn's getting really excited now, explaining how in these top six inches lie the magic to the whole operation: compost. "You can never have enough!" Shawn says gleefully, all smiles as he geeks out about about what is essentially rot. "Well you can," corrects Sebert, the more scholarly of the two, with his Latin phylum names and technical wisdom. "You can! But I like a lot of it!" Shawn responds. Soil forms the natural structure for the root system—the home—of a plant, and compost is its lunch. Shawn uses a 50-50 compost-topsoil mix in the top layer of his beds, and adjusts as needed as the season progresses.

Lastly, you need water. For a smaller operation, a garden hose and some rain (fingers crossed that those on the West Coast will soon get lucky) should do the trick, but the GrowNYC folks use a drip irrigation system of plastic tubes. It's not pretty, but it serves a purpose: The water drips into the roots and the leaves remain dry; constantly spraying a plant's leaves with water may give it a fresh sheen, but it actually encourages disease.

You can get your raised bed all situated, get your topsoil and your compost all mixed, set up your irrigation system, and you'll be in business, but Sebert wants you to look out for something: worm poop. He talks about it as if it were the greatest innovation to gardening since the hoe. You want lots of those little suckers in there, and you want them burrowing around to create as much worm casting (a fancy gardening word for worm excretions) as possible. Worms keep the soil nutrient-rich from feeding on organic matter in the compost and pumping out all kinds of goodies. You can purchase earthworms online (red wigglers are the way to go) or "you can often find dozens of them under under scrap wood piles and logs," Shawn says. "That's where we find ours."

With the beds in order, the fun part starts: deciding what to plant and figuring out how to plant it. Find out how next week.

Culture

Building a Garden: Where to Start

For a perfect edible garden, we start with the basics: Constructing a bed and prepping the soil
By Yaran Noti


Published on April 16, 2015

Smack dab in the middle of New York harbor, spitting distance from the Statue of Liberty and lower Manhattan’s towers of finance, is the little edible garden that could.

There's nothing about its location that makes sense: It's situated on the northern end of Governors Island, a military installation dating back to the Revolutionary War that was sold back to the people of New York in 2003. Helicopters buzz overhead, ferries and shipping fleets cruise by, and centuries' worth of unexploded ammunition are rumored to be hiding in the soil below. This is not what you picture when you think of fertile ground. But it was here that, last year, the nonprofit organization GrowNYC—they provide support for greenmarkets and community gardens all around New York City—first planted the unlikeliest of urban gardens and used it as a classroom to teach local school kids about food and where it comes from.

And it is here, on a cold, windy April afternoon, that I first meet with Shawn Connell and Sebert Harper to start my internship: Over the next five months this New York City-living, don't-know-cruciferae-from-creeping-thyme, "ew, worms!" magazine editor is going to learn everything he can about fruits and vegetables and the best way to grow them.
My first surprise: Sebert and Shawn are psyched about the "it couldn’t have been any colder" winter that settled in over the American Northeast, put its feet up, and took a nap for a good six months. Cold winters kill pests that lurk in the soil, it turns out, and since the GrowNYC garden doesn't mess with pesticides, spring and summer are going to be blessedly less buggy.

But the cold weather has also pushed planting season a little later than usual. It's mid-April, and only the heartiest of perennials from last year's planting have begun to peek out of the soil: Green shoots of chives and garlic are starting to show off. There's a hint of purple sage. One lonely little strawberry bush tendril has found a new spot to dig into. As the rest of the garden waits for the starter pistol, these seem like false starts.

I ask Shawn and Sebert about how to make preparations for what we want to be (and what can be!) the Best Growing Season Ever. For the next 45 minutes, we pretty much stick to talking about dirt.

They explain to me that topsoil, with its clay, slit, sand, and other natural components, provides the physical structure in which plants can grow. For people replanting an existing garden, the soil needs to be aerated with a broadfork and turned over for planting season because plants don't just need water and sun to survive—they also need air, and over time soil can get compacted. Newbie gardeners need to start from scratch.
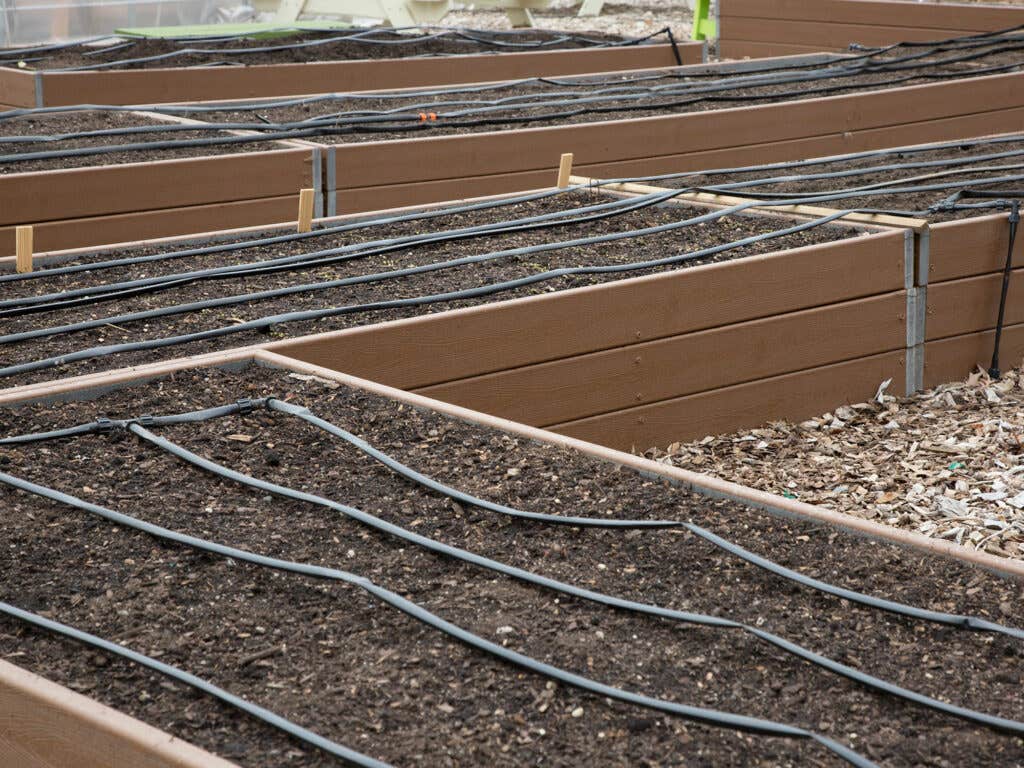
Shawn is a firm believer in the raised bed. You may not be worried as he is about unexploded ammunition lurking below, but you still don't know what's in your soil, so the safest bet is to build a bed on top of it. Shawn points to one of their 68 raised beds (that will be home to 114 varieties of plants over the course of the season), and notes how they use recycled plastic lumber, available wherever decking supplies are sold. Sure, pine looks better, but it's a pain to move around. Recycled plastic is lightweight, so if after one year you realize you need to move your garden to a sunnier spot, that's easy. And it will last for decades, where wood might last only a few seasons. To avoid contamination with the soil below, lay landscape fabric down, then a layer of wood chips, then plop your bed on top and pour in the topsoil—or even easier, have someone build a bed for you.

It's important to build your bed to accommodate your size, Shawn explains. Make it as wide and deep as you want for your comfort, so you don't have to bend too low or far to reach every corner of it. Anything wider than 4 feet, and you might be really stretching to get to the middle.

No matter how deep the bed, fill it up with topsoil. And remember: Not all topsoil is created equal. Look for a ratio of less than 50% sand, a little more than 25% of silt, and a little less than 25% of clay—most garden centers carry topsoil products that are meant for home gardens and have a ratio that is close to this. Topsoil with too much sand will drain water too quickly, causing the plant's roots to dry out; topsoil with too much clay will retain too much water causing the plant's roots to suffocate.

Stop with the topsoil once you get six inches from the top of the bed. Shawn's getting really excited now, explaining how in these top six inches lie the magic to the whole operation: compost. "You can never have enough!" Shawn says gleefully, all smiles as he geeks out about about what is essentially rot. "Well you can," corrects Sebert, the more scholarly of the two, with his Latin phylum names and technical wisdom. "You can! But I like a lot of it!" Shawn responds. Soil forms the natural structure for the root system—the home—of a plant, and compost is its lunch. Shawn uses a 50-50 compost-topsoil mix in the top layer of his beds, and adjusts as needed as the season progresses.
Lastly, you need water. For a smaller operation, a garden hose and some rain (fingers crossed that those on the West Coast will soon get lucky) should do the trick, but the GrowNYC folks use a drip irrigation system of plastic tubes. It's not pretty, but it serves a purpose: The water drips into the roots and the leaves remain dry; constantly spraying a plant's leaves with water may give it a fresh sheen, but it actually encourages disease.

You can get your raised bed all situated, get your topsoil and your compost all mixed, set up your irrigation system, and you'll be in business, but Sebert wants you to look out for something: worm poop. He talks about it as if it were the greatest innovation to gardening since the hoe. You want lots of those little suckers in there, and you want them burrowing around to create as much worm casting (a fancy gardening word for worm excretions) as possible. Worms keep the soil nutrient-rich from feeding on organic matter in the compost and pumping out all kinds of goodies. You can purchase earthworms online (red wigglers are the way to go) or "you can often find dozens of them under under scrap wood piles and logs," Shawn says. "That's where we find ours."

With the beds in order, the fun part starts: deciding what to plant and figuring out how to plant it. Find out how next week.

Continue to Next Story

Want more SAVEUR?

Get our favorite recipes, stories, and more delivered to your inbox.