Learn How to Make Paneer with Chef Romy GillTwo ingredients are all you need for this DIY fresh cheese.

If the thought of cheesemaking seems intimidating, think again. Turns out, South Asian paneer is just about the quickest and easiest dairy product to make at home. 

U.K.-based chef and author Romy Gill’s cookbook, On The Himalayan Trail is loaded with tips, techniques, recipes, and stories from her extensive travels through Northern India’s mountainous provinces. Gill grew up in West Bengal eating plenty of her mother’s homemade paneer, but in Kashmir, she was dazzled by the many different ways restaurants, hotels, and home cooks cooked with chaman (the Kashmiri term for the familiar fresh cheese). While paneer is increasingly available at supermarkets and South Asian grocery stores, the chef is quick to point out that this unaged cheese is also incredibly easy to make at home. When she was in New York City on her book tour, Gill joined me for a day of cooking and eating, and she showed me how to make paneer using her own (two-ingredient!) technique.

What you need:

•Cheesecloth

•Whole Milk

•Lemon Juice or Distilled White Vinegar

•Heavy Pot

STEP 1: Prepare your straining station.

Line a large, heatproof colander with a few layers of clean, dampened cheesecloth (also known as muslin), then place the colander in the sink. Alternatively, if you plan to reserve your whey, place the colander in a large pot or heatproof container. 

(Whey is the moisture leftover after milk’s proteins and fats have coagulated into curds during the cheesemaking process. The clear liquid still contains a bit of protein and important amino acids, so some folks like to add it to smoothies, soups, or baked goods.)

STEP 2: Bring whole milk up to a full boil.
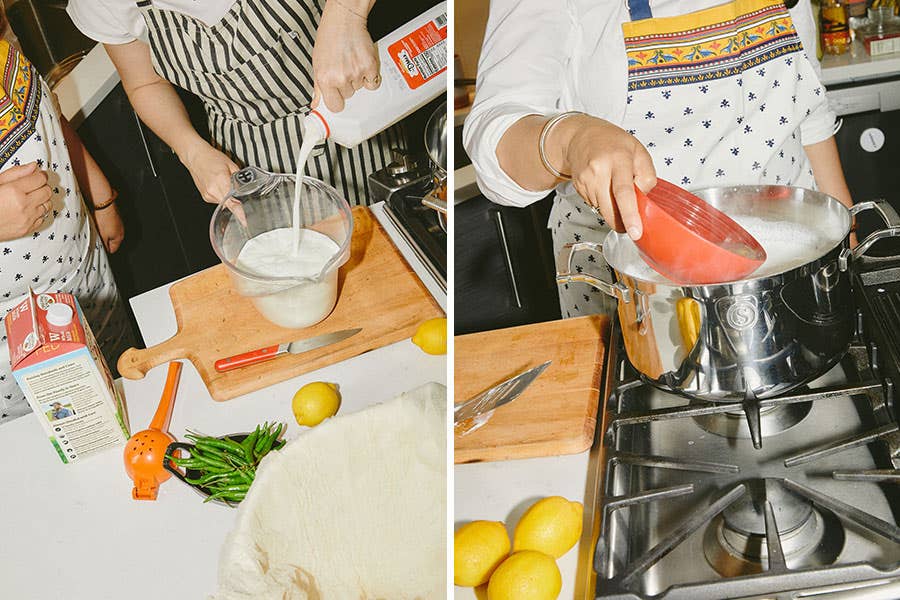
Next, pour 12 cups of milk into a large, heavy-bottomed pot. When making paneer at home, Gill likes to use fresh milk from a farm near her home, but conventional milk will work great for this recipe as well. Just steer clear of the skim stuff, Gill warns, which results in a dry, more rubbery texture than richer, creamier whole milk.

Set the pot over high heat and bring the milk up to a full boil. (Keep an eye on the stove; milk has a tendency to boil over quickly.)

STEP 3: Acidify the hot milk with lemon or vinegar.

Once the milk comes up to a boil, turn off the heat and immediately stir in 3 tablespoons of fresh lemon juice or 2 teaspoons of a mild-flavored vinegar, such as distilled white or white wine vinegar. Almost instantly, the milk will begin to break into curds. Stir very gently until the curds fully separate from the clear whey, 5–6 minutes. (Resist the temptation to stir too vigorously as this can break apart the delicate curds.) Set aside until the liquid is cool enough to handle, about 20 minutes.

STEP 4: Strain and press the curds.
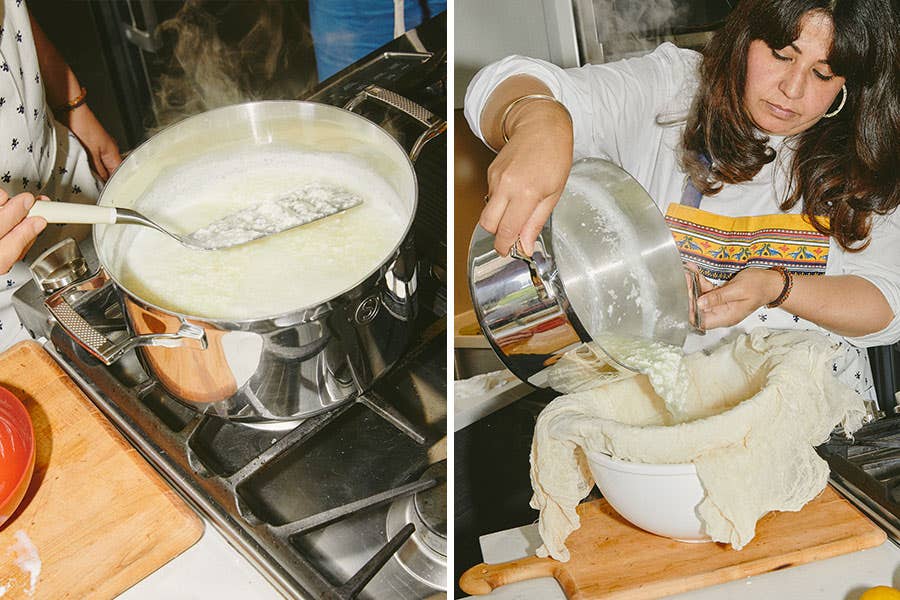
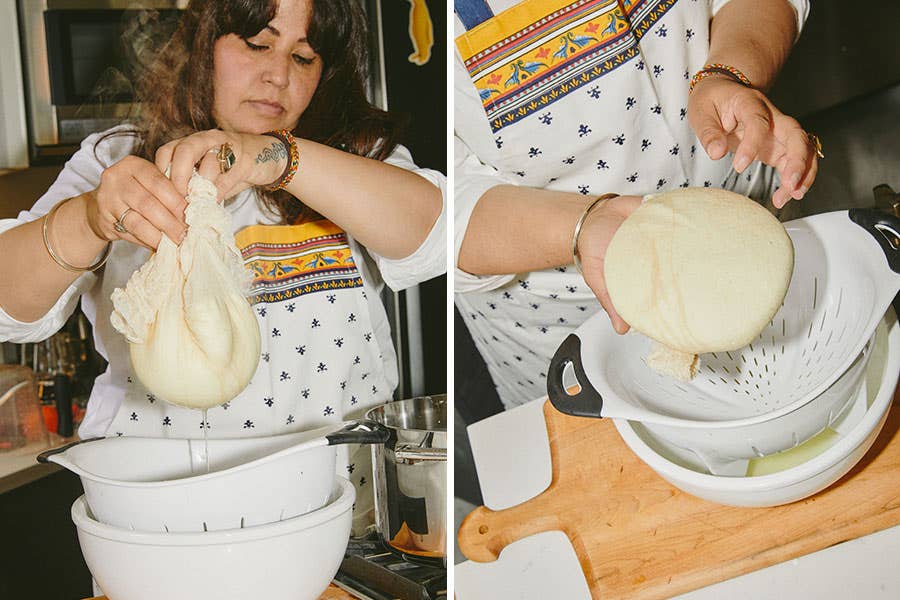
Slowly and gently pour the curds and whey through the cheesecloth-lined colander. If you are reserving the strained whey, take care that the bottom of the colander is not in contact with the liquid below it. Once all of the curds are in the colander, fold up the corners of the cloth and use your hands to squeeze out as much of the whey as you can. Place the cheesecloth-wrapped paneer back in the colander and place a heavy object atop it (a clean brick or small cast-iron pot works well for this). Place the colander in a wide bowl to catch any remaining liquid, then transfer to the fridge until the cheese is firm and chilled through, at least 2 hours and up to 2 days.

Final Thoughts
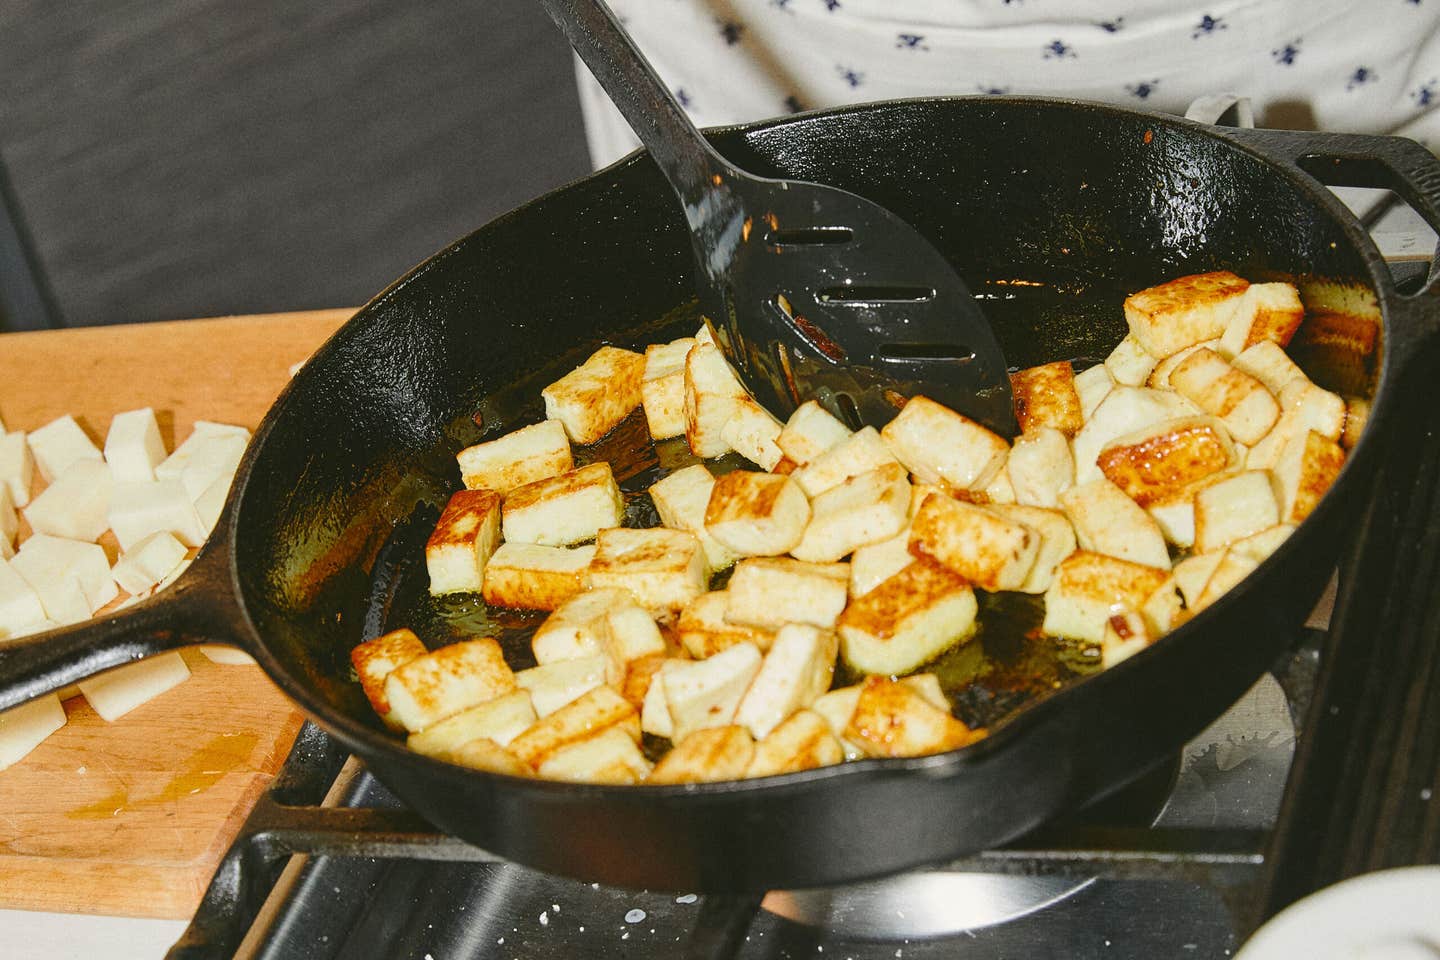
Once the paneer is chilled, it is ready to use! Gill loves the versatility of this homespun farmer cheese and I do too. When we cooked together, she simmered cubes of it with green chiles in a Kashmiri-style turmeric-cardamom gravy. Her family especially enjoys ruangan chaman, a tomatoey stew with fenugreek leaves and black cumin. And of course paneer is the star ingredient in saag paneer, one of the world’s most widely loved vegetarian curries. 

One safety note to remember: Homemade paneer and whey are preservative-free and are meant to be eaten fresh. The cheese should be cooked within 2 days of making and we do not suggest freezing paneer as freezing temperatures can alter the curds’ texture and turn the cheese rubbery. Whey should be consumed within 2 days of making paneer, and may be frozen in an airtight container for up to 3 months.

How to make paneer
Techniques

Learn How to Make Paneer with Chef Romy Gill

Two ingredients are all you need for this DIY fresh cheese.

By Kat Craddock, Romy Gill


Updated on October 4, 2022

If the thought of cheesemaking seems intimidating, think again. Turns out, South Asian paneer is just about the quickest and easiest dairy product to make at home. 

U.K.-based chef and author Romy Gill’s cookbook, On The Himalayan Trail is loaded with tips, techniques, recipes, and stories from her extensive travels through Northern India’s mountainous provinces. Gill grew up in West Bengal eating plenty of her mother’s homemade paneer, but in Kashmir, she was dazzled by the many different ways restaurants, hotels, and home cooks cooked with chaman (the Kashmiri term for the familiar fresh cheese). While paneer is increasingly available at supermarkets and South Asian grocery stores, the chef is quick to point out that this unaged cheese is also incredibly easy to make at home. When she was in New York City on her book tour, Gill joined me for a day of cooking and eating, and she showed me how to make paneer using her own (two-ingredient!) technique.

What you need:

•Cheesecloth

•Whole Milk

•Lemon Juice or Distilled White Vinegar

•Heavy Pot

STEP 1: Prepare your straining station.

Line a large, heatproof colander with a few layers of clean, dampened cheesecloth (also known as muslin), then place the colander in the sink. Alternatively, if you plan to reserve your whey, place the colander in a large pot or heatproof container. 

(Whey is the moisture leftover after milk’s proteins and fats have coagulated into curds during the cheesemaking process. The clear liquid still contains a bit of protein and important amino acids, so some folks like to add it to smoothies, soups, or baked goods.)

STEP 2: Bring whole milk up to a full boil.

Next, pour 12 cups of milk into a large, heavy-bottomed pot. When making paneer at home, Gill likes to use fresh milk from a farm near her home, but conventional milk will work great for this recipe as well. Just steer clear of the skim stuff, Gill warns, which results in a dry, more rubbery texture than richer, creamier whole milk.

Set the pot over high heat and bring the milk up to a full boil. (Keep an eye on the stove; milk has a tendency to boil over quickly.)

STEP 3: Acidify the hot milk with lemon or vinegar.

Once the milk comes up to a boil, turn off the heat and immediately stir in 3 tablespoons of fresh lemon juice or 2 teaspoons of a mild-flavored vinegar, such as distilled white or white wine vinegar. Almost instantly, the milk will begin to break into curds. Stir very gently until the curds fully separate from the clear whey, 5–6 minutes. (Resist the temptation to stir too vigorously as this can break apart the delicate curds.) Set aside until the liquid is cool enough to handle, about 20 minutes.

STEP 4: Strain and press the curds.

Slowly and gently pour the curds and whey through the cheesecloth-lined colander. If you are reserving the strained whey, take care that the bottom of the colander is not in contact with the liquid below it. Once all of the curds are in the colander, fold up the corners of the cloth and use your hands to squeeze out as much of the whey as you can. Place the cheesecloth-wrapped paneer back in the colander and place a heavy object atop it (a clean brick or small cast-iron pot works well for this). Place the colander in a wide bowl to catch any remaining liquid, then transfer to the fridge until the cheese is firm and chilled through, at least 2 hours and up to 2 days.

Final Thoughts

Once the paneer is chilled, it is ready to use! Gill loves the versatility of this homespun farmer cheese and I do too. When we cooked together, she simmered cubes of it with green chiles in a Kashmiri-style turmeric-cardamom gravy. Her family especially enjoys ruangan chaman, a tomatoey stew with fenugreek leaves and black cumin. And of course paneer is the star ingredient in saag paneer, one of the world’s most widely loved vegetarian curries. 

One safety note to remember: Homemade paneer and whey are preservative-free and are meant to be eaten fresh. The cheese should be cooked within 2 days of making and we do not suggest freezing paneer as freezing temperatures can alter the curds’ texture and turn the cheese rubbery. Whey should be consumed within 2 days of making paneer, and may be frozen in an airtight container for up to 3 months.

Continue to Next Story

Want more SAVEUR?

Get our favorite recipes, stories, and more delivered to your inbox.