The Best Pizza at Home, With the Gear You Already Have
Pan pizza lessons from bread legend Peter Reinhart
- Serves
makes two 9-inch square pizzas
- Cook
18 hours 15 minutes

There's a classic Three Stooges sketch where the trio attempts to brew their own beer. Thanks to a miscommunication, each stooge thinks it's his job to add the yeast, and so the prescribed amount is tripled, creating such a glut of suds they pour it into a bathtub, where it froths like a hyperactive jacuzzi. Soon, our heroes realize their error. "We all put the yeast in!" they yell to the camera, and then proceed to bonk each other on the head.
This slapstick disappointment is precisely how I feel when I bring yeast into my kitchen. Most of the time, snipping open a packet of Fleischmann's Active Dry ends in disappointment: a dense puck of a boule, a pathetic tray of dinner rolls, or, most often, a pizza dough more like the sort of cracker you'd feed to someone with the flu.
Homemade pizza is more high-maintenance than its chill comfort food vibes let on. And lately good pizza seems to have become synonymous with Neapolitan-style—thin, bubbly crust, blistered from a short bake at very high heat. To pull that off at home, you need to wrangle a pizza peel and a pizza stone or steel, and master transferring your creation into a hot oven without anything sticking. It's a lot of work, and quickly becomes an all-consuming rabbit hole of a hobby of its own—in some ways it has more in common with building model trains or macramé than other types of cooking.
Luckily for those of us who love pizza and hate the particular difficulties of making it, there is a loophole: the pan pizza. Think Detroit-style, Sicilian, and "grandma" pies. They still require a yeast but make everything else easier.
"The pan provides a lot of security" for home cooks, explains Peter Reinhart, whose latest book Perfect Pan Pizza offers expert advice on this DIY-friendly genre. "You don't need a special oven, you don't need a baking stone. They're so much easier to produce." The pan acts as both buffer and cooking aid: it insulates the dough, so you're less likely to burn it, but it also allows much of the pie's surface area to fry in hot oil, which makes for a golden, crunchy crust.
Reinhart’s master dough recipe isn’t exactly low maintenance, but it mostly requires babysitting: if you’ve got a stand mixer, the most difficult part of the process is a few rounds of folding and dimpling. (Like any cookbook with a master recipe or three, Reinhart’s requires a lot of paging back and forth between things at its early stages. For the attention-deficit among us, it requires extra vigilance, but it’s still easier than learning your way around a pizza peel.)
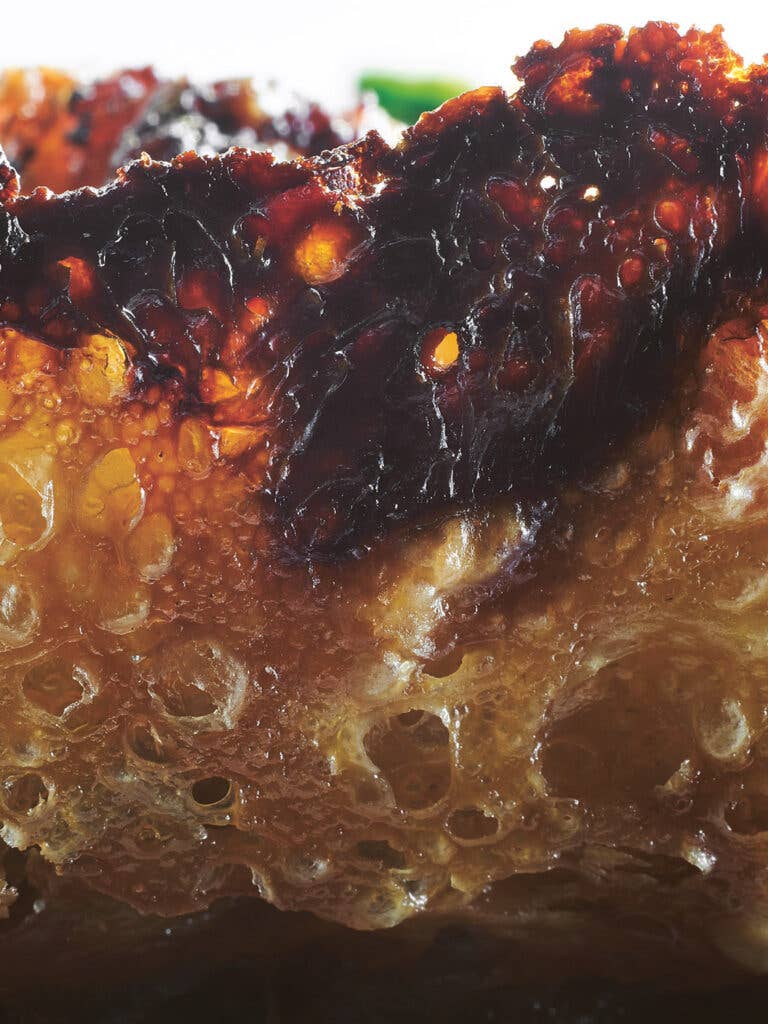
The main goal with a pan pizza is achieving that ideal undercrust. One of the keys, Reinhart says, is a prolonged fermentation: “You can’t get that kind of crust with a fast dough.” After a prolonged rise in the fridge (Reinhart recommends at least 18 hours), the dough is rife with fermented sugars that will caramelize in a hot greased pan. It is bubbly and beautiful and springs back when you touch it. I found myself cooing at the soft white mass as if it were a recently adopted puppy, rather than stewing over how I’d gone wrong.
And it promises a crunchy, near-golden crust. “When you get that good, fried undercrust,” Reinhart tells me, “it has almost a hot buttered toast characteristic to it. There’s a texture and a flavor that you don’t get on a baking stone. It’s a different kind of satisfaction.” The closest thing I can compare it to is a slice of perfectly fried toast.
The first pie I attempted from Reinhart’s book was a double-baked Sicilian-style pizza, loaded with a perhaps vulgar quantity of cheese and pepperoni. I made it in a kitchen that lacked both kitchen scale and stand mixer. Measuring by volume and mixing by hand, the resulting crust was still crackly at its corners and bouncy inside, full of bubbles and that good old fermented flavor.
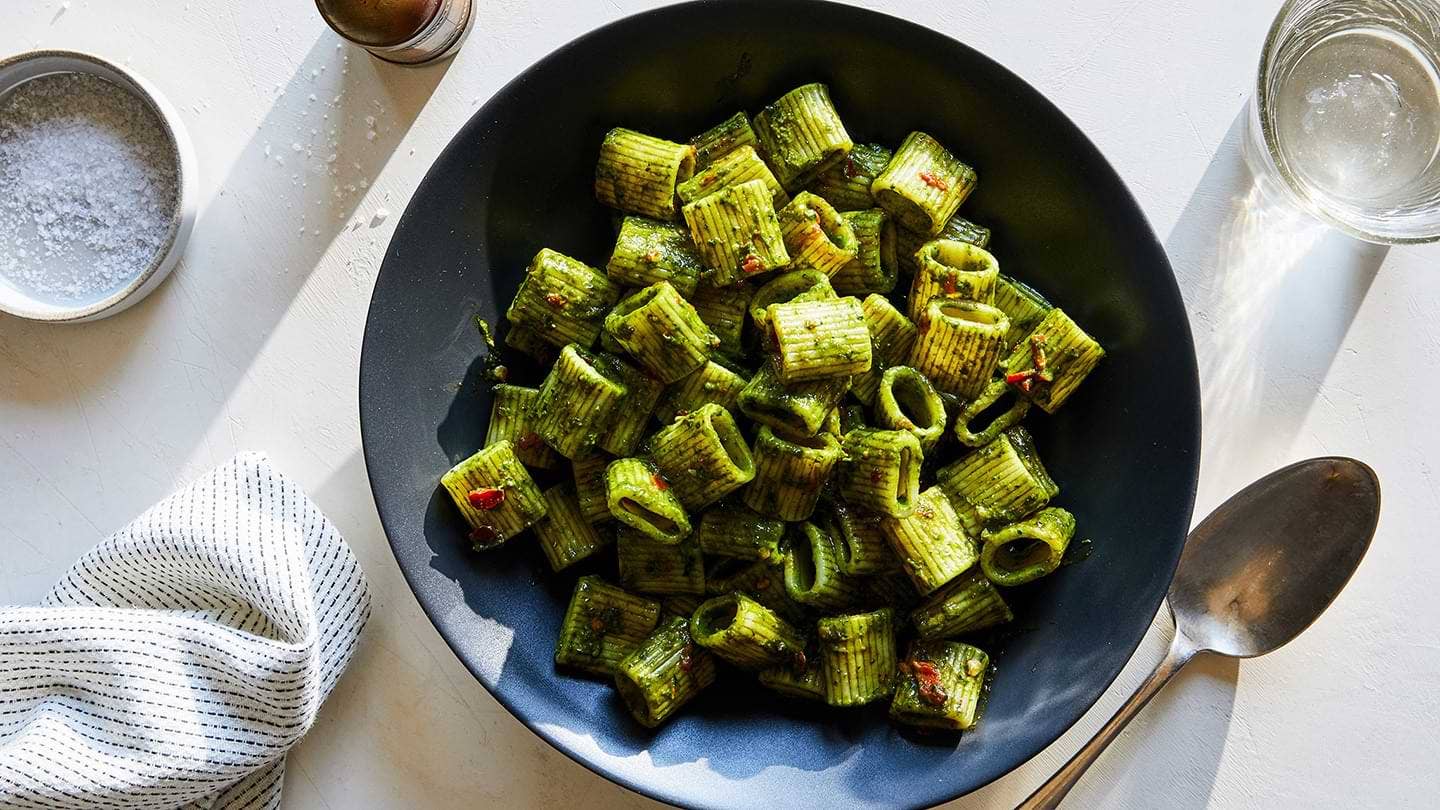
An important appeal of these pan pizzas is their rejection of restraint: these are big, honkin’ pies. They can handle piles of toppings: lakes of cheese, handfuls of oil-slicked greens, meat-lover mosaics. They are thick-crusted by nature, but not in the divisive Chicago style. They can single-handedly feed a party, and they even hold up well as leftovers.
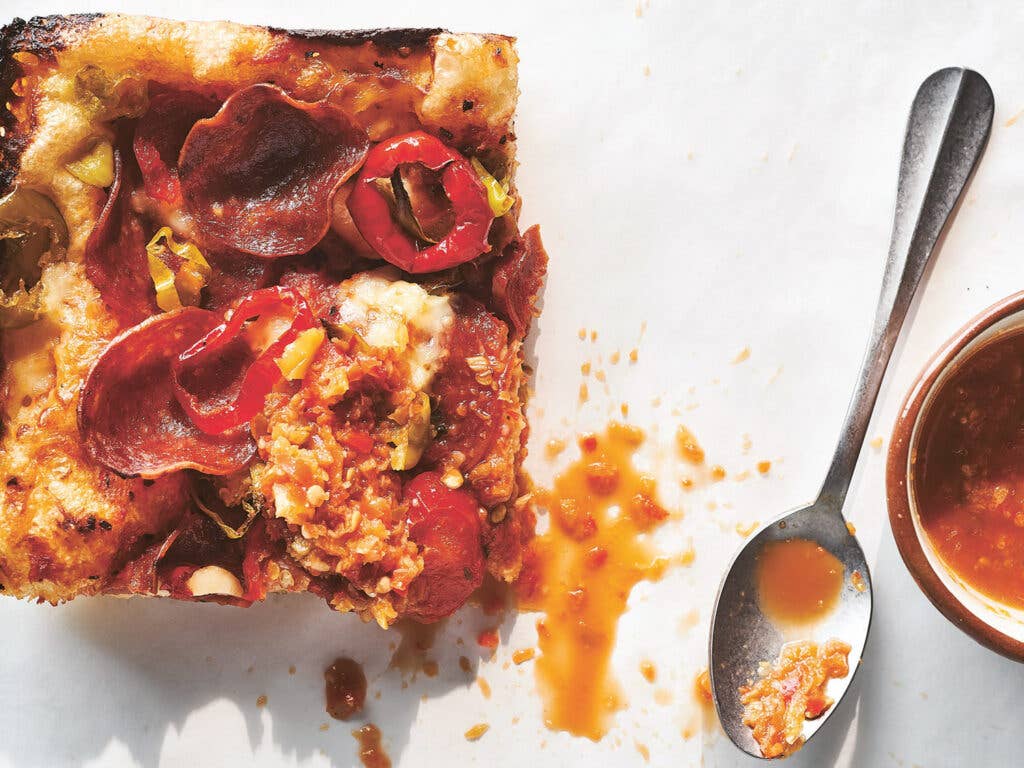
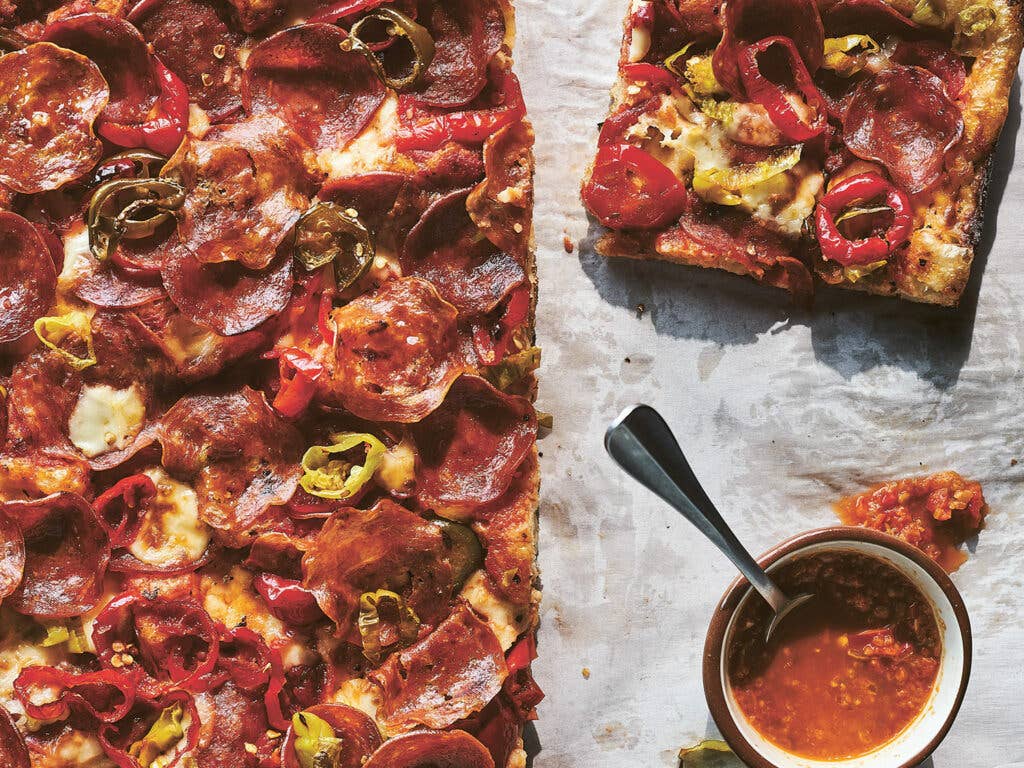
The most rococo of them all is the Detroit-style pizza. This type of pie has gained some national notoriety over the past few years, though it traces back to the 1940s. It’s a square deep-dish pizza with an aggressively crispy undercrust, usually cooked in a greased pan and topped with Wisconsin brick cheese. Red sauce is often added in thick stripes after baking.
Reinhart’s variation calls for cubed, not shredded, cheese, half of which is gently patted into the dough before a four-hour rise; it sinks into the crust during baking and gives the near-custardy effect of a particularly lush cheesy bread. I opted for the simplest variation, plus a bonus layer of pepperoni, and took special joy in placing bits of cheese around the edge of the pan so that they’d turn into lacy frico, one of Reinhart’s favorite effects.
The pie emerged from the oven bubbly and hyper-caramelized at its edges and peaks, the pepperoni furrowing into its cheesy base. The crust shattered and crackled under my teeth, and gave me dramatic flashbacks to being a greedy child tearing into one of those personal pan pizzas. It felt a little obscene to get that sort of crust at home, but then I found myself going at the pan with an offset spatula, delicately separating the frico from its walls, just to hear the crunch again.
Ingredients
For the dough:
- 4⅓ cups unbleached bread flour (567 g)
- 1¾ tsp. kosher salt (11 g)
- 1¼ tsp. instant dry yeast (4 g)
- 2 Tbsp. extra-virgin olive oil (28 g), plus more for stretching and folding
For the pizza:
- 3 Tbsp. extra-virgin olive oil, divided
- 1 lb. mozzarella, fontina, or provolone cheese, cut into ¼-inch cubes (3½ cups), divided
- 1 cup Easy Pizza Sauce or store-bought marinara sauce, room temperature
- 4 oz. pepperoni, thinly sliced
- ½ cup pepperoncini or pickled Peppadew peppers, sliced crosswise
Instructions
Step 1
Step 2
Step 3
Step 4
Step 5
Step 6
Step 7
Keep Reading

")
")

")
")

")
")

Continue to Next Story